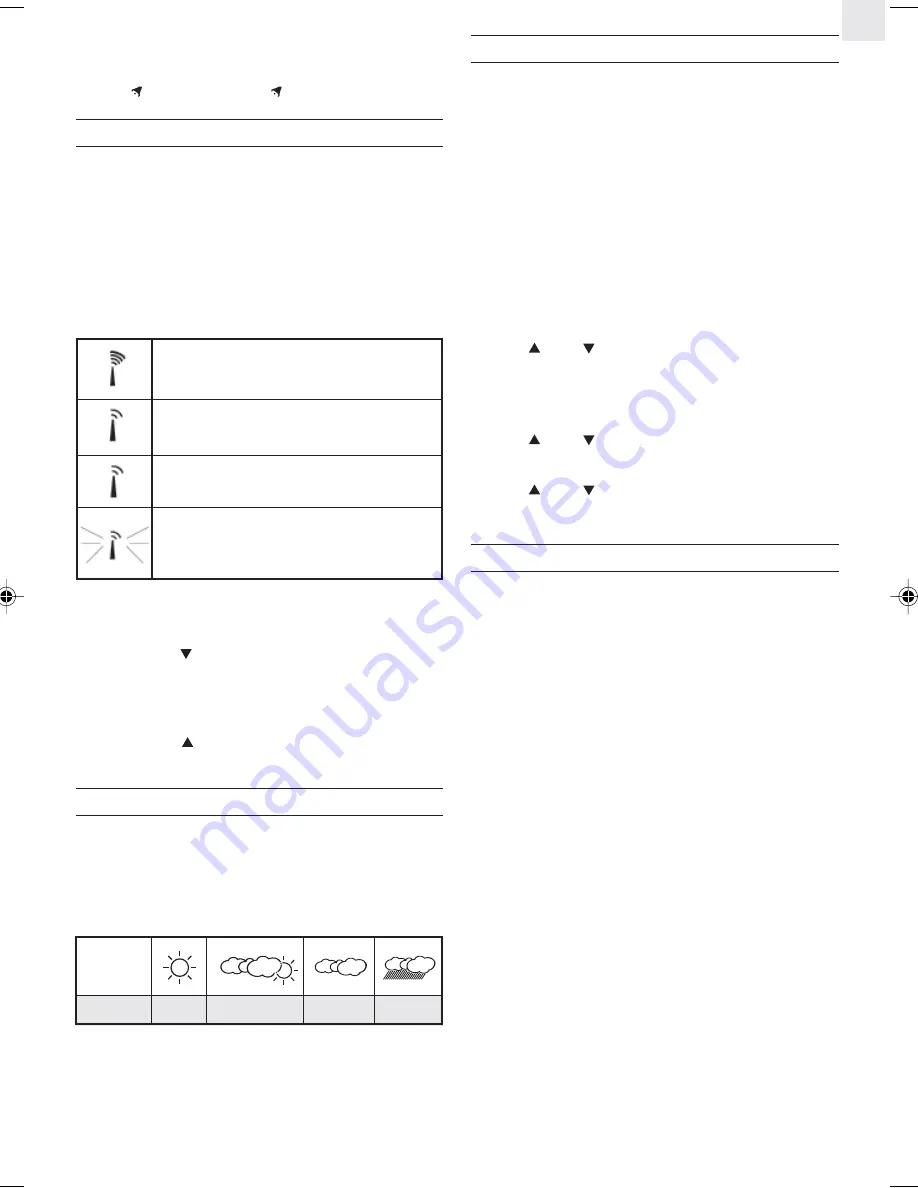
5
EN
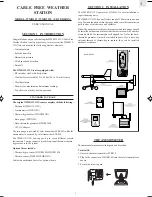
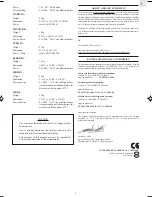
To deactivate the function,
1. Press the RF calendar clock and alarm window.
2. Press [ ]. The alarm indicator will disappear.
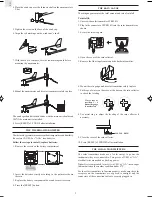
ABOUT RADIO CONTROLLED CLOCK RECEPTION
Whenever the WMR112/112U is brought within range of the radio
signal with its radio reception function activated, it will search for
the clock signal at a predefined time on each day while the manual
calendar clock settings will be overridden.
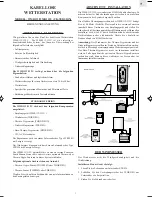
While receiving the signal the radio reception indicator will blink. A
complete reception generally takes 2 to 10 minutes, depending on
the strength of the radio signal.
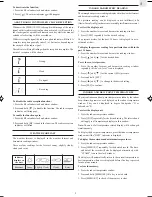
The indicator will stop blinking when the reception is complete. The
status of reception will be shown:
To disable the radio reception function:
1. Press the RF calendar clock and alarm window.
2. Press and hold [
] to disable the function. The radio reception
indicator will disappear.
To enable the function again,
1. Press the RF calendar clock and alarm window.
2. Press and hold [ ] to enable the function. The radio reception
indicator will blink.
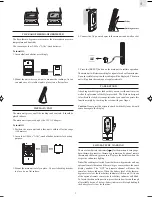
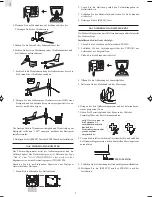
WEATHER FORECAST
The weather forecast is displayed in the weather forecast and
barometric reading window.
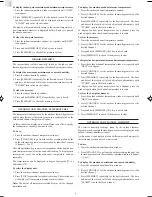
There are four readings for the forecast: sunny, slightly cloudy,
cloudy and rainy.
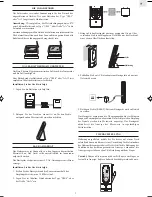
INDOOR BAROMETRIC READING
The atmospheric pressure reading is displayed in the weather forecast
and barometric reading window.
The pressure reading can be displayed in mb (millibars), hPa
(Hecto-Pascal), inHg (inch mercury) or mmHg (millimeter mercury).
To select the display unit,
1. Press the weather forecast and barometric reading window.
2. Press [UNIT] repeatedly for the desired setting.
The pressure history for the past 24 hours is displayed in a six-
column bar chart.
To display the pressure reading for a particular hour within the
past 24 hours,
1. Press the weather forecast and barometric reading window.
2. Press [ ] and [
] for the desired hour.
To set the sea-level pressure,
1. Press the weather forecast and barometric reading window
repeatedly till the “sea-level” icon is displayed.
2. Press [ ] and [
] for the current (0 Hr) pressure.
3. Press and hold [SET].
4. Press [ ] and [
] to change to the desired setting.
5. Press [SET] to confirm.
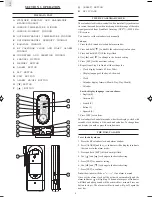
INDOOR AND DEW POINT TEMPERATURES
The current indoor and dew point temperatures, taken by the indoor
baro-thermo-hygrometer, are displayed on the indoor temperature
window. They can be displayed in degree Centigrade (ºC) or
Fahrenheit (ºF).
To select the display unit,
1. Press the indoor temperature window.
2. Press [UNIT] repeatedly for the desired setting. The selected unit
will apply to all temperature displays in this window.
Note: The unit of all temperature related display will be changed
simultaneously.
To display the dew point temperature, press the indoor temperature
window until the “DEW” indicator is displayed.
To display the maximum and minimum temperatures,
1. Press the indoor temperature window.
2. Press [MEMORY] repeatedly for the desired record. The time
and date of the record will also be displayed alternatively with
“STAMP” icon in the clock window.
The display will automatically return to the current temperature or
dew temperature whatever is displayed before if no key is pressed
for about one minute.
To clear the memory,
1. Press the indoor temperature window.
2. Press and hold [MEMORY] till a key tone is heard.
3. Press [MEMORY] to check if the memory is clear.
- Strong
- Weak
- No signal
- Receiving
Forecast
Sunny
Slightly Cloudy
Cloudy
Rainy
Indicator
displays on
the unit
WMR112_EN_output
9/1/04, 7:04 PM
5

