background image

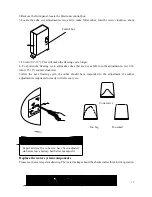
2.Remove the front panel, l


13 

ocate the Electronic control box, 

ubes, turn the screw clockwise about 

1/36 turn (10

°

-15

°

). This will make the freezing cycle longer. 

as full, turn the adjustment screw 1/36 

the cubes should have responded to the adjustment, if another 


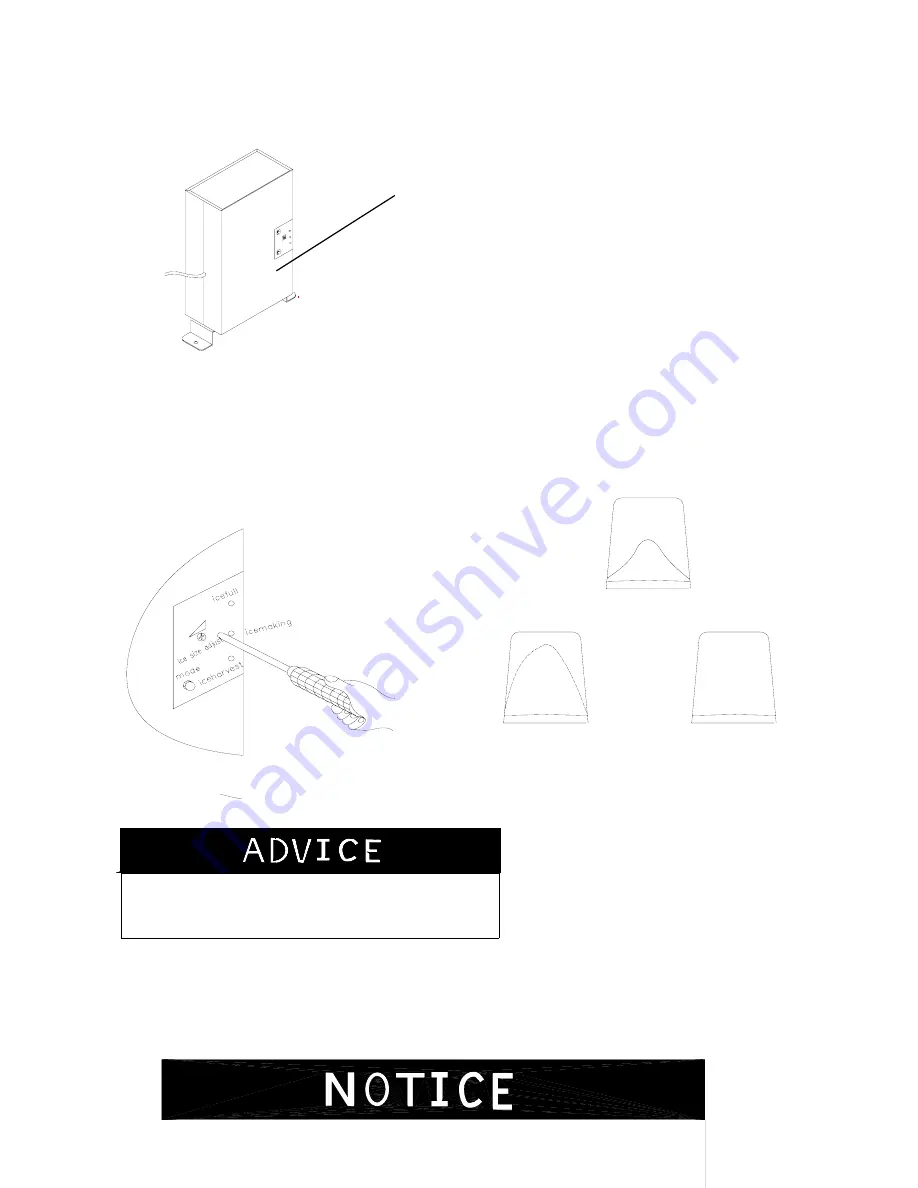
3.Locate the cube size adjustment screw, and to make fuller c

Control box 

4. To shorten the freezing cycle and make cubes that are not 

turn (10

°

-15

°

) counter clockwise. 

5.After the next freezing cycle, 

adjustment is required, do it early in the freeze cycle. 


Replace the water system components         

Please see the water system drawing. The water leakage should be checked after this kind of operation   

Expert advises the cube size have been adjusted 
ok before leave factory, had better not adjust it.


Correct size 

Too big 

Too small 


Correct size 

Summary of Contents for FS260IM

Page 1: ...Au Ser MO tomatic Ice Maker vice Manual DEL FS 260IM A...

Page 2: ...asic Checking 9 roubleshootingGuide 9 14 Adjustment and Replacement 15 17 eplace the controller 15 djust the size of ice cube 15 eplace the water pump 16 the compressor 17 Replace the fan motor and fa...

Page 3: ...to the section Operation of user manual from page 12 to 14 It describes clear how the icemaker makes ice and uses the water There are 3 systems including Cooling System Water System and Wiring Connect...

Page 4: ...The evaporator is cooled by the refrigerant So ice can formed on the evaporator during water is sprayed to the evaporator Low pressure refrigerant gas may go back compressor from the evaporator During...

Page 5: ...orting tube 5 1811206006 Water pump inlet tube 6 1880001701 Floater valve 7 1864802001 Water trough 8 1858904000 Water pump 9 1811330102 Water pump outlet tube 10 1861701802 Ice slideway 11 1864550601...

Page 6: ...Green Yellow and Red LEDs are light together 2 Ice making Status The compressor motor fan and pump are powered on The hot gas solenoid valve is powered off When this green LED is lit the unit is worki...

Page 7: ...this LED is lit the unit is working in the ice making mode controlled by a temperature probe on the evaporator When the green LED is flashing the unit is working in the ice making mode controlled by...

Page 8: ...s of the LED display indicate various work modes 4 The fan motor responds to the ambient temperature If it is cold the motor will stop working to keep the cooling system in good working condition 5 Th...

Page 9: ...64802001 water trough 19 1858201704 evaporator support 20 1858201800 water trough support 21 1860601803 water pump support 22 1880001701 Floater valve 23 1864529100 water inlet pipe screw 24 186450010...

Page 10: ...64901700 operator buttom cover 51 1860600802 under louver 52 1864806902 door 53 1860111700 stability support 54 1803200100 locked screw 55 1880014901 foot 56 1860604600 compressor base 57 1880007900 D...

Page 11: ...g sound is normal Looking Check the pipe of cooling system especially the welding point If there is some oil the gas is leak out so that no ice making or less ice produced If the cycle of the ice maki...

Page 12: ...n t operate Control box The control box fail Replace a new one Water supply tap The water supply tap is turn off Turn on the water supply tap Water supply pipe The water supply pipe is not proper conn...

Page 13: ...valve Hot gas valve damaged Replace The model of making ice doesn t turn to harvest Replace the Electronic control box The compressor run but no ice The Electronic control box Tthe unit is working in...

Page 14: ...ature is high See the service manual adjust the size of ice cubes Cubes are too small Refrigerant Refrigerant leaks Recharge Electronic control box The setting temperature of Electronic control box is...

Page 15: ...floor when you open the door to take out ice from ice storage bin Normal condensation on the door or some water together with ice Take care when you take out ice Water supply connection Water supply c...

Page 16: ...ure one at the evaporator another at the condenser loosen the screws of rooting the Electronic controller replace a new one Reverse the above step to replace If you need replace the fuse open the fron...

Page 17: ...crew and to make fuller c Control box 4 To shorten the freezing cycle and make cubes that are not turn 10 15 counter clockwise 5 After the next freezing cycle adjustment is required do it early in the...

Page 18: ...the water dump valv 2 Set the toggle switch to ICE 3 While the ice machine is in th drain hose for leakage If the dump valve is le B If the dump valve is not leaking do not remove it Instead follow Cl...

Page 19: ...weld open the Locate the drier and hot refrigerant evacuate and weigh in the nameplate charge Reverse the above step to reassemble If need replace the evaporator Remove the front and top pane two wel...

Reviews: