background image

HeadMouse Extreme User Guide


Origin Instruments Corporation  

Page 19 

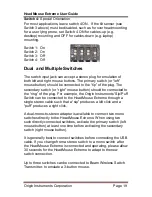
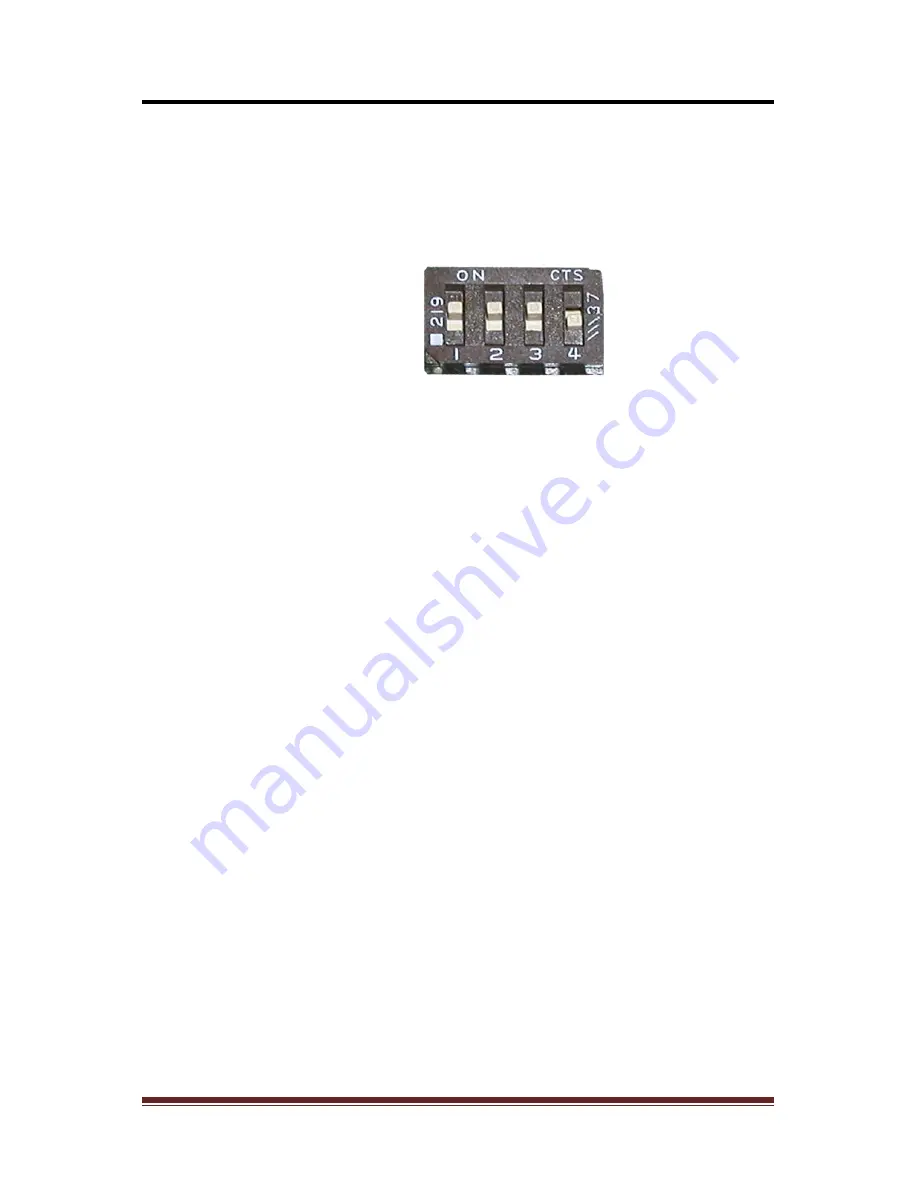
Switch 4:

 Special Orientation 

For most applications, leave switch 4 ON.  If the tilt sensor (see 
Switch 3 above) must be disabled, such as for overhead mounting 
for a user lying prone, set Switch 4 ON for cables-up (e.g. 
desktop) mounting and OFF for cables-down (e.g. laptop) 
mounting.   
 
Switch 1:  On 
Switch 2:  On 
Switch 3:  Off 
Switch 4:  Off 
 

Dual  and Multiple Switches 

 
The switch input jack can accept a stereo plug for emulation of 
both left and right mouse buttons. The primary switch (or “left” 
mouse button) should be connected to the “tip” of the plug. The 
secondary switch (or “right” mouse button) should be connected to 
the “ring” of the plug. For example, the Origin Instruments' Sip/Puff 
Switch can be connected to the HeadMouse Extreme through a 
single stereo cable such that a “sip” produces a left click and a 
“puff” produces a right click. 
 
A dual-mono-to-stereo adapter is available to connect two mono 
switches directly to the HeadMouse Extreme. When using two 
such directly connected switches, activate the primary switch (left 
mouse button) at least one time before activating the secondary 
switch (right mouse button).  
 
It is generally best to connect switches before connecting the USB 
cable. If you change from a stereo switch to a mono switch  after 
the HeadMouse Extreme is connected and operating, please allow 
30 seconds for the HeadMouse Extreme to adapt to the new 
switch connection. 
 
Up to three switches can be connected to Beam Wireless Switch 
Transmitter, to emulate a 3-button mouse. 


Summary of Contents for HeadMouse Extreme

Page 1: ...www orin com HeadMouse Extreme User Guide Wireless Head controlled Mouse...

Page 2: ...dware Description 6 Setup and Installation 10 Mounting 10 Notebook Mounting Bracket 12 Custom Brackets 13 Connection 14 Using HeadMouse Extreme 15 Tracking Status 15 General Use 16 Pointer Position 16...

Page 3: ...onsible for any problems caused by unauthorized modification of the HeadMouse Extreme and will not be responsible for direct or consequential damages associated with any use of the HeadMouse Extreme p...

Page 4: ...aration between the equipment and the receiver 3 Reorient the equipment cables 4 Consult the dealer or Origin Instruments for additional suggestions Information in this document is subject to change w...

Page 5: ...ce Bus powered No power cable needed Pocket sized Automatically adapts to any mounting angle Standard 3 5mm input for one or two wired switches Built in receiver for wireless switches Mounting for lap...

Page 6: ...glasses When used with mouse button software such as Origin Instruments Dragger mouse clicks are performed by positioning the mouse pointer and dwelling for a selectable period of time Alternately mo...

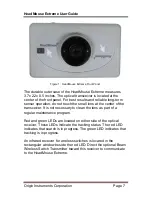
Page 7: ...at the center of the transceiver It is not necessary to clean the lens as part of a regular maintenance program Red and green LEDs are located on either side of the optical receiver These LEDs indicat...

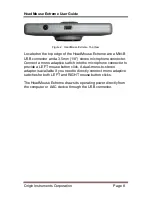
Page 8: ...m 1 8 stereo microphone connector Connect a mono adaptive switch into the microphone connector to provide a LEFT mouse button click A dual mono to stereo adapter is available if you need to directly c...

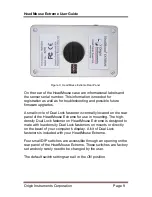
Page 9: ...ly located on the rear panel of the HeadMouse Extreme for use in mounting The high density Dual Lock fastener on HeadMouse Extreme is designed to mate with low density Dual Lock fasteners on mounts or...

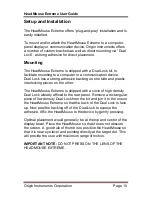
Page 10: ...nterlocking pieces on the other The HeadMouse Extreme is shipped with a circle of high density Dual Lock already affixed to the rear panel Remove a rectangular piece of low density Dual Lock from the...

Page 11: ...nts Corporation Page 11 To remove Dual Lock gently peel Dual Lock away to permanently remove from your monitor Excess adhesive can be removed with an appropriate adhesive removing solvent Figure 4 Hea...

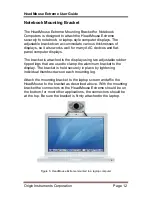
Page 12: ...he bracket is attached to the display using two adjustable rubber tipped legs that are used to clamp the aluminum bracket to the display The bracket is held securely in place by tightening individual...

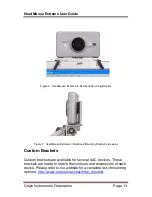
Page 13: ...ket Figure 7 HeadMouse Extreme in Notebook Mounting Bracket side view Custom Brackets Custom brackets are available for several AAC devices These brackets are made to match the contours and dimensions...

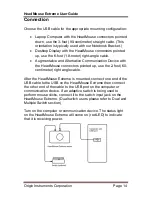
Page 14: ...ication Device with the HeadMouse connectors pointed up use the 2 foot 60 centimeter right angle cable After the HeadMouse Extreme is mounted connect one end of the USB cable to the USB on the HeadMou...

Page 15: ...e the USB cables that were delivered with your HeadMouse Extreme and do not use USB extender cables Using HeadMouse Extreme Tracking Status The red and green LEDs on the front panel of the HeadMouse E...

Page 16: ...gin Instruments offers a variety of adaptive switches on screen keyboards with built in dwell and dwell selection software for both Windows and Mac OS X Pointer Position It is best to take a few minut...

Page 17: ...ount of sensitivity the pointer has to movement If the mouse speed is set too fast or high the pointer will move a greater distance with less physical movement from the user When the mouse speed is se...

Page 18: ...e range of available head motion is limited or when accessing a Macintosh computer Setting Switch 1 OFF will increase the mouse speed by a factor of 2 Switch 1 Off Switch 2 On Switch 3 On Switch 4 On...

Page 19: ...the ring of the plug For example the Origin Instruments Sip Puff Switch can be connected to the HeadMouse Extreme through a single stereo cable such that a sip produces a left click and a puff produc...

Page 20: ...n 0 25 inch 6 5mm Diameter with Adhesive Backing Measurement Rate 80 Hz Nominal USB Interface Full Speed General Care and Maintenance HeadMouse Extreme may be cleaned with a damp cloth but it should n...

Page 21: ...tall repair or service the product b to repair damage resulting from improper use or connection to incompatible equipment or c to service a product that has been modified or integrated with other prod...

Page 22: ...rigin Instruments Corporation ATTN Customer Service RMA insert your number 854 Greenview Drive Grand Prairie TX 75050 2438 USA For repairs during the warranty period Origin Instruments will pay for th...

Page 23: ...Instruments Corporation Page 23 Replacement Targets Replacement reflective targets for use with the HeadMouse Extreme are available for purchase through Origin Instruments Authorized Channel Partners...

Page 24: ...n com Shop http shop orin com 2013 Copyright by Origin Instruments Corporation All rights reserved HeadMouse is a registered trademark of Origin Instruments Corporation Swifty Beam SofType and Dragger...

Reviews: