background image

Function Setting

фૈ೛ۓ

5

ᇿ௓Ꮤ

Remote Control

ᇿ௓Ꮤᆶ॥৻ଛჹ

1. 

ӧ॥৻ᐒيഗ೽ࡪΠ໒0ᜢᗖ

"    "

௴୏॥৻Ǵ٠ܭᇿ௓Ꮤ΢ࡪ໒0ᜢᗖǴ

LED

ᡉҢ

"     "

٠


ଢᛉǶߏࡪଌ॥ኳԄᗖ

"    "3

ࣾࡕǴᇿ௓Ꮤ΢

LED

ᡉҢ

"     "

٠ଢᛉϷ॥৻ᐒيഗ೽

4


॥ೲᡉҢᐩ཮ӕਔߝଆǶฅࡕѸ໪ӧ

5

ࣾϐϣࡪ॥৻΢ޑҺՖᗖǴஒ཮᠋ډ

"Bi"

ᖂǴ

    4

ঁ॥ೲᡉҢᐩᅝྐϷᇿ௓Ꮤ΢

LED

ᡉҢ࠻ϣྕࡋǴջ߄ҢଛჹԋфǶ

2. 

ԋфೱௗࡕǴёа٬Ҕ஥Ԗ

LED

ᡉҢࡀޑᇿ௓Ꮤٰᏹբ॥৻Ƕ

3. 

ӵ݀ೱௗόԋфǴ

LED

ᡉҢࡀஒ཮ᡉҢ

"     "

Ǵӵ݀ӧ

5

ࣾϣ҂຾ՉҺՖᏹբǴ߾၀ࡰҢ


ᐩஒ཮ᅝྐǶ

4. 

྽׳ඤႝԣࡕ-ᇿ௓Ꮤሡᆶ॥৻ख़ཥଛჹωё٬ҔǶ


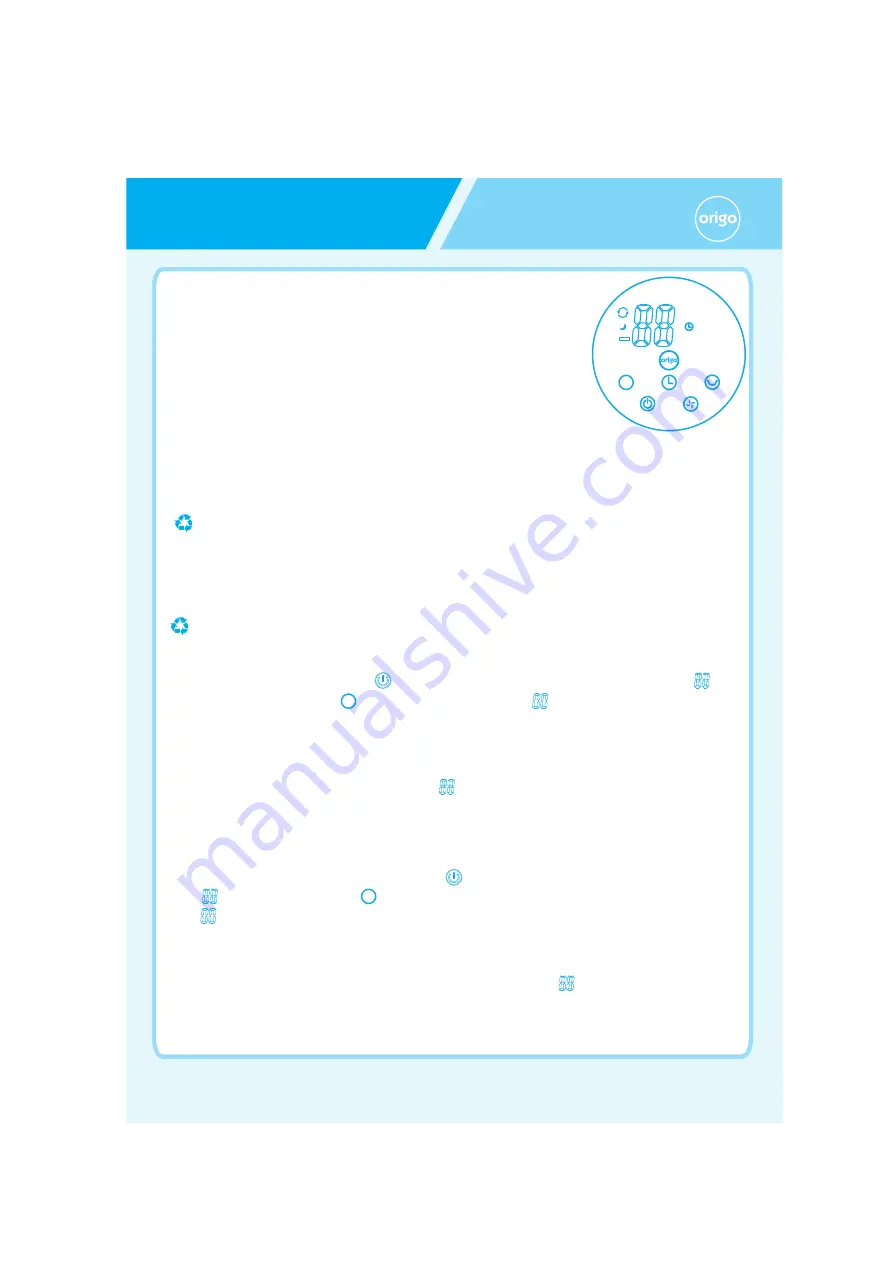
Pairing the remote to the Fan

1. Power on the Fan, press the On/Off key"    " on remote, the LED will show and flash as


"     ".

 Press the Mode key"    " and hold for 3 seconds,the LED will show and flash as 

   "      ",

and four wind speed indicators will light up on the Fan. Then press any key on 

    the Fan within 5 seconds, will hear a "Bi" sound, the four wind speed indicators will off, 
    and the LED display will show the room temperature, which means the pairing is successful .
2. After pairing, the Fan can operate by remote with LED display accordingly.
3. If the pairing is not successful, the LED display will show "     " and will go out if no     
    operation within 5 seconds.
4. After the battery is replaced, the remote control needs to be paired again with the Fan     
    before using.

!!!!ඵૈޔࢬ॥৻

        AI DC Stand Fan

WARNING

1. Keep batteries out of reach of children. Should a child swallow a battery,
    consult a doctor immediately.
2. Do not recharge or dispose in fire.
3. Keep in a dry and cool place.
4. Insert battery in rigdt direction.

     Battery disposal - Please dispose the used battery per municipal or provincial law. 

1. 

ᇿ௓ᏔᏹբБԄᆶᐒيࡪᗖᏹբБԄόӕǶ

2. 

ӼးႝԣǺ

3

ݍ

AAA

ଳႝԣǶ

   (

ݙཀǺόёషӝཥᙑǵᅹ܄0ᡵ܄Ϸόӕࠔจޑႝԣӕਔ٬ҔǶ

)

1. All functions performed by the Remote Control work are different    
    to the Manual.

2. 

Install battery: Install three ‘AAA’ batteries.

    (Caution: Do not mix new and used, carbon/alkaline or different brands of batteries.)

᝾֋

1)
2)
3)
4)  

ፎעႝԣܫӧٽู࿘όډޑӦБǴӵ݀࠸ηտΠႝԣǴሡҥջठႝࠊ၌ᙴғǶ
όाჹႝԣ຾Չкႝ܈ᒿཀక࿼ӧԖОྍޑӦБǶ
ᔈߥ࡭ႝԣӸܫܭଳᔿǴ഍థޑӦБǶ
а҅ዴޑБӛකΕႝԣǶ

ႝԣޑೀ౛!.!ፎࡪ࣬ᜢӦ୔ޑݤࡓೕۓೀ౛ම࿶٬ҔޑႝԣǶ

M

ʚ

30

120

90
60

A

M

M

Summary of Contents for SF-028

Page 1: ...AI DC Stand Fan SF 028 Instruction Manual Read all instructions carefully before using the FAN and keep this instruction for furture reference when necessary...

Page 2: ...use the FAN Cooler and contact your supplier Use this Fan only as described in this manual Any other use not recommended by the manufacturer may casue fire electrical shock or injury to persons Read a...

Page 3: ...Fan is intended for household use ONLY and not for industrial or outdoor use Do not leave the Fan unattended Always unplug the Fan Cooler when not in use Do not insert any objects into the Fan as it...

Page 4: ...ase connector s plug pass through wire hole to connect with sockets 11 reinstall the wire cover 10 and fasten it with the base cap 13 2 4 4 5 2 3 Remove the blade cap 2 and guard cap 4 from the motor...

Page 5: ...ight of speed will be on and indicate the speed level Speed 1 First LED light one half light on Speed 2 First LED light light on Speed 3 First LED light light on and second LED light one half light on...

Page 6: ...ordingly 3 If the pairing is not successful the LED display will show and will go out if no operation within 5 seconds 4 After the battery is replaced the remote control needs to be paired again with...

Page 7: ...speed 4 OSC 4 30 60 90 120 4 OSC Press the OSC key to set desired angle 30 60 90 120 allow the Fan to LEFT RIGHT oscillate the wind direction To stop the oscillation press the key four time 5 MODE LE...

Page 8: ...6 TIMER Pressing the Timer key to set desired auto power off time There are 12 time intervals from 1 hour to 12 hour and displayed on the LED display AI DC Stand Fan Maintenance Housing Guard Clean th...

Page 9: ...Rated Power Product Dimension SF 028 220 240V 50 60Hz 25W 345 x 300 x 880 mm Origin Map 10 30am 12 30pm 02 30pm 05 30pm 10 30am 12 30pm OFFICE HOURS 10 30am 12 30pm Mon to Fri 02 30pm 05 30pm Mon to...

Page 10: ...replacing parts at free of charge 2 This warranty DOES NOT apply to If the product has been damaged through abuse misuse negligence or accidents Unauthorized repair alteration modification Any damage...

Reviews: