OR-7200ED User’s Manual
21
3.2.
DVR Configuration
3.2.1.
SYSTEM
Under SYSTEM menu, System configuration options for general Information, Date &Time, User, Quick Setup and System Log can be
selected.
3.2.1.1.
MENU > SYSTEM > Information
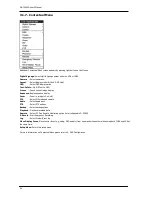
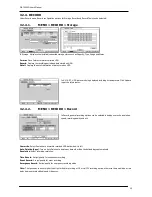
In the Information screen, DVR Name, System Version, Upgrade, Mac Address and Configuration options can be selected. Highlight and
press DVR Name
to enter or change DVR name. Name the DVR by using the virtual keyboard.
To Upgrade the system, save the upgrade file to USB Flash Memory and connect it to DVR. Once the Device is connected, press
Upgrade button to execute system upgrade.
Upgrade will take approximately 5 minutes. DVR will reboot automatically when the upgrade is completed.
Note
: DO NOT remove USB Flash Memory or turn off the system during the upgrade. Removing USB Flash Memory or Turning off the
system during the upgrade may cause system malfunctioning.
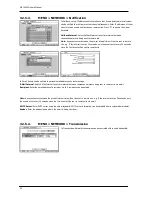
Remote Control ID
Enter Remote Control ID to control multiple DVRs individually. If Remote Control ID remains as 0, Remote ID does not have to be
selected when using remote controller. It will work as general ID for any remote controls and a remote control will communicate with
any DVRs with ID 0.
Video Type
The system automatically detects camera signal types as NTSC/PAL. But the system also offers manual selection options for different
signal types.
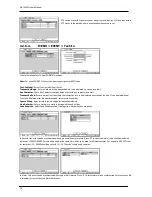
Configuration
System settings can be saved and loaded using Configuration option
Export
: Save settings to USB Flash Memory
Import
: Load saved settings from USB Flash Memory
Default
: Load factory default settings
Note
: Configuration Import does not affect or changes system and network settings.
Network settings will also not be changed when selecting Default option.


