13
OrionWelders.com
ch
.
1
ADJUST THE MICROSCOPE FOCUS
A video explanation of the microscope configuration options can be found at
http://www .
orionwelders .com/resources/orion-c-series-resources/
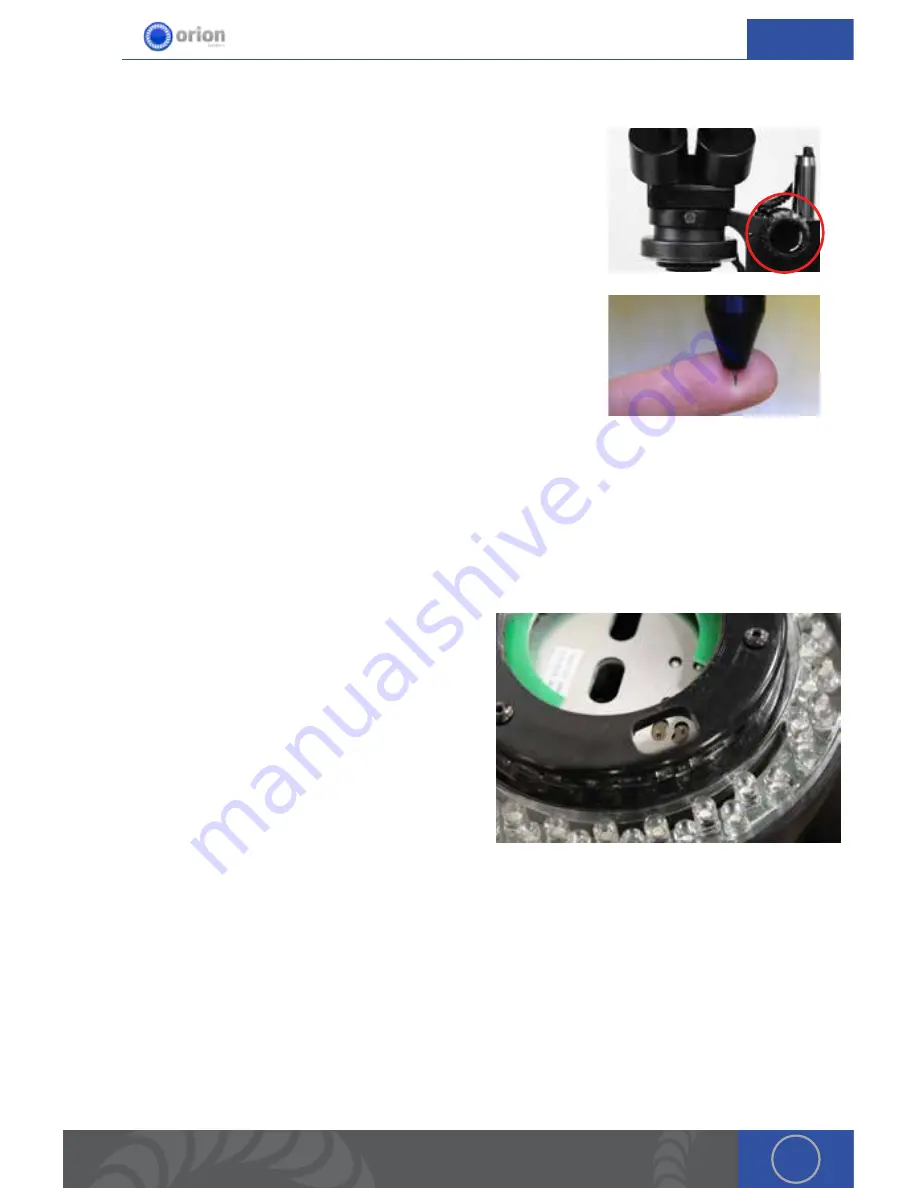
1 . Twist this knob left and right in order to focus the microscope .
When adjusting the microscope focus, place a finger under the
welding electrode to help judge the correct focus location . Focus the
microscope till the texture on the skin of the finger is clearly visible .
Microscope Shutter System Setup
The shutter allows an unobstructed working view before welding and completely protects the
user’s eyes during the welding process . The Orion’s internal computer verifies the shutter has
been closed before allowing the weld to take place . The Orion will not allow a weld to take place if
the shutter does not completely shut .
Shutter Troubleshooting:
1 . Turn off the unit and then turn it back on . This will
reset the shutter .
2 . If step 1 does not correct the issue, the shutter
switches can be moved manually . To do this,
remove the lens cap under the shutter and
manually move the shutter switches . (This
should be an easy movement . If it is not call in for
additional troubleshooting) .
Become Familiar with the Microscope
A video explanation of becoming familiar with the microscope can be found at
http://www .
orionwelders .com/resources/orion-c-series-resources/
The Orion Microscope has been designed to provide maximum visual clarity, eye protection and
ease of use . One challenge using the microscope is getting used to bringing the work piece to the
welding electrode while looking through the microscope . This is an easy challenge to overcome .
To begin, follow these steps with the welder on pause . *While the welder is on pause it will not


