9
OrionWelders.com
ch
.
1
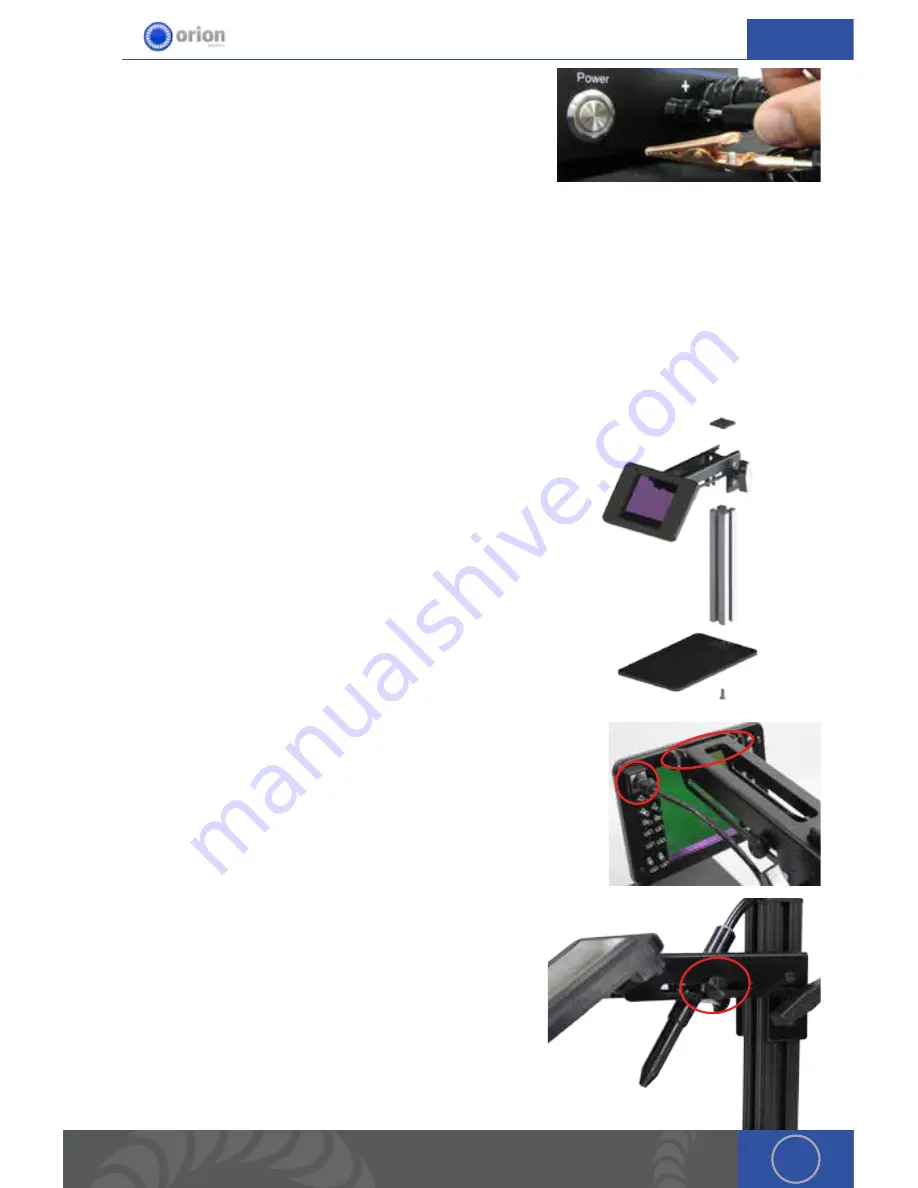
7 . Place an alligator clip into the positive port on the front
panel of the welder . *Remember to attach the alligator
clip to the work piece before welding .
Darkening Lens Setup
SET UP THE DARKENING LENS
The Orion’s darkening lens system is easy to use . The darkening lens will automatically darken
when the weld takes place . This allows the user to have a magnified view of the work piece
and protection from the flash during the welding process . A video explanation for setting up
the microscope can be found at
http://www .orionwelders .com/resources/orion-c-series-
resources/
1 . Remove Darkening Lens parts from the box and place
them on your workbench .
2 . Connect the Base Plate to the Base Plate Stand by
running the included Phillips screw through the bottom
of the Base Plate into the Base Plate Stand . (The Phillips
screw will be attached to the bottom of the Base Plate
Stand . Unscrew it then follow this step)
3 . Slide the Darkening Lens Arm onto the Base Plate
Stand . Adjust it to your desired height then tighten the
Darkening Lens Arm knob .
4 . Place the Base Plate Stand Cap on top of the Base Plate
Stand .
5 . Adjust the Darkening Lens Position by loosening/tightening
the adjuster knobs on the front of the Darkening Lens Arm .
6 . Plug the RJ45 Darkening Lens cable into the Darkening Lens
light ring and the other end of the cable into the “Foot Pedal/
Microscope” port on the back of the welder .
7 . Insert the Orion stylus into the Stylus Holder on the
Darkening Lens Arm . Adjust the position of the stylus by
loosening/tightening the adjuster knobs on either side
of the Darkening Lens Arm .
Base Plate
Stand Cap
Base Plate
Stand
Base Plate
Phillips Screw
Darkening
Lens Arm
Darkening
Lens Arm
Knob
Darkening
Lens
5.
6.


