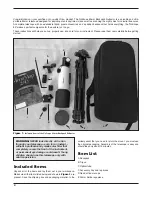
3
F 10mm Plossl eyepiece
G 45-degree correct-image diagonal
H Moon filter
I MoonMap 260
J Dust cap
Assembly
1. With all items removed from the backpack (A), find the
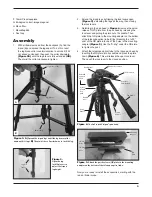
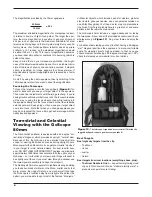
tripod (B) and spread the legs apart. To do this, twist
the leg brace collar counterclockwise to unlock it (if it’s
not already unlocked), then push the collar downward
(Figure 2A)
until the leg brace is fully extended
(2B)
.
Then twist the collar clockwise to tighten.
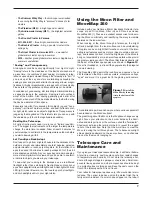
2. Extend the tripod legs by flipping the lock levers open
(Figure 3)
, extending the legs all the way, then closing
the lock levers.
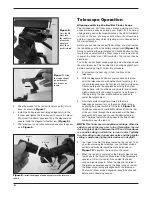
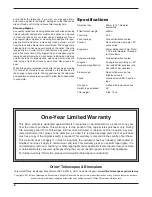
3. Referring to the pan head in
Figure 4
, remove the quick-
release (“QR”) plate from the pan head by releasing the
lock lever and pulling the plate out of its saddle. Then
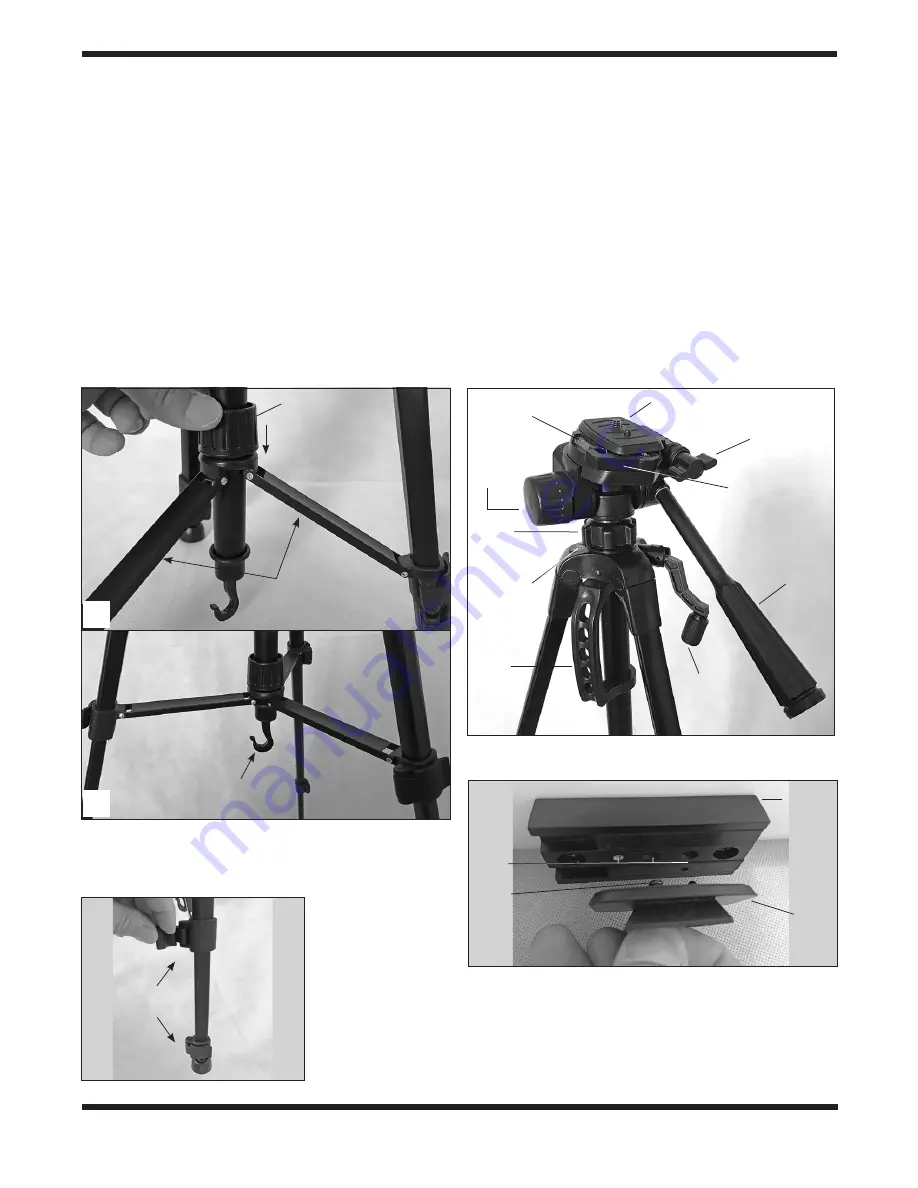
attach the QR plate to the mounting adapter on the bottom
of the telescope optical tube (C) by threading the ¼-20”
post of the QR plate into one of the holes in the mounting
adapter
(Figure 5)
. Use the “D-ring” under the QR plate
to tighten the post.
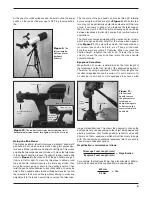
4. Attach the telescope optical tube to the tripod pan head by
inserting the QR plate into its saddle and press the plate
down
(Figure 6)
. This will release the open lock lever.
Then push the lock lever to the closed position.
Now you’re ready to install the accessories, starting with the
red dot finder scope.
Figure 2. A)
Spread the tripod legs and slide leg brace collar
down until it stops.
B)
Then twist the collar clockwise to lock the leg.
B
A
Figure 4.
The GoScope 80 tripod’s pan head.
Leg brace collar
Quick-release plate
Tilt lock knob
Lock lever
(for QR plate)
Pan handle
Crank
handle
Carry
handle
Bubble
level
Center
column
lock
knob
Azimuth
tension
knob
Bubble level
Leg braces
Ballast hook
Figure 5.
Attach the quick-release (QR) plate to the mounting
adapter on the bottom of the telescope optical tube.
Figure 3.
Open the leg
lock flip levers to
adjust the tripod
leg height.
Leg lock
levers
1/4"-20
holes
1/4"-20
post
QR
plate
Mounting
adapter


