7
aligning the Finder scope
Having a finder scope makes it very easy to locate objects in the night sky. You
may be looking for an object with your naked eye and not see a thing; the use of
a properly aligned finder scope can put that object right in the center of your tele-
scope’s eyepiece.
After mounting the finder scope, you will want to align the finder to the main tele-
scope . . . to have them both pointing at the same object. This is best done during
the daylight hours so that you know the image is the same in the finder scope and
telescope. Choose a tree, telephone pole, street sign, anything that is roughly
one-fourth to one-half mile away, the further the better. Put that image in the
center of the field of your telescope’s eyepiece. Where is it in your finder scope’s
eyepiece? Hopefully the image will be in the field of view and some simple adjust-
ments on the alignment screws of the mounting bracket will put the image dead
center in the cross hairs. By loosening one of the alignment screws, and tighten-
ing another one, you are changing the line of sight of the finder scope. Continue
making adjustments to the various alignment screws until the image in the finder
scope matches exactly the image in the telescope’s eyepiece. Check the align-
ment by moving the scope to another object and fixing the cross hairs on the exact
point you want to look at. Then look through the telescope’s eyepiece to see if the
images are the same. If they are, the job is done. If not, make the necessary
adjustments until the two images match up.
Finder scopes often come out of alignment during transportation from site to site.
Make the necessary adjustments to the alignment screws to bring the image back
into the center of the cross hairs. Check to see that the same image is in your
telescope’s eyepiece. One way to help minimize any misalignment is to keep the
finder-to-main tube bolts very tight.
5. using Your telescope
Moving the telescope
The telescope is easy to take wherever you want to do your observing. You’ll be
amazed at the difference in views from city lights to dark country skies. (The moon
and planets aren’t affected much by city lights, however.)
Don’t be afraid to load the telescope into your car for a trip to the hills. Common
sense prevails: as long as the telescope doesn’t roll or bounce around, you won’t
hurt it at all by moving it.
To carry the telescope out of the house for at-home viewing, you can easily carry
the tube and tripod and mount assembly separately. The tube can easily be
mated to the tripod and mount assembly when you get to the site from which you
wish to observe.
Field use and set-up
When selecting a location for observing, be sure to place the telescope as far
away as possible from direct artificial light, such as street lights, porch lights, and
automobile headlights. The glare from these lights will seriously impair your night
vision. The telescope should be located on a relatively level surface for proper
4. getting started
unpacking Your telescope
The SkyView comes almost completely assembled from the factory. For ease of
transportation, it is broken down into several main parts: the tube, the mount, and
the tripod. Compare the diagram of accessories to the box you have just opened
and identify all the parts. Make sure that all the items listed are present.
Please be sure to keep the original shipping container intact. Not only would it be
needed in the event of shipping the telescope to another location, or back to Orion
for warranty repair service, but it also makes a very good storage container when
the telescope is not in use.
assembling the tripod and Mount
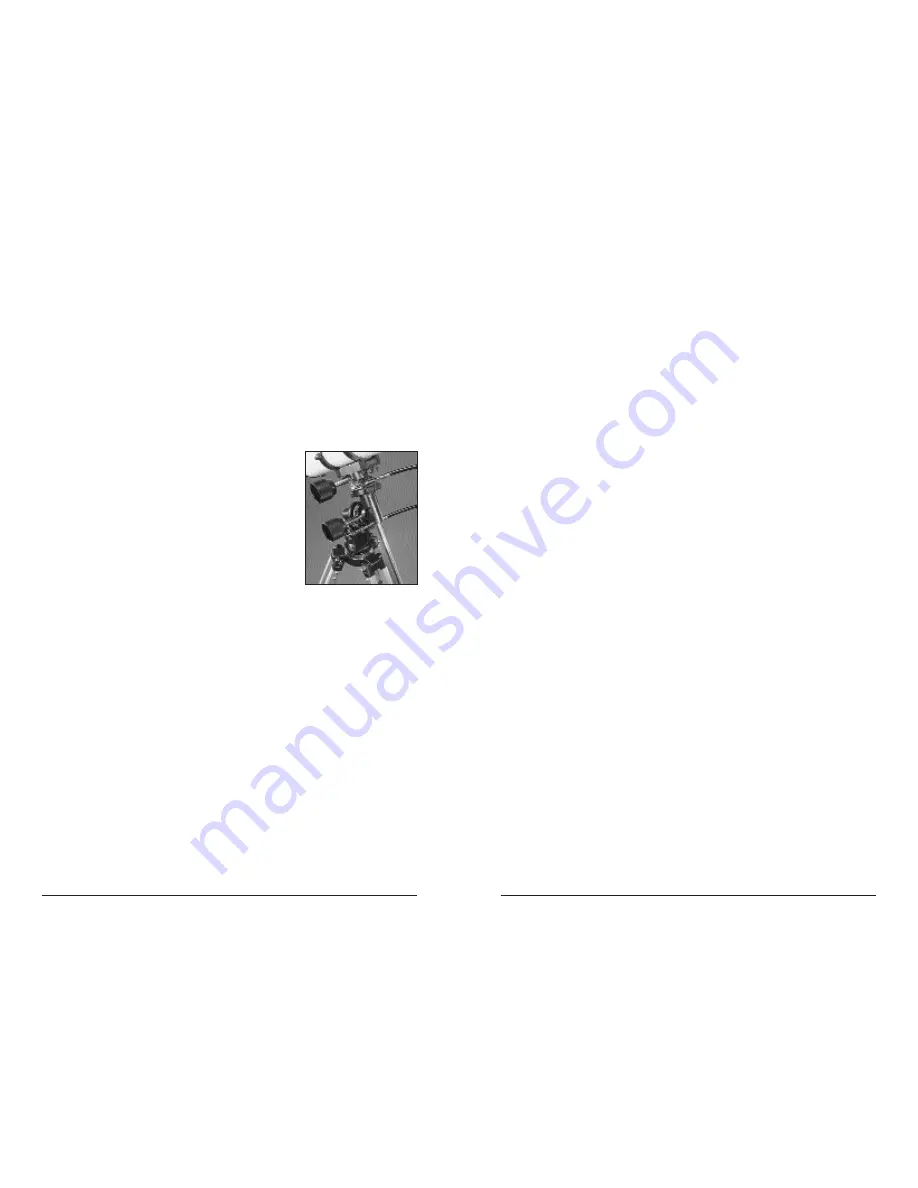
The tripod and equatorial head come pre-assembled
from the factory. Your first step will be to attach the
accessory tray to the center of the leg supports; it
attaches from the bottom with the knob that has been
included. Next, you will want to thread the counterweight
shaft into the equatorial head along the declination axis.
Slide the counterweight onto the shaft and thread in the
counterweight stop at the end of the shaft. The final step
in completing the tripod and mount assembly is to attach
the two slow-motion control cables. They attach to either
side (whichever is most comfortable for you) of the
shafts extending from the worm gears on the RA and DEC axes.
optical tube Preparation
The optical tube is pretty much complete. The optics have been installed and col-
limated at the factory, so there is no need to do any adjustments to them.
However, you will need to install the finder scope.
Locate the finder scope from the items in the shipping container. It has already
been installed to the ring system (bracket) that will allow for further adjustments,
but for the moment we are concerned with attaching it to the optical tube assem-
bly. There are two threaded studs protruding from the tube which correspond with
two holes in the base of the bracket. Fit the bracket over these two threaded studs.
Then, using the knurled fasteners, secure the bracket to the main tube.
optical tube into the cradle rings
Attaching the optical tube to the tripod and mount assembly is done with tube
clamps. These clamps are bolted to the equatorial mount at the head of the dec-
lination axis with the included knobs. By unthreading the knobs on the ringed
portion of the cradle, the clamps will swing open and the optical tube will secure-
ly fit inside. Thread the knobs so that the tube does not slide while in the cradle
rings, but not so tight that the optical tube is dented.
The telescope is now a complete unit, ready for first light. However, there is one
additional step that should be done prior to taking your SkyView out for the first
time: aligning the finder scope.
6


