3
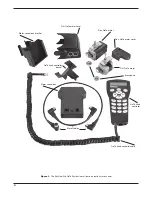
1. Parts list
Qty.
Description
1
Declination (Dec.) GoTo motor assembly
1
Right ascension (R.A.) GoTo motor assembly
2
Brass gears w/ 2mm socket-head set screws
1
Motor control box
1
Motor control box bracket
1
GoTo hand controller
1
GoTo hand controller cable (coiled, 30")
1
GoTo hand controller bracket
1
Motor Cable (13"): motor control box-to-R.A. motor
1
Motor Cable (27"): R.A. motor-to-Dec. motor
1
Hand controller-to-PC cable (5')
1
12V DC power cable
1
Declination (Dec.) motor cover
1
Right ascension (R.A.) motor cover
1
Right ascension (R.A.) motor attachment screw
(40mm length)
1
Declination (Dec.) motor attachment screw
(17mm length)
1
Phillips screw (10mm length)
2
Phillips screws (8mm length)
2
flat washers, 10mm outer diameter
1
lock washer, 9mm outer diameter
1
4mm hex key
1
2mm hex key
1
Phillips screwdriver
2. installation
attaching the r.a. Goto Motor
Remove the telescope tube, counterweight, and counter-
weight shaft from the SkyView Pro mount before attaching
the motor drives.
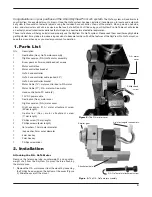
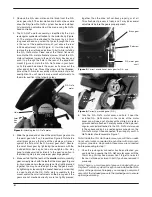
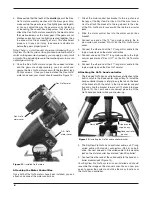
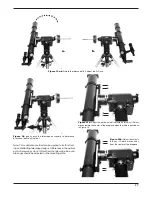
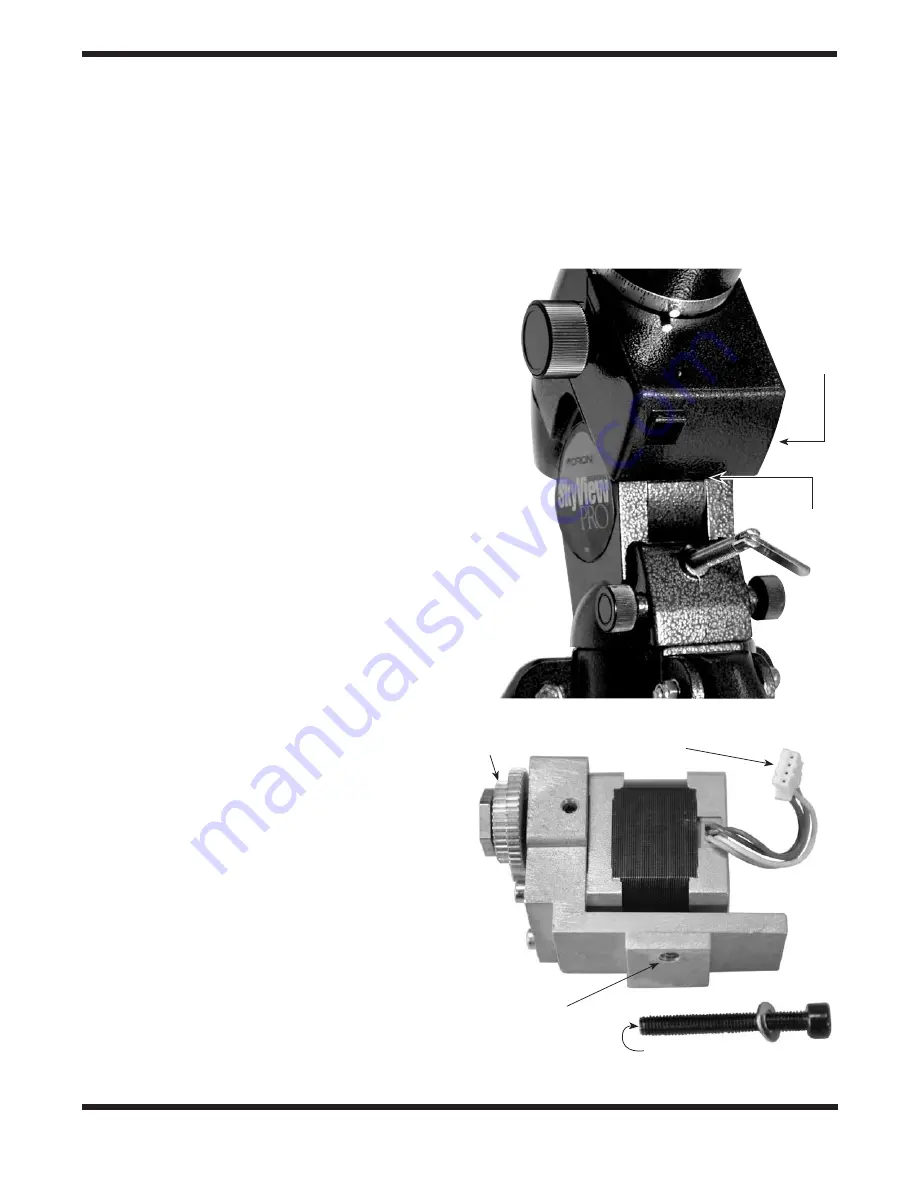
1. Remove the R.A. motor cover from the mount by loosening
the Phillips head screw on the bottom of the cover (Figure
2). Slide the cover off the mount.
Congratulations on your purchase of the Orion SkyView Pro GoTo system.
The GoTo system will add brains to
your SkyView Pro equatorial mount’s brawn. Once the GoTo system has been installed, it enables you to locate and automati-
cally slew to thousands of celestial objects using the included hand controller. Views of the planets, Moon, galaxies, nebulae,
stars, and star clusters will all be as close as the touch of a button. You’ll find using your SkyView Pro GoTo mount will provide
an entirely new astronomical experience that will open up new realms of celestial exploration.
These instructions will help you install and properly use the SkyView Pro GoTo system. Please read them over thoroughly before
getting started. It may take a few observing sessions to become familiar with all the features of the SkyView Pro GoTo mount, so
keep this manual handy as you master your mount’s operation.
Figure 2.
The R.A. motor cover
Phillips-head
screw
R.A. motor
cover
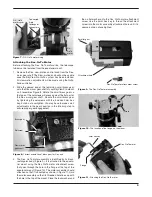
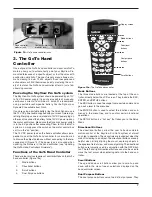
Figure 3.
The R.A. GoTo motor assembly
4-pin rectangular connectors
R.A. GoTo motor attachment screw
Attachment hole
Smaller gear


