background image


EN 

Operating and installation manual 

DESCRIPTION AND USE


This  smart  handle  has  a  built-in  code  lock  and  fingerprint  reader.  It  is  suitable  for  installation  in  left-  and  right-hand  doors,  where  a  standard  handle  is  usually 
mounted. 

It unlocks the door either by user’s PIN code, by scanning the fingerprint entered previously or by a free smartphone app using Bluetooth connection. The 

mounting screws included to the set enable installation in doors 38-56mm thick. Thanks to its simple design, the handle is very elegant and goes well with different 
door types. The handle is available in two versions: black or nickel-plated.


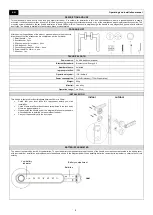
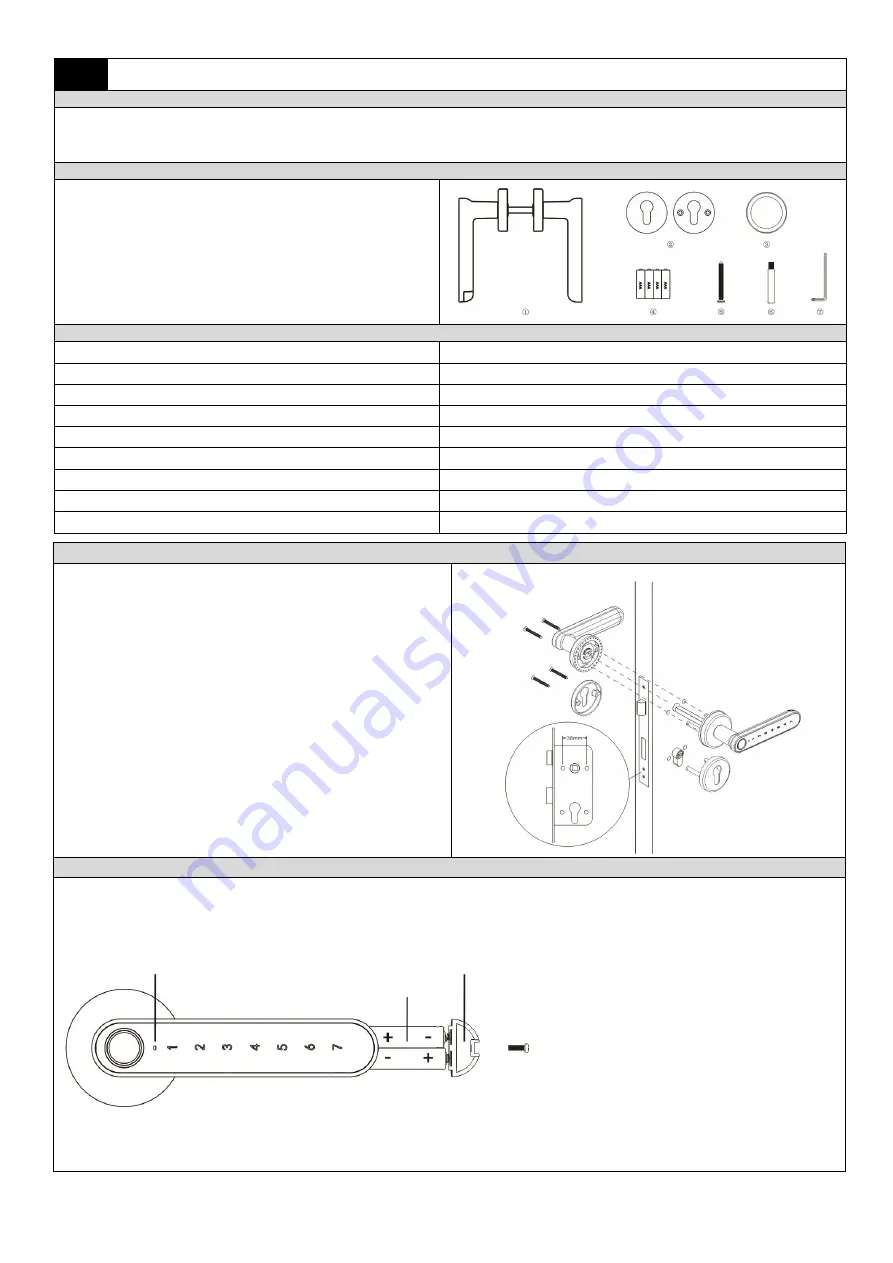
PACKAGE LIST


After opening the packaging of the product, please make sure the product is 
intact and confirm the accessories are complete as per the list below: 

1. Smart handle  

– 1 pc. 

2. Escutcheons 

– 2 pcs. 

3. Silicone washer for lock plate 

– 2 pcs. 

4. AAA batteries 

– 4 pcs. 

5. Connection screws M4 x 45mm 

– 4 pcs. 

6. Screw tube M5 x 38mm 

– 4 pcs.


7. Allen key 

– 1 pc.


TECHNICAL DATA


Power source:


4x AAA batteries (included)


Bluetooth standard:


Bluetooth Low Energy 4.0 

Number of users: 

unlimited 

Ingress protection:


IP20


Operational system:   

iOS / Android  

Power consumption: 

0.45mW (standby) / 770mW (operation) 

Weight:


680g


Material: 

zinc alloy 

Operation range: 

ca. 50cm 


INSTALLATION 


This handle is designed for door thickness between 38mm to 56mm


Check  that  your  door  fulfils  this  requirement  before  you  start 

installation. 


Check if there are 38mm back-to-back screw holes in the lock body, 

otherwise please replace it.  


Please install the handle  as per the  diagram. Make  sure the  handle 

with code button is installed on the outside of the door.  


Carry out the assembly with the door open. 


 indoor


outdoor


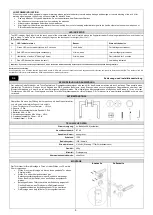
BATTERIE PARAMETER 

The product is powered by four AAA type batteries. To open the battery compartment located at the end of the handle, unscrew the screw located in the battery cover 
with a screwdriver. Installation and replacement of batteries is shown in the diagram below. When installing batteries, remember to remember to observe the correct 
polarity. 


Low battery 

indicator 

Batteries 

Battery compartment 

Summary of Contents for OR-ZS-853/B

Page 1: ...o reserves the right to make changes to the Manual the latest version of the Manual can be downloaded from support orno pl Any translation interpretation rights and copyright in relation to this Manua...

Page 2: ...hstoffe wie Kupfer Zinn Glas Eisen und andere wieder verwerten k nnen Das Zeichen einer durchgestrichenen M lltonne auf dem Ger t der Verpackung oder in den Dokumenten die dem Ger t beigelegt sind wei...

Page 3: ...aterii zachowaj ich w a ciw polaryzacj Podczas wymiany stosuj zawsze ca kowicie nowe baterie Po wymianie baterii w klamce administrator musi otworzy drzwi aby odblokowa system W przeciwnym razie aplik...

Page 4: ...4 pcs 7 Allen key 1 pc TECHNICAL DATA Power source 4x AAA batteries included Bluetooth standard Bluetooth Low Energy 4 0 Number of users unlimited Ingress protection IP20 Operational system iOS Androi...

Page 5: ...ess www support orno pl DE Bedienungs und Installationsanleitung BESCHREIBUNG UND ANWENDUNG Der moderne Code T rdr cker mit Touch Tastatur und Fingerabdruckleser eignet sich sowohl f r den Einsatz an...

Page 6: ...ber den Touchscreen nach rechts von 1 bis 7 Mal Die LED Anzeige hat die folgenden Farbbezeichnungen Lp Status der LED Anzeige Summer Ger testatus 1 Gr ne LED Diode am Leseger t leuchtet f r 2 Sekunden...

Page 7: ...d E Mail Adresse klicken Geben Sie im n chsten Fenster Ihre E Mail Adresse Ihren Vor und Nachnamen ein Sie erhalten eine E Mail mit einem Link den Sie anklicken m ssen um Ihr Konto zu aktivieren 3 Log...

Page 8: ...owanie zamk w Lock pairing Kopplung der Schl sser PL Po wskazaniu wybranego zamka system zapyta czy go po czy z twoim telefonem W przypadku nieudanego parowania system ponownie poprosi o przesuni cie...

Page 9: ...ta b utworzenie kodu dost pu dla u ytkownik w nale y wpisa go na klawiaturze klamki c generowanie automatyczne jednodniowych kod w dost pu d dodawanie odcisku palca EN Once you enter the Add Access Ri...

Page 10: ...mo na stworzy w panelu Kod dost pu Do dyspozycji jest siedem p l z cyframi Has o u ytkownika musi sk ada si z co najmniej 4 cyfr EN In order to create a passcode enter the Passcode tab You can use the...

Page 11: ...gen diese Option ist nur f r die letzten 180 Tage verf gbar w hlen Sie im Admin Bereich des gew hlten Ger ts die Funktion Eingabeprotokoll 14 Usuwanie sparowanych urz dze Unpair the connected device G...

Reviews: