8
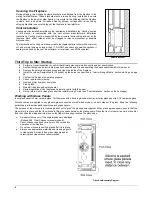
Securing the Fireplace
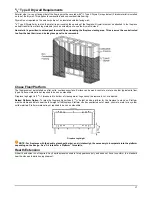
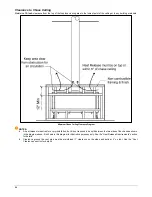
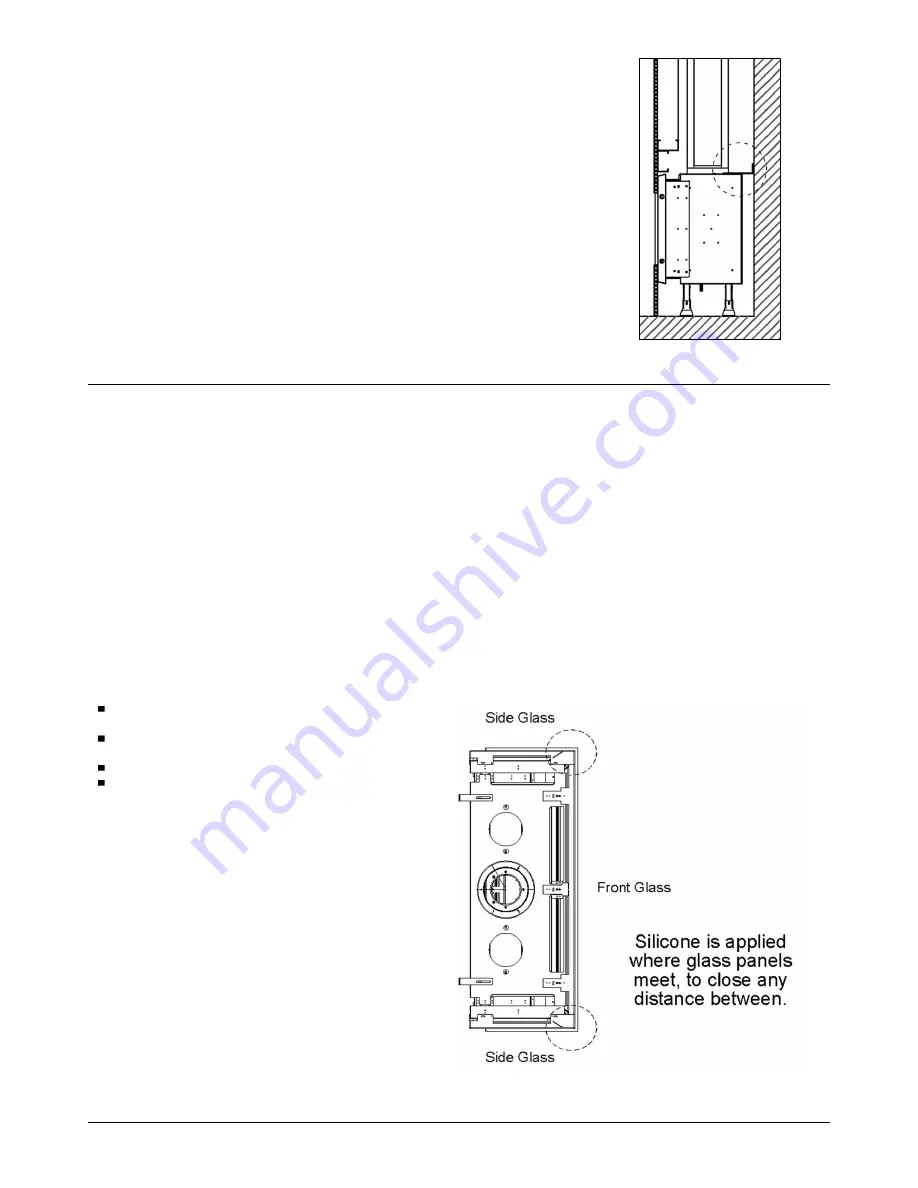
During shipping, two L-shaped seismic brackets are attached from the fireplace to the
crating for stabilization. These brackets must be re-used during installation to secure
the fireplace to the back (or side) framing. It is crucial to the finishing that the fireplace
is stable, level, and plumb. For added stability (though not required), re-use the leg
shipping brackets to secure the legs of the fireplace to floor/platform.
Vent Installation
Venting must be installed according to the requirements detailed in the “Venting” section
of this manual in conjunction with the vent system manufacturer’s installation
instructions. Venting must be supported by the structural surrounding and not by the
fireplace. Each offset (elbow) must be strapped to reduce movement or possible
disconnection.
The first section of venting must be secured to the fireplace starter collar with a minimum
of 3 sheet metal screws no longer than ½”. DO NOT use silicone to seal the sections. If
sealing is required by the vent manufacturer or local code, use Mil-Pac sealant.
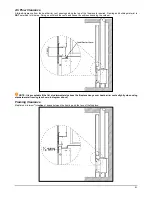
Seismic Bracket
Third Trip to Site: Startup
Perform a visual inspection to confirm that all work was completed correctly and per specification.
Confirm that gas and electric are properly connected and live and operating the specs specified within this manual.
Remove the safety barrier and glass and clean the inside of the fireplace.
Install the Interior Design Media (if desired) on the burner as specified in “Interior Design Media” section starting on page
58.
Confirm the fireplace is operating properly.
Check remote-control setup.
Remove protective layer from glass.
Clean
glass.
Reinstall the glass and safety barrier.
Review operation of the fireplace and remote control with the owner.
Set up return visit to clean glass after the Initial Burning Period (see “Post-Installation” section on the next page).
Working with Glass Panels
Inner glass panel is 5mm ceramic glass. For fireplaces with a double glass heat barrier, exterior glass panel is 3/16” tempered glass.
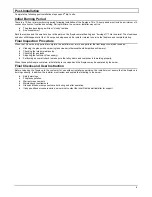
Silicone comes pre-applied to any glass-to-glass connections (multi-sided models), on both sides of the glass. Keep the following
guidelines in mind when handling silicone and glass panels:
The purpose of the silicone is to create a gasket, not to “glue” the glass panels together. When placing glass panels, ensure that the
glass is fully in place and that the silicone is filling the space between the glass panels. Place the front (or center) panel in place first
and then slide the side panel into place so that the silicone edge touches the glass edge.
Re-apply silicone only if the original silicone is damaged
(Rutland 500
˚
Clear Silicone is recommended).
If new silicone is applied, cure time is 24 hours before
operation of the fireplace.
Do not use silicone to seal the glass after it is in place.
Always use appropriate materials and cleaning agents
to clean glass. Ammonia free glass cleaners and/or
ceramic glass cleaners are recommended.
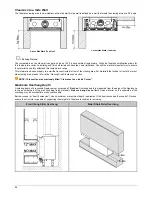
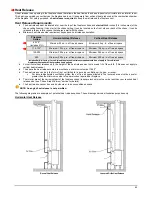
Glass Seal Assembly Diagram


