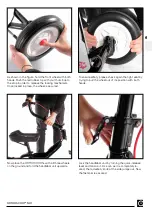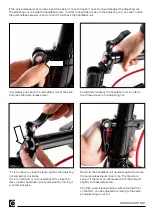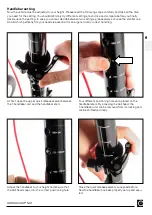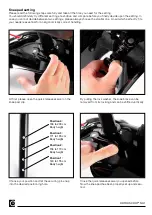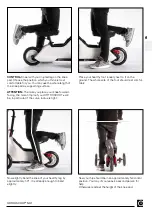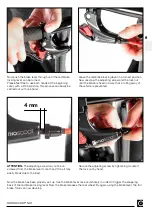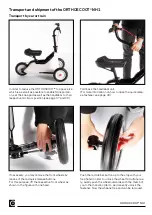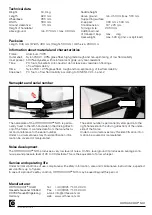
Now push the brake lever through until the red brake
locking lever can be turned.
Please feel free to use both hands at the beginning.
Later, with a little practice, this process can easily be
carried out with one hand.
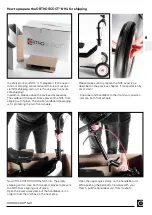
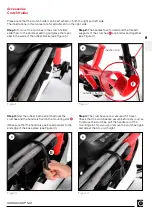
Leave the red brake locking lever in a turned position.
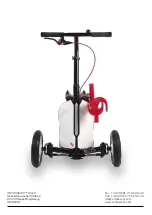
Now unscrew the adjusting screw and the lock nut
until the brake is fixed in a way that a rolling away of
the vehicle is prevented.
ATTENTION:
The adjusting screw may not be un-
screwed from the brake lever more than 2/3 as it may
easily break due to the load.
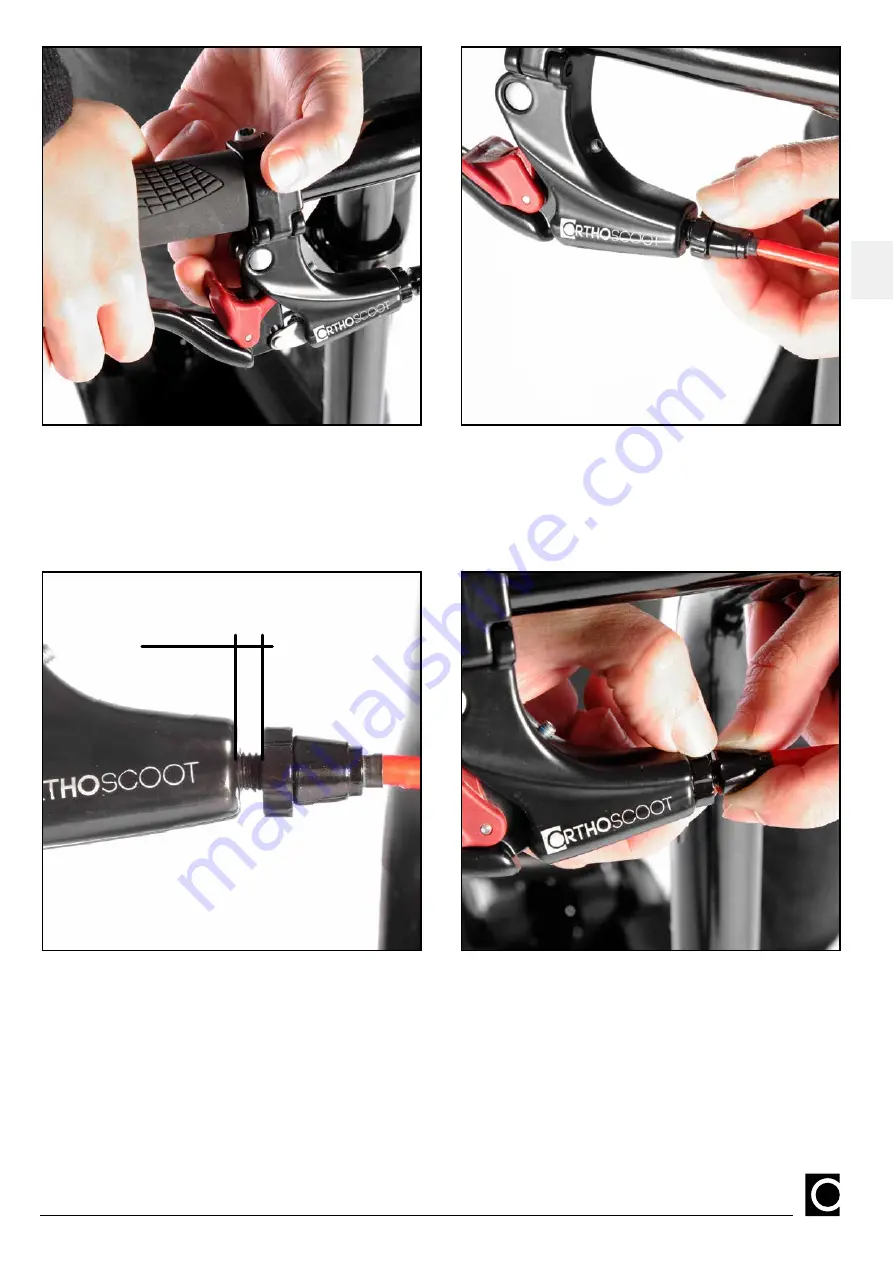
Secure the adjusting screw by tightening (counter)
the lock nut by hand.
Now the brake has been properly set up. Use the brake lever once and sharply in order to trigger the snapping
back of the red brake locking lever. Now the brake releases the rear wheel. By again using the brake lever, the full
brake force can now develop.
4 mm
ORTHOSCOOT
®
NH1
EN
41
Summary of Contents for NH1
Page 3: ...ORTHOSCOOT NH1 DE 01 ...
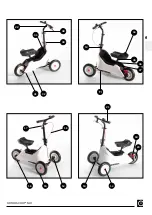
Page 9: ...22 03 08 09 02 01 10 04 05 06 07 17 18 16 15 12 13 14 21 19 20 ORTHOSCOOT NH1 DE 07 ...
Page 29: ...ORTHOSCOOT NH1 EN 27 ...
Page 35: ...22 03 08 09 02 01 10 04 05 06 07 17 18 16 15 12 13 14 21 19 20 ORTHOSCOOT NH1 EN 33 ...
Page 54: ...ORTHOSCOOT NH1 52 ...
Page 56: ......


