61
60
79
80
7.7 Lighting
7.7.1 Headlight
Filament bulb:
24V/3W E10
Tool: Phillips screwdriver
☞
Note:
Use a dry cloth to hold the glass body
of the new filament bulb.
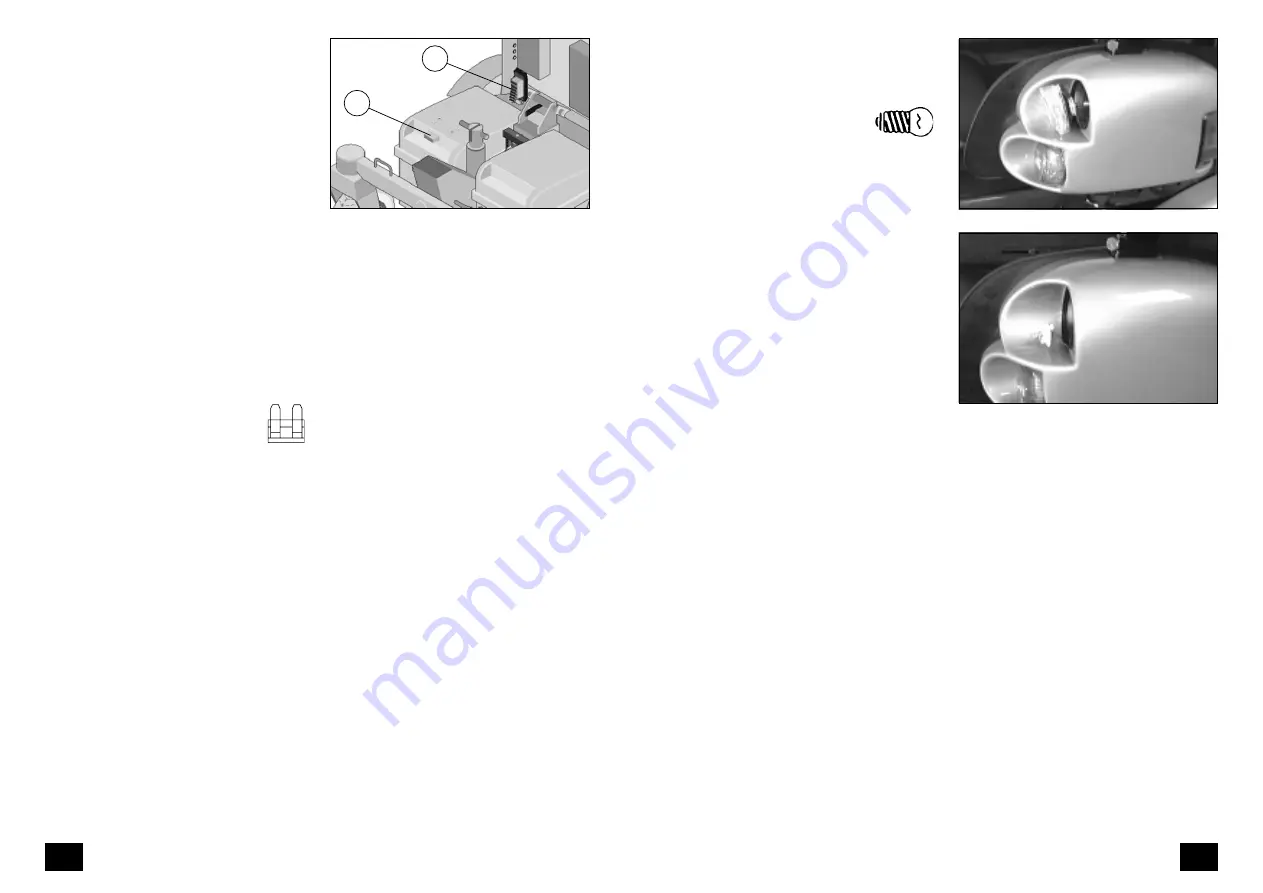
7.7.1.1 Removal:
– Switch off the control unit.
– Pull out the security plug and the
main fuse.
– Undo the securing screw and remove
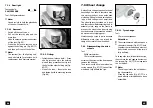
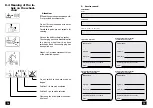
the lens (Fig. 79).
– Pull the bulb holder (with bulb) out
of the lens (Fig. 80).
– Screw the defective bulb out of the
bulb holder.
☞
Note:
The armrest (incl. the lighting unit)
can be detached for a filament bulb
replacement (see
Armrest
section).
7.7.1.2 Fitting:
– Screw the new filament bulb into the
bulb holder (Fig. 80). - The earth wire
lies over the thread of the bulb hold-
er.
– Insert the bulb holder (with bulb) into
the lens (Fig. 80).
– Mount the lens. - First insert the top
pins, then press the lens downwards
and screw into place.
7.6.3 Other connections
The pulse device - with other connec-
tors - is located under the seat. Work in
this area may only be carried out by an
authorised service engineer.
7.6 Fuses/connections
7.6.1 Replacing fuses
Before replacing fuses, park the wheel-
chair on a level surface and move the
selection lever to the drive mode posi-
tion to prevent the wheelchair from
moving. Switch off the control unit and
then pull the security plug out of the
control unit.
Always replace fuses with one of the
same type! New fuses can be obtained
at petrol stations.
If the safety fuse blows again, take the
battery to your specialist dealer for re-
pair.
7.6.2 Fuses
• 70 A drive-electronics fuse
(Fig. 78/
➀
)
• Fuse holder for 4 fuses,
with control unit BG16/18
in the seat module (Fig. 78/
➁
)
–
2 x 4 A for Lighting,
– 1 x 15 A for the control system and
lighting,
– 1 x 7,5 A for the electrical add-on
devices
(seat tilt, legrests, backrest)
78
1
2


