

19
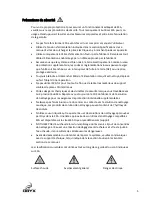
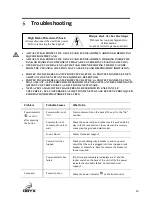
Troubleshooting
•
ALWAYS WEAR PROTECTIVE GLOVES AND EYEWEAR WHEN ADDING OR REMOVING
LIQUID FROM THE TANK
.
•
ALWAYS WEAR PROTECTIVE GLOVES AND EYEWEAR WHEN WORKING INSIDE THE
TANK OR HANDLING COMPONENTS THAT ARE COVERED IN CLEANING SOLUTION.
•
NEVER PLACE YOUR FACE NEAR THE TANK WHEN REMOVING THE LID, VAPORS
FROM THE CLEANING SOLUTION MAY CAUSE EYE AND RESPIRATORY IRRITATION.
•
PORTEZ TOUJOURS DES GANTS PROTECTEURS ET DE LA PROTECTION DES YEUX EN
AJOUTANT OU EN ENLEVANT DU LIQUIDE DU RÉSERVOIR.
•
PORTEZ TOUJOURS DES GANTS PROTECTEURS ET DE LA PROTECTION DES YEUX EN
TRAVAILLANT À L'INTÉRIEUR DU RÉSERVOIR OU EN MANIPULANT DES COMPOSANTS
QUI SONT COUVERTS DANS LA SOLUTION DE NETTOYAGE.
•
NE PLACEZ JAMAIS VOTRE VISAGE PRÈS DU RÉSERVOIR EN ENLEVANT LE
COUVERCLE ; LES VAPEURS DE LA SOLUTION DE NETTOYAGE PEUVENT PROVOQUER
L'IRRITATION RESPIRATOIRE ET DES YEUX.
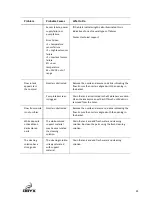
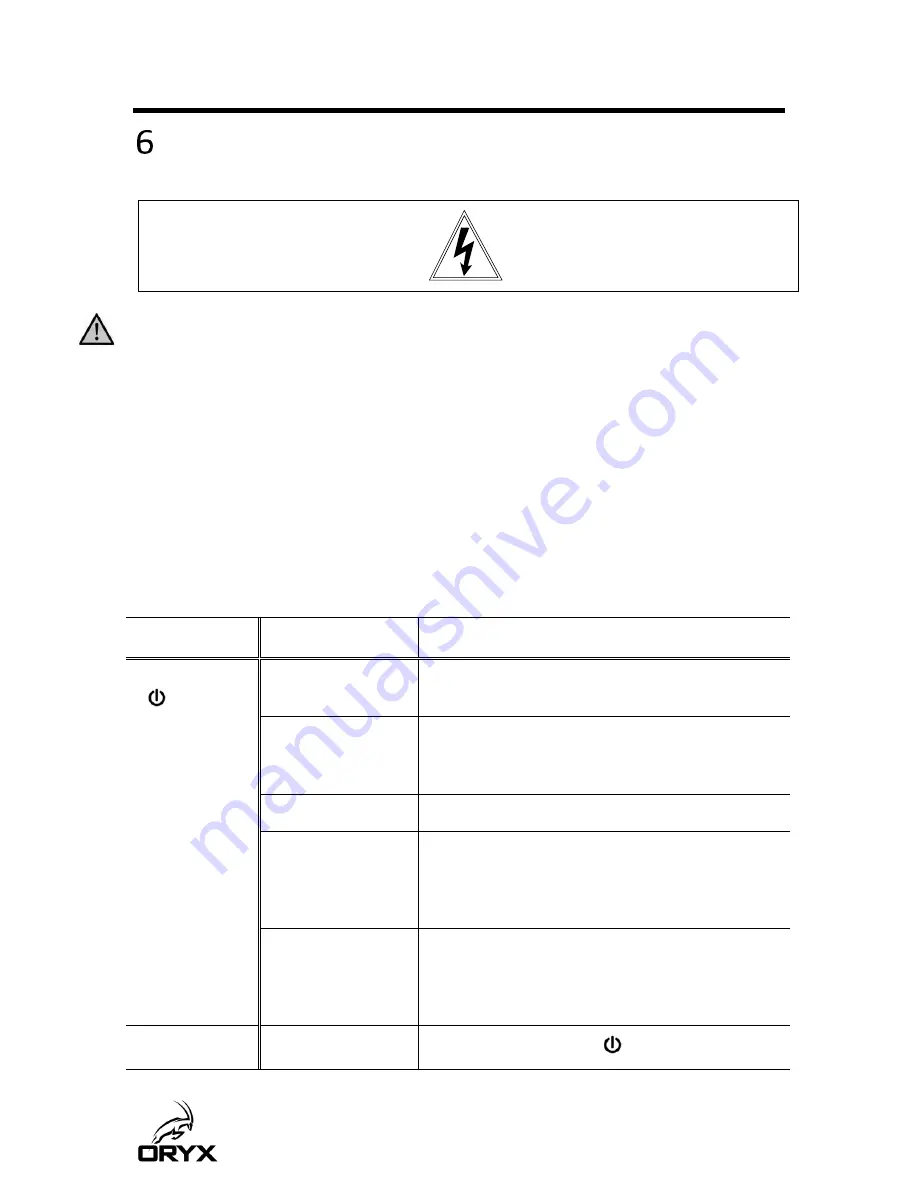
Problem
Probable Causes
What to Do
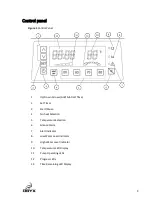
Power Indicator
is not Lit
after pressing
the button
Power switch is not
“On”
Press rocker switch on the back
of the unit to the “On”
position.
Power cord is not
connected to unit or
wall
Check the power cord and make sure it is pushed all the
way in to the receptacle on the system and is securely
connected to a grounded wall socket.
Fuse is blown
Contact technical support.
Power circuit has
tripped
Check your building circuit breakers, and any power
circuit that the unit is plugged into for a tripped circuit
breaker or blown fuse. Reset or replace the breaker or
fuse as required.
Power indicator has
failed
If the time and temperature displays are lit, and the
rocker switch on the back of the unit is ON, the power
indicator has probably failed. Contact technical
support.
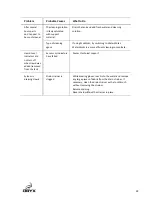
Pump and
Power is not on
Check the power indicator
on the front control
High Risk of Electrical Shock
Always disconnect the unit from power
Before removing the back panel!
Risque élevé de choc électrique
Débranchez toujours l'appareil de
l'alimentation
Avant de retirer le panneau arrière!
Summary of Contents for sca3600
Page 1: ......


