

20
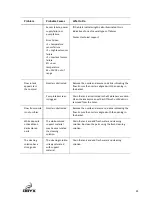
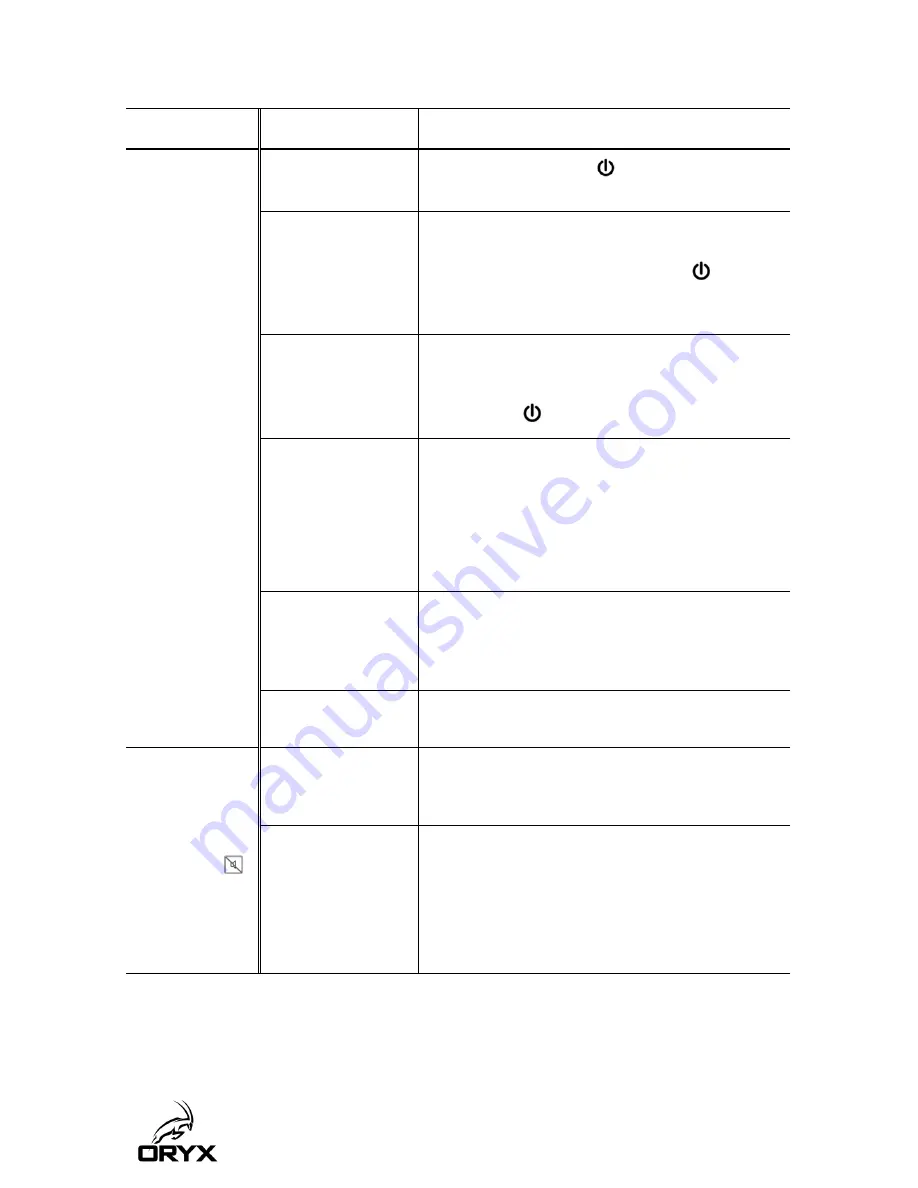
Problem
Probable Causes
What to Do
heater will not
start
panel. If it is off press the
button. If still unlit, then
proceed to the “Power Indicator is not Lit” Problem.
Timer has not been
set and started
The system will only run when the timer is counting
down. Check the timer display on the control panel.
•
If it is not counting down, press the
button.
•
If the time being displayed is 00:00, then add time
and start the system.
Liquid level is too
high or too low
Check the indicator lights on the right side of the display
control panel. If either level indicator is on, add or
remove water from the tank until the indicator turns
off. Press the
button to restart.
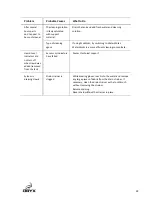
Liquid temperature
is too high
Error Code:
EO = over
temperature
Check the indicator lights on the right side of the display
control panel. If the Alert light is on, open the lids and
lift the part basket from the tank.
Let the liquid cool and try starting the cycle again.
If it overheats a second time, contact technical support
Over-temperature
sensor has tripped
A resettable over-temperature sensor located on the
back wall of the tank turns off the unit if the
temperature of the bath exceeds 95
⁰
C. For instructions
on resetting this sensor, contact technical support.
Pump or Heater has
failed
Contact technical support.
Buzzer is going
off
Silence the
buzzer by
pressing the
button
Liquid level is too
high or too low
Check the indicator lights on the right side of the
control panel. If either level indicator is on, add or
remove water from the tank until the indicators go off.
Liquid temperature
is too high
Error Code:
EO = over
temperature
Check the indicator lights on the right side of the
control panel. If the Alert indicator is on, open the lids
and lift the parts basket from the tank.
Let the liquid cool and try starting the cycle again.
If it overheats a second time, contact technical support.
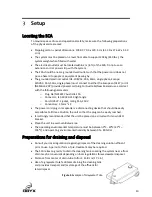
Summary of Contents for sca3600
Page 1: ......


