SECTION 3 - CHASSIS & TURNTABLE
3121827
– JLG Lift –
3-27
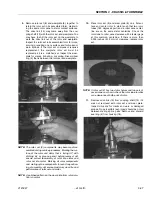
9.
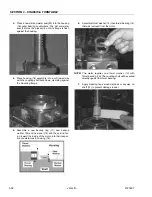
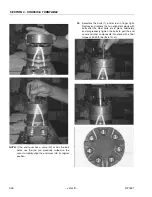
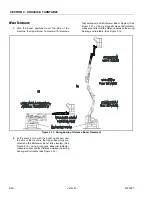
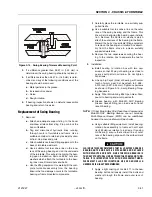
Remove rotor set (8) and wearplate (9), together to
retain the rotor set in its assembled form, maintain-
ing the same rotor vane to stator contact surfaces.
The drive link (10) may come away from the cou-
pling shaft (12) with the rotor set, and wearplate. You
may have to shift the rotor set on the wearplate to
work the drive link out of the rotor and wearplate.
Inspect the rotor set in its assembled form for nicks,
scoring, or spalling on any surface and for broken or
worn splines. If the rotor set component requires
replacement, the complete rotor set must be
replaced as it is a matched set. Inspect the wear-
plate for cracks, brinelling, or scoring. Discard seal
ring (4) that is between the rotor set and wearplate.
NOTE:
The rotor set (8) components may become disas-
sembled during service procedures. Marking the sur-
face of the rotor and stator that is facing UP, with
etching ink or grease pencil before removal will
ensure correct reassembly of rotor into stator and
rotor set into motor. Marking all rotor components
and mating spline components for exact reposition-
ing at assembly will ensure maximum wear life and
performance of rotor set and motor.
NOTE:
A polished pattern on the wear plate from rotor rota-
tion is normal.
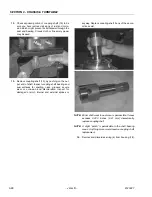
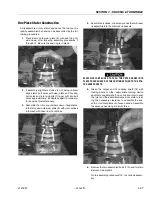
10.
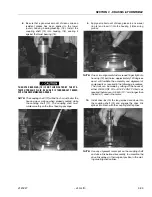
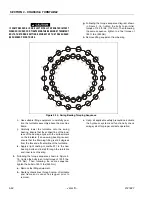
Place rotor set (8) and wear plate (9) on a flat sur-
face and center rotor in stator such that two rotor
lobes (180 degrees apart) and a roller vane center-
line are on the same stator centerline. Check the
rotor lobe to roller vane clearance with a feeler gage
at this common centerline. If there is more than
0.005 inches (0.13 mm) of clearance, replace rotor
set.
NOTE:
If rotor set (8) has two stator halves and two sets of
seven vanes as shown, check the rotor lobe to roller
vane clearance at both ends of rotor.
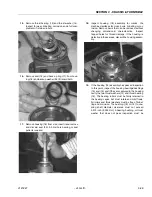
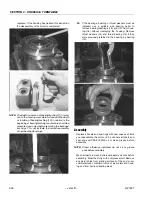
11.
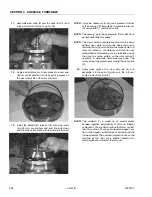
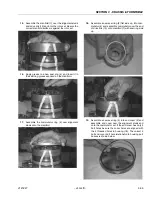
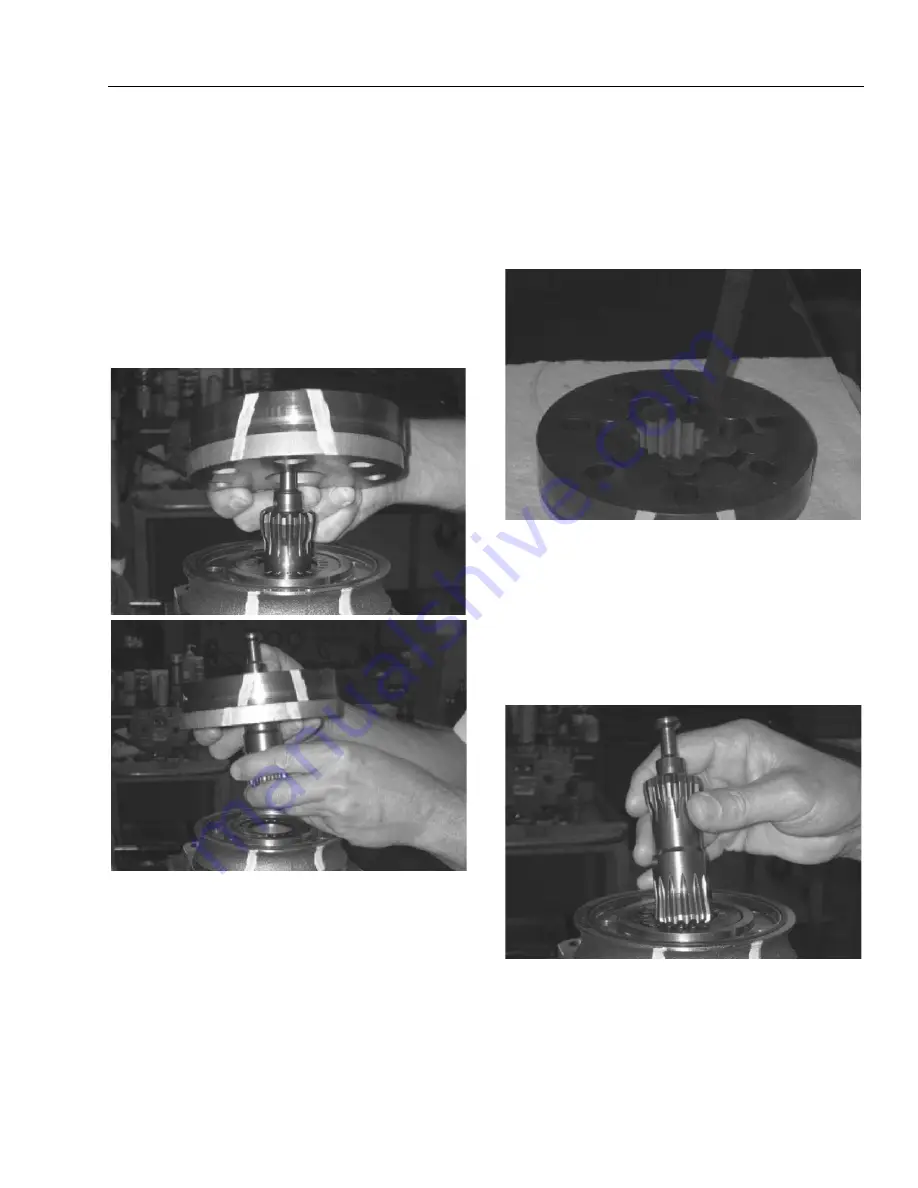
Remove drive link (10) from coupling shaft (12) if it
was not removed with rotor set and wear plate.
Inspect drive link for cracks and worn or damaged
splines. No perceptible lash (play) should be noted
between mating spline parts. Remove and discard
seal ring (4) from housing (18).
Summary of Contents for JLG E400AJP
Page 2: ......
Page 32: ...SECTION 1 SPECIFICATIONS 1 18 JLG Lift 3121827 NOTES...
Page 42: ...SECTION 2 GENERAL 2 10 JLG Lift 3121827 NOTES...
Page 54: ...SECTION 3 CHASSIS TURNTABLE 3 12 JLG Lift 3121827 Figure 3 3 Speed Sensor Orientation...
Page 60: ...SECTION 3 CHASSIS TURNTABLE 3 18 JLG Lift 3121827 Figure 3 7 Steering Components and Spindles...
Page 62: ...SECTION 3 CHASSIS TURNTABLE 3 20 JLG Lift 3121827 Figure 3 9 Tilt Sensor Location...
Page 86: ...SECTION 3 CHASSIS TURNTABLE 3 44 JLG Lift 3121827 Figure 3 16 Swing Components...
Page 88: ...SECTION 3 CHASSIS TURNTABLE 3 46 JLG Lift 3121827 Figure 3 18 Battery Cable Connections...
Page 90: ...SECTION 3 CHASSIS TURNTABLE 3 48 JLG Lift 3121827 Figure 3 20 On Board Generator...
Page 97: ...SECTION 3 CHASSIS TURNTABLE 3121827 JLG Lift 3 55 Figure 3 22 Generator Components...
Page 116: ...SECTION 3 CHASSIS TURNTABLE 3 74 JLG Lift 3121827 NOTES...
Page 127: ...SECTION 4 BOOM PLATFORM 3121827 JLG Lift 4 11 Figure 4 10 Boom Limit Switches...
Page 140: ...SECTION 4 BOOM PLATFORM 4 24 JLG Lift 3121827 Figure 4 13 Rotator Counterbalance Valve...
Page 178: ...SECTION 5 HYDRAULICS 5 24 JLG Lift 3121827 Figure 5 26 HydraForce Cartridge Torque Value Chart...
Page 214: ...SECTION 6 JLG CONTROL SYSTEM 6 34 JLG Lift 3121827 NOTES...
Page 257: ......


