63
Step 2:
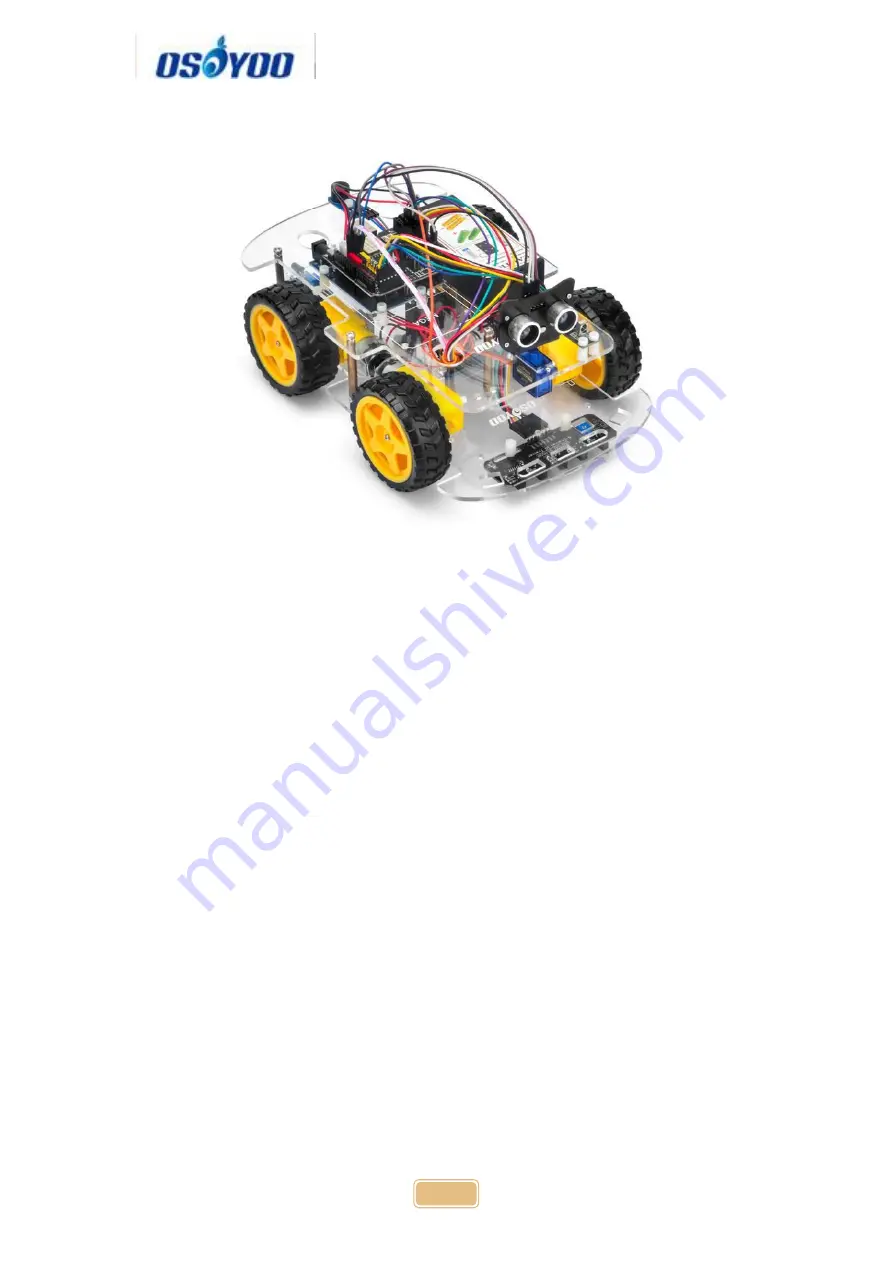
Connect E_TX (Esp8266 TX) pin to Arduino D5(UNO soft serial RX)
and E_RX(ESP8266_RX) pin to D4(UNO software serial TX) as per following
picture
(
Note:
Our OSOYOO Uart WiFi shield V1.3 are connected BLE URAT TX/RX
ports to D4,D5 with jumper caps by default. If you find the BLE URAT TX/RX
ports are connected, you need remove these jumper caps and change to
connect ESP URAT E-TX to D4 and E-RX to D5)
Summary of Contents for V2.1
Page 28: ...27 ...
Page 39: ...38 Step 4 Fix the screws on copper pillars to connect upper chassis to lower chassis ...
Page 41: ...40 Step 4 Choose corresponding board port for your project upload the sketch to the board ...
Page 58: ...57 Step 4 Choose corresponding board port for your project upload the sketch to the board ...
Page 60: ...59 as per link Ultrasonic sensor servo initial direction alignment ...
Page 73: ...72 Note F1 F6 are further development functions in the future ...
Page 81: ...80 ...
Page 86: ...85 ...


