One Stop Systems
ExpressBox 3T- eGPU | 37
7 AMD Radeon™ Software Installation on a Windows® Based System
This section provides instructions on how to install Radeon™ Software on a Windows® based system. The content of this article is organized
into the following sections:
o
System Requirements
o
Downloading Radeon Software
o
Installing Radeon Software
System Requirements
For information about the system requirements please refer to the Radeon Software release notes posted on the driver download
page. System requirements may vary depending on the version of Windows® operating system installed.
Downloading Radeon Software
Radeon Software is available at
. The site provides two options to locate and download the latest version of
the Radeon Software:
1.
Automatically Detect and Install Your Driver
: Run the AMD Driver Autodetect Tool to detect your Radeon™ graphics product and
Windows® operating system. If your graphics card and Windows® version are compatible with Radeon Software, the tool will
provide the option to download it.
2.
Manually Select Your Driver
: Use drop-down menus to select a version of the Radeon Software that is compatible with your
Radeon™ graphics product and operating system.
Installing Radeon Software
Ensure that any existing AMD graphics driver on the system is removed before installing a new driver package. Performing this step first
prevents potential file conflicts, which may corrupt the installation of new drivers.
For instructions on how to uninstall AMD graphics drivers please refer to KB article:
How to Uninstall Radeon Software from a Windows Based
Note:
Close all opened applications including anti-virus, firewall, remote-access, or webcam software before attempting the install process.
Once the Radeon Software package has been downloaded, run the executable file to begin the installation
.
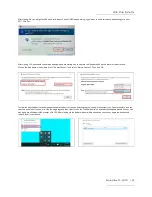
The End User License Agreement will be presented at the start. Click on
Accept and Install
to move on to the next stage of installation or click
on
X
to stop the installation and exit back to the Desktop.
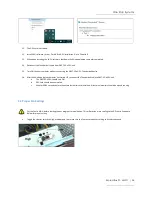
After clicking on
Accept and Install
the installer should automatically detect your AMD graphics product.
After successful detection, the options for
Express
Install
or
Custom
Install
will be made available
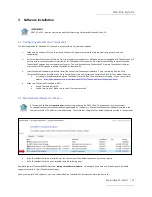
Express Install
will install all core components in the default folder location, C:\Program Files\AMD\.
Custom Install
provides the option to select individual components and the folder for installation, as shown in the screenshot below.
Note:
It is recommended to use the default destination folder for installation.
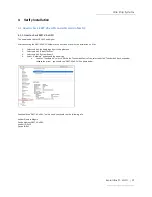
If another version of Radeon Software is installed and detected during setup, a
Clean Install
option will be available on the
Custom Install
screen, as shown in the screenshot below.


