OPERATION SETTINGS
44
OI-6000-X-X-X-X-O OPS_GUIDE_REV 3.1
6.
Attach the tubing on the Calibration Adapter Kit to the regulator on the calibration gas bottle.
7.
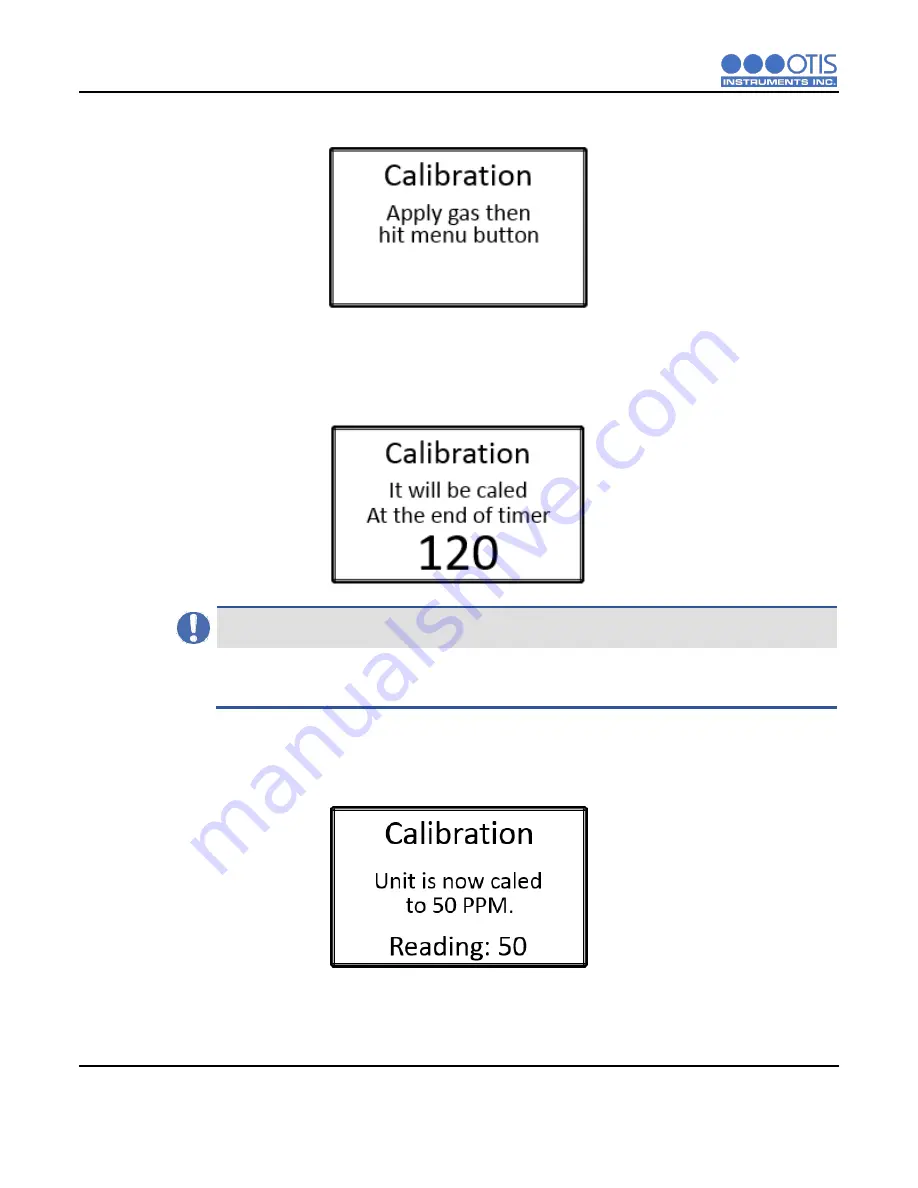
Ensure that the gas is flowing and press the MENU button to begin calibrating the sensor, the unit
will automatically begin the calibration process, the amount of time on the timer will vary based on
the gas type. During calibration, the display will show a countdown of the time remaining until the
process is complete.
NOTICE
Once the calibration countdown has started, the process cannot be stopped without disconnecting the
power from the unit.
8.
When calibration is complete, detach the Calibration Adapter Kit from the sensor housing and reaffix
the sensor housing cap. Press the MENU button to advance to the Low Alarm Setting screen.
Summary of Contents for GEN II OI-6000
Page 1: ......
Page 2: ......
Page 4: ......
Page 28: ...INSTALLATION AND STARTUP 22 OI 6000 X X X X O OPS_GUIDE_REV 3 1...


