OPERATION SETTINGS
39
OI-6000K-X-X-X-NXP-X OPS_GUIDE_REV 1.0
4.2.2
CALIBRATING THE SENSOR (MANUAL CAL)
You should
ONLY
perform the calibration of the sensor after the null process has been completed.
For best results, use 50% of the sensor scale of your target gas in an air balance with a flow rate
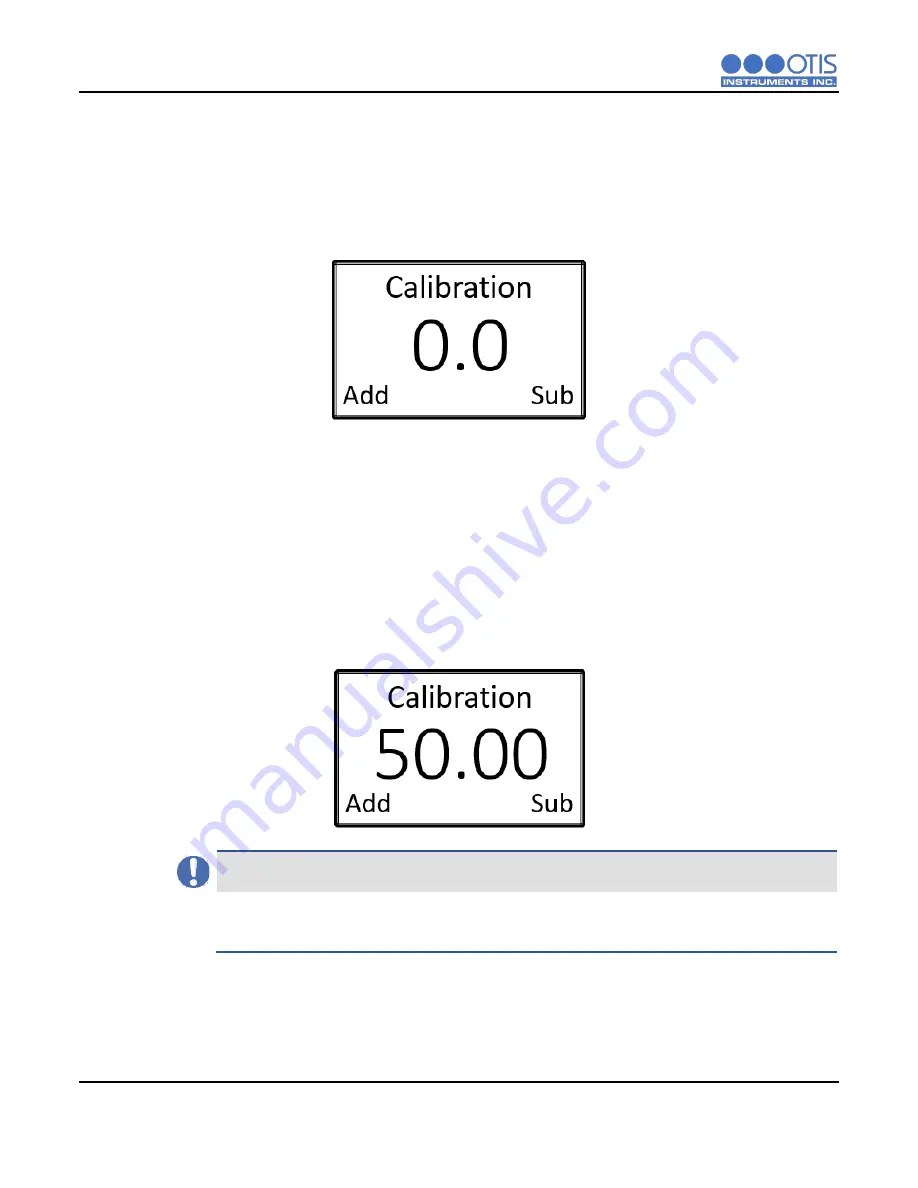
of 0.25 to 0.5 LPM. The screen below will appear upon entering calibration mode. If Auto Cal was
chosen during the
Product Settings and Configuration
section please skip to section 4.2.3.
1.
Unscrew and remove the sensor housing cap from the assembly.
2.
Affix a Calibration Adapter Kit (sold separately) to the sensor housing of the device.
3.
Affix a regulator to the calibration gas bottle.
4.
Attach the tubing on the Calibration Adapter Kit to the regulator on the calibration gas bottle.
5.
Ensure that the gas is flowing and watch the reading increase. When the reading stabilizes,
approximately 1 minute, use the
ADD
and
SUB
buttons to adjust the reading on the screen to
match the applied calibration gas concentration.
NOTICE
If the sensor responds extremely slow, or does not respond to the applied gas, it may indicate
a failed sensor element. The sensor element will need to be replaced before completing the
null and calibration process.
6.
When calibration is complete, detach the Calibration Adapter Kit from the sensor housing and
reaffix the sensor housing cap. Press the
MENU
button to advance to the Low Alarm Setting
screen.
Summary of Contents for OI-6000K NXP Series
Page 1: ......
Page 2: ......
Page 67: ...APPENDICES OI 6000K X X X NXP X OPS_GUIDE_REV 1 0 62 Notes ...


