6 Settings
6.1 Prerequisites
WARNING
Incorrect settings
Tipping over, falling or malposition of the user due to incorrect settings
►
Adjustment and installation work may only be completed by instructed, qualified personnel.
►
Only the settings described in these instructions for use may be carried out.
►
Settings may only be changed within the allowable adjustment ranges; otherwise, the stability of the product
may be impaired (see this section and the "Technical data" section). If you have questions, contact the manu
facturer's service (see back cover for addresses).
►
Only conduct tests in the presence of an assistant.
►
Unless expressly described, you may not change any settings with a person sitting in the product.
►
Secure the user against falling out during all tests.
►
Before testing setting changes with the user seated, firmly tighten all screw connections.
►
Check for safe function before delivering the product.
CAUTION
Unsecured screw connections
Pinching, crushing, tipping over, falling of user due to assembly errors
►
Always firmly re-tighten the mounting screws and nuts after changing settings. Observe the specified torques
in doing so.
►
Any time you loosen a screw connection with thread lock, replace it with a new screw connection with thread
lock or secure the old screw connection with medium strength thread locker (e.g. Loctite 241).
►
Always replace self-locking screws and nuts with new self-locking screws and nuts after disassembly.
Adjustments to match the concrete physical and mental condition of the user should always be made in the user's
presence.
All parts of the product should be cleaned thoroughly before adjustments are made.
The tools required for adjustments and maintenance tasks as well as the torque values for screw connections are
listed in the section "Appendices" (see Page 29).
6.2 Adjusting the drive wheels
WARNING
Incorrectly adjusted wheelbase
Tipping over, falling of the user due to unstable settings
►
Please note that with the drive wheel in a more forward mounting position and with an unfavourable body pos
ition, the user may tip backwards even on level ground.
►
Use an anti-tipper for inexperienced users and with extreme settings of the drive wheel.
►
Be sure to position the drive wheels towards the rear for transfemoral amputees. This improves the stability of
the wheelchair.
WARNING
Lack of fine adjustment of the drive wheels
Tipping over, falling of the user due to incorrect adjustment
►
Check the standard adjustments of the wheelchair for stability against tipping and function of the drive
wheels. Avoid any extreme settings.
INFORMATION
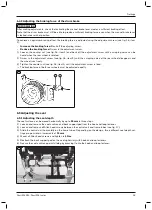
Changing the drive wheel position can also change the angle between the caster wheel journal and the ground.
However, this must always be
approx. 90°
and thus readjusted accordingly. The knee lever wheel lock also has
to be readjusted.
6.2.1 Setting the drive wheels horizontally
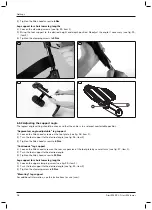
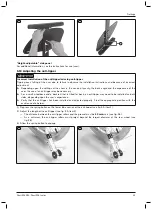
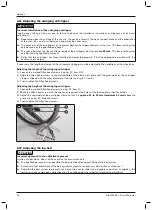
The horizontal position of the drive wheels can be changed.
9
Start M4 XXL, Start M6 Junior
Settings


