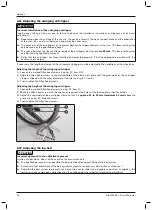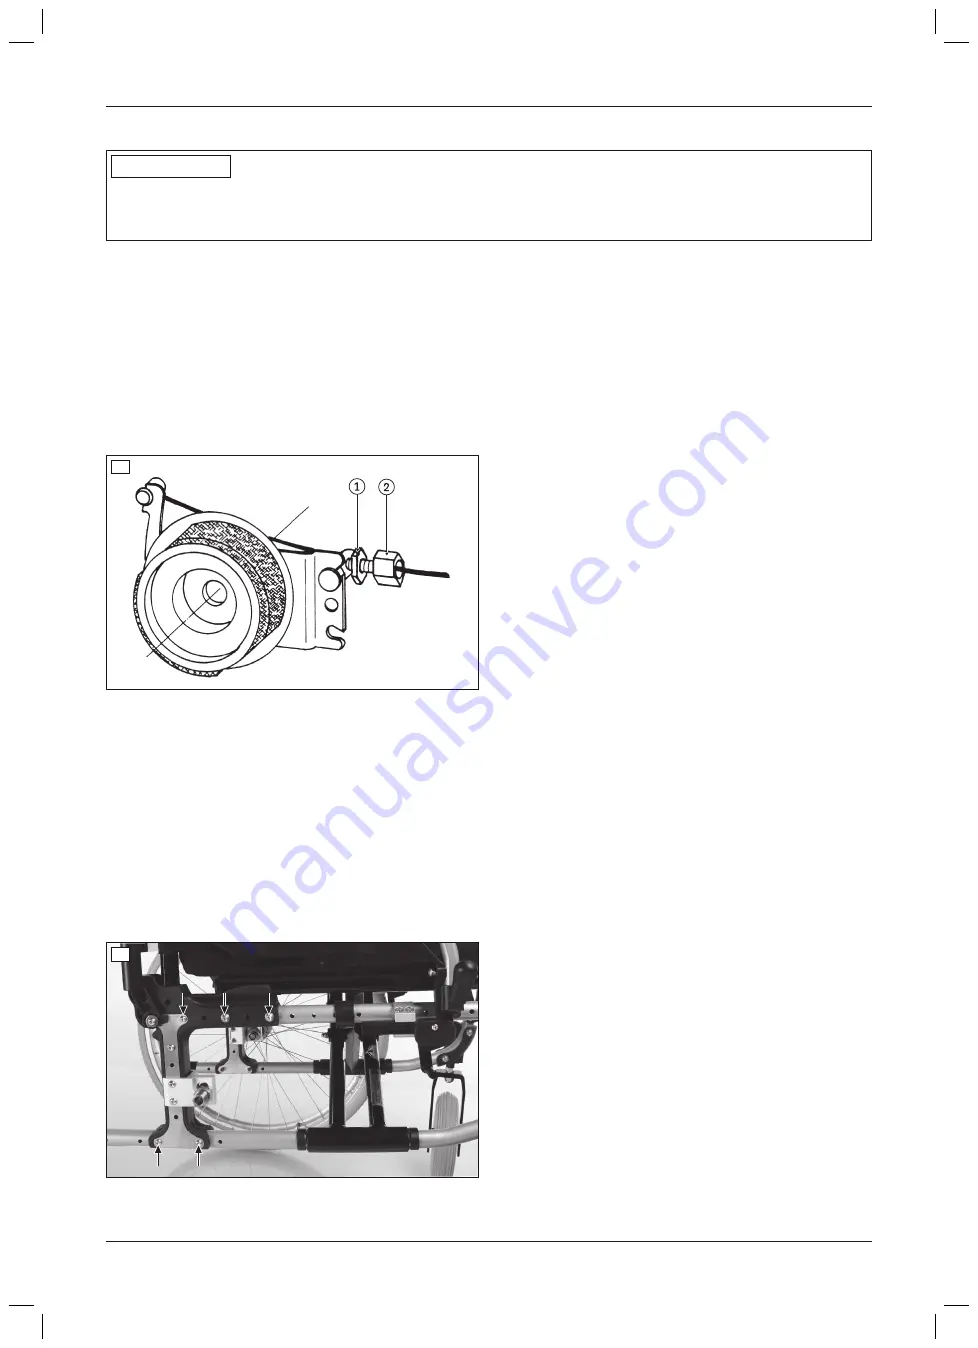
6.4.2 Adjusting the braking force of the drum brake
INFORMATION
After making adjustments, check that activating the manual brake lever creates a sufficient braking effect.
Note that the drum brake must still be able to produce sufficient braking force even when the manual brake lever
is locked into a ratchet position.
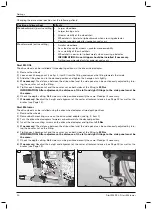
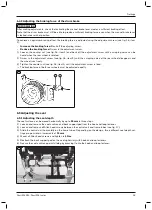
To achieve an optimum braking effect, the braking force is adjusted using the adjustment screw (see fig. 16, item
2).
•
Increase the braking force:
Back off the adjusting screw.
•
Reduce the braking force:
Screw in the adjustment screw.
1) Loosen the counter nut (see fig. 16, item 1) and back off the adjustment screw until a scraping noise can be
heard when the rear wheel is rotated.
2) Screw in the adjustment screw (see fig. 16, item 2) until the scraping noise at the rear wheel disappears and
the wheel runs freely.
3) Tighten the counter nut (see fig. 16, item 1) until the adjustment screw is fixed.
→
The braking force of both rear wheels must be adjusted equally.
16
6.5 Adjusting the seat
6.5.1 Adjusting the seat depth
The seat surface can be moved horizontally by up to
90 mm
in three steps.
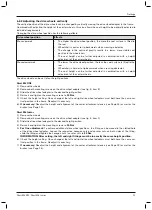
1) Loosen and remove the seat cushion and back support pad from the hook-and-loop fastener.
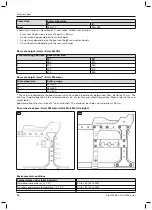
2) Loosen and remove all Allen head screws between the central unit and frame tubes (see fig. 17).
3) Slide the central unit horizontally on the frame tubes. Depending on the design, three different seat depth set
tings are possible in increments of
30 mm
.
4) Mount all Allen head screws and tighten to
8 Nm
.
5) Reattach the back support pad on the seat upholstery with hook-and-loop fasteners.
6) Secure the seat cushion against sliding by pressing it onto the hook-and-loop fastener.
17
15
Start M4 XXL, Start M6 Junior
Settings


