29
30
6.9 Adjusting the side panels
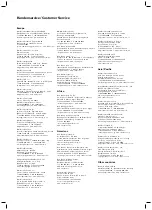
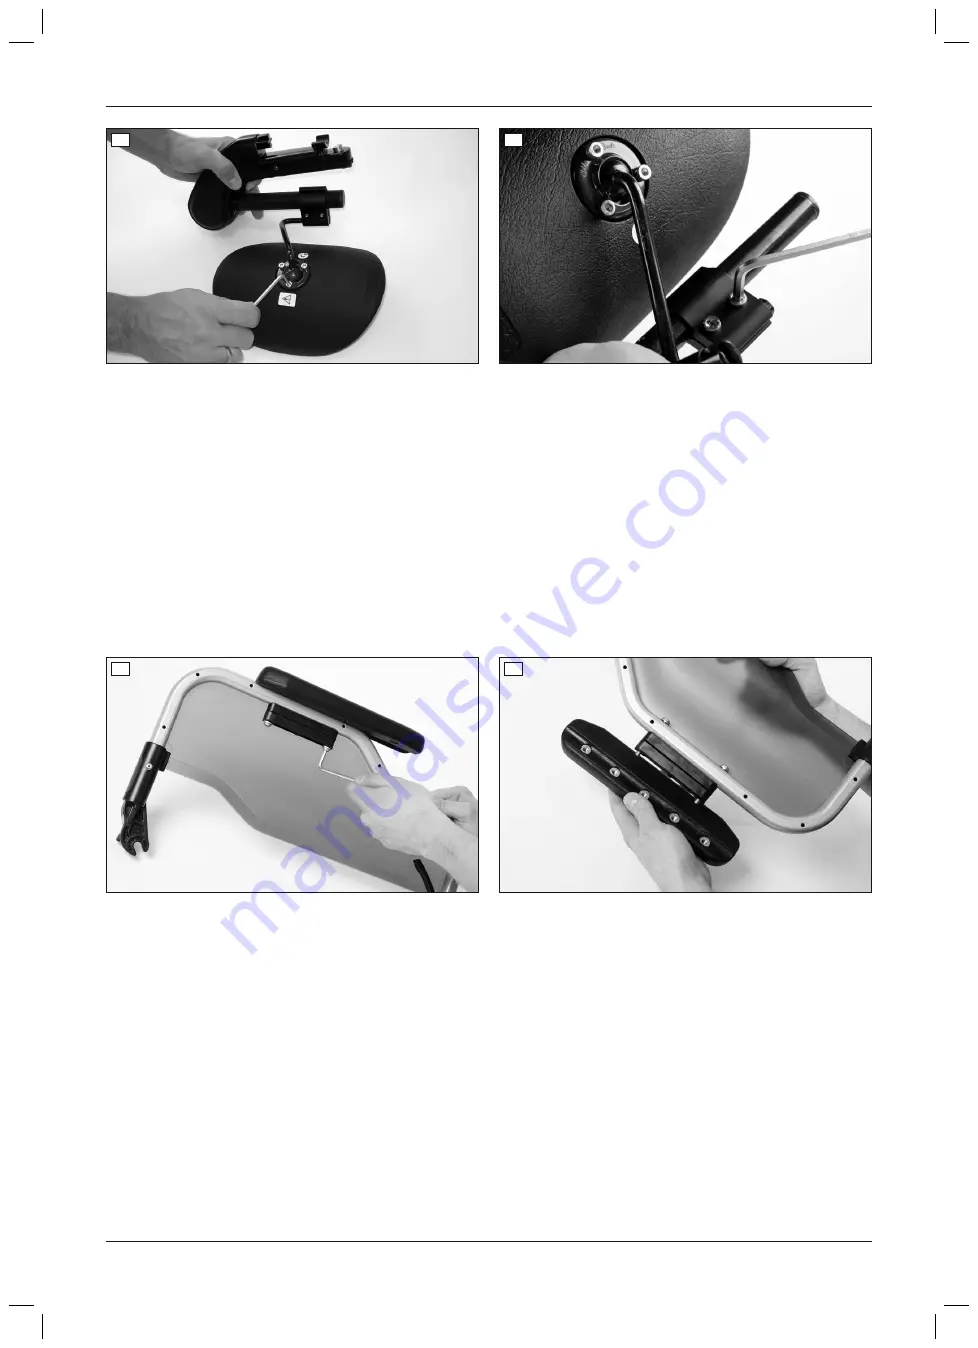
“Standard” side panel, “stepped” desk side panel
The forearm support can be adjusted in height by moving the spacers.
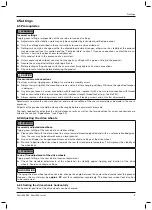
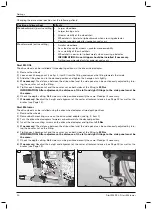
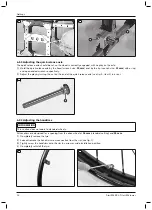
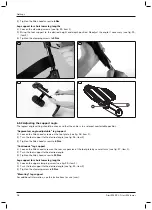
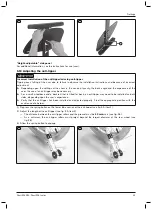
1) Remove both Allen head screws (see fig. 31).
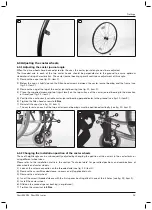
2) Remove the forearm support and place the spacers as required (see fig. 32):
→
Both spacers are located below the side panel tube (see fig. 31).
→
Both spacers are located above the side panel tube (see fig. 32).
→
A spacer is located above the side panel tube. A spacer is located below the side panel tube (not illus
trated).
3) Place the forearm support on the side panel tube.
INFORMATION: In this step the depth of the forearm support can also be adjusted.
4) Insert and firmly tighten both Allen head screws (see fig. 31).
31
32
“Plug-on” side panel
1)
Adjusting the height of the forearm support:
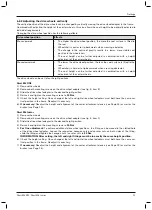
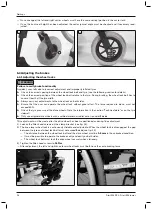
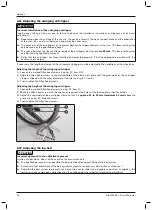
Use a ballpoint pen or screwdriver to push in the counter-sunk
locking button and slide the side panel to the desired position (see fig. 33).
CAUTION! The locking button is intentionally counter-sunk to prevent accidental operation. Always
use an object to press the locking button, never your fingers.
2)
Adjusting the depth of the forearm support:
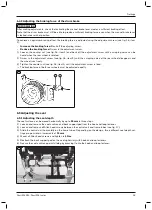
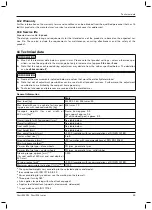
Loosen the mounting screws under the forearm support, move
the forearm support and firmly re-tighten the mounting screws (see fig. 34, item 1).
20
Settings
Start M4 XXL, Start M6 Junior

