12
www.outdoorrooms.com
HGI-31 : 1-23-2018
WARNING
WARNING: Failure to install the parts in accordance with these directions or failure to use only parts
specifically approved with this appliance may result in property damage or personal injury.
6
Installation
•
If any parts need to be removed, they should be removed in a manner that allows the unit to be
returned to its original condition in the event this insert is removed. A label is provided to position
in the interior firebox stating the fireplace has been altered and cannot be used for wood burning
unless it is returned to the original condition.
•
The damper and grate, if present, must be removed form the wood burning fireplace. Other
parts as needed must also be removed, these can include: glass doors, smoke shelf, ash ledge,
refractory liner, screen. Nothing must be removed that weakens the structural strength or
integrity of the existing wood burning fireplace. A gas appliance must
NOT
be connected to a
chimney flue servicing a separate solid-fuel burning appliance.
•
If the lower hearth of the unit is removed, the HGI-31 must be set on noncombustible material and
should be positioned so that appliance is not installed where carpet or other material will discolor
or ignite from radiant heat. See Page 7 for clearances.
•
After removal of obstructions in the existing factory-built fireplace, you can now begin installation
of the HGI-31.
•
Ensure accessibility of components for service when unit is installed.
•
Installation and repair should be done by a qualified service person. The appliance should be
inspected before use and at least annually by a professional service person. More frequent
cleaning may be required due to excessive lint from carpeting, bedding material, etc. It is
imperative that control compartments, burners, and circulating air passageways of the appliance
be kept clean.
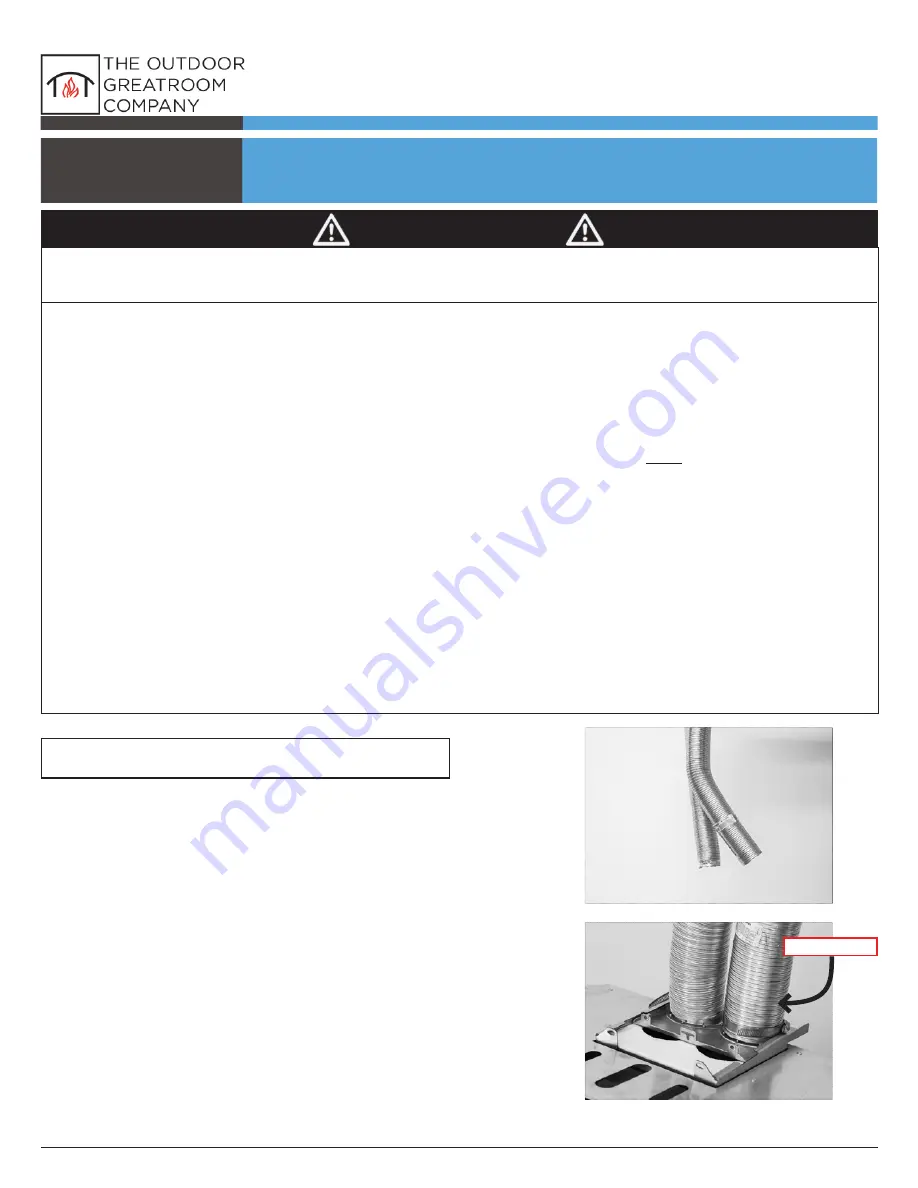
1.
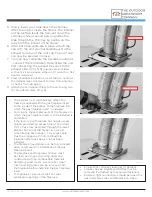
Install the two (2) 3-inch diameter flex lines
down your chimney. This is a dangerous
job - ensure you use all necessary safety
precautions to prevent falling from the roof.
2. Stretch the vent to the desired length.
3.
Mark both ends of one flex line with the
word “
EXHAUST
” as to properly identify and
connect to the cap and the appliance.
4.
Attach a rope to the end of the flex line with a
heavy object. Do not use anything that could
damage your chimney. The rope must be long
enough to reach into the firebox from your
rooftop.
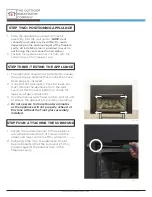
STEP ONE: VENTING THE APPLIANCE
(Img. 3)
(Img. 4)
EXHAUST

