14
www.outdoorrooms.com
HGI-31 : 1-23-2018
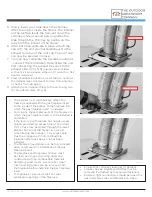
1. Slide the appliance and vent connector
assembly into the wall cavity.
(
NOTE:
Vent
connector assembly may be difficult to reach
depending on the opening height of the fireplace
cavity. An installation tool is provided to assist in
positioning the vent connection assembly.)
2.
Position the appliance so that it is flush with the
exterior face of the fireplace cavity.
1. The appliance should now be tested to ensure
the gas supply and electrical connection have
been properly installed.
2. If you did not previously check for leaks, you
must remove the appliance from the wall
cavity at this time and perform a check for
leaks on all gas connections.
3. Use the manual switch and remote control unit
to ensure the appliance is properly operating.
4.
Do not operate for more than two minutes
as the appliance will not properly exhaust at
this time without the front glass assembly
installed.
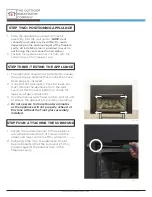
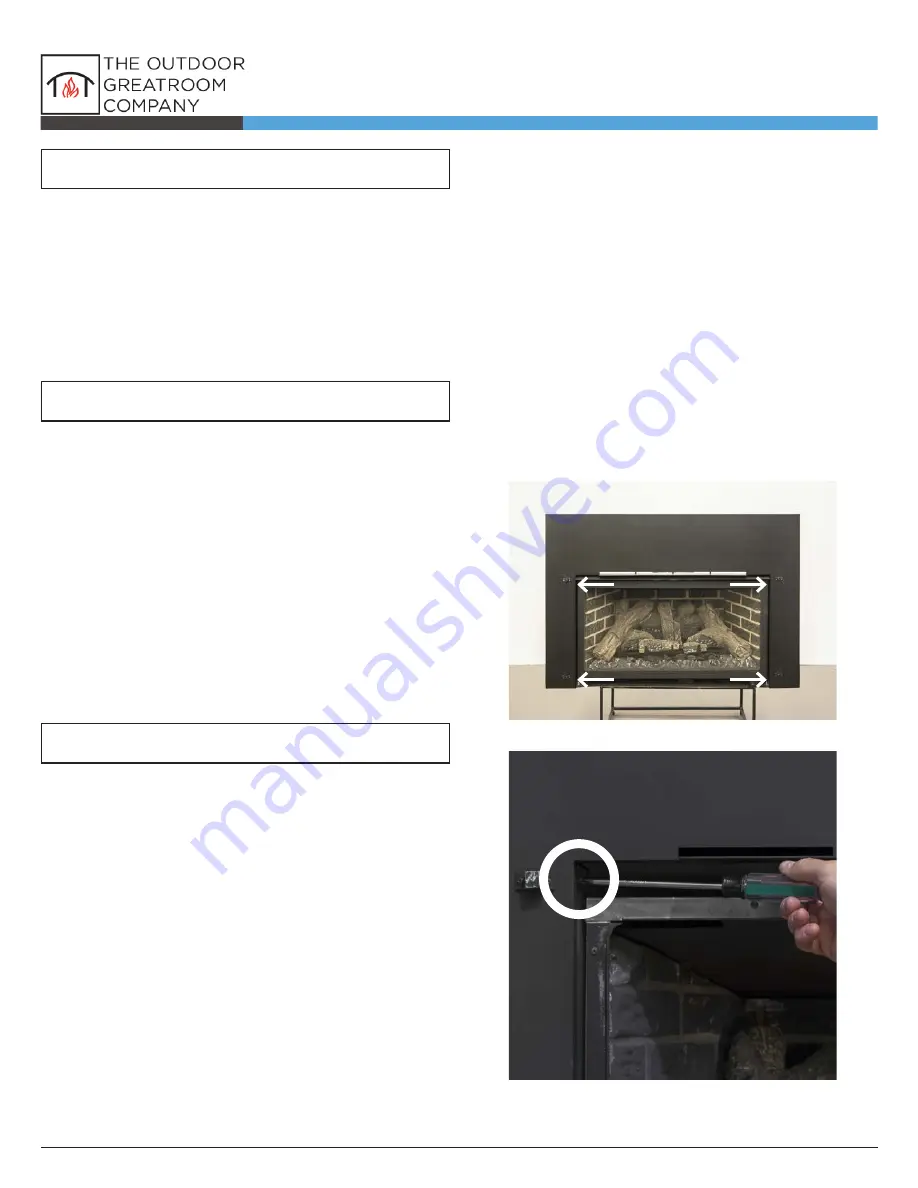
1. Fasten the Surround panel to the appliance
using the provided four (4) screws into the
upper and lower corners of the surround
(Img. 8)
.
2. Following Step One, the appliance should
be positioned so that the surround is firmly
pressed against the exterior face of the
fireplace cavity.
STEP TWO: POSITIONING APPLIANCE
STEP THREE: TESTING THE APPLIANCE
STEP FOUR: ATTACHING THE SURROUND
(Img. 8)
(Img. 9)

