7
6
6 OPERATION
CAUTION! Health hazard!
• Food may only be stored in its original packaging or in suitable containers.
NOTE
• Before starting your new cooling device for the first time, you should clean it inside and
outside with a damp cloth for hygienicreasons (please also refer to the chapter “Cleaning and
maintenance”on page 7.
• A few water drops may form inside the cooler if it has been cooling for a lengthy period. This is
normal because the moisture in the air condenses to water when the temperature in the cooler
falls. The cooler is not defective. Wipe it out with a dry cloth if necessary.
6.1 Energy saving tips
• Choose a well ventilated installation location which is protected against direct sunlight.
• Allow warm food to cool down first before placing it in the device to keep cool.
• Do not open the cooling device more often than necessary.
• Do not leave the cooler unit open for longer than necessary.
• Remove individual drinks bottles through the bottle hatch, if present.
6.2 Using the cooler
NOTICE! Risk of damage
• Ensure that the objects placed in the cooler are suitable for cooling or heating (with the ad-
ditional heating feature) to the selected temperature.
• Ensure that food or liquids in glass containers are not excessively refrigerated. Liquids expand
when they freeze and can therefore destroy the glass containers.
• Ensure that your cooler is well ventilated so that any heat created can dissipate. Otherwise
proper functioning cannot be ensured. It is especially important not to cover the air vents.
NOTE For coolers with fold in handles
➤
Place the cooler on a firm base.
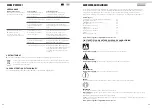
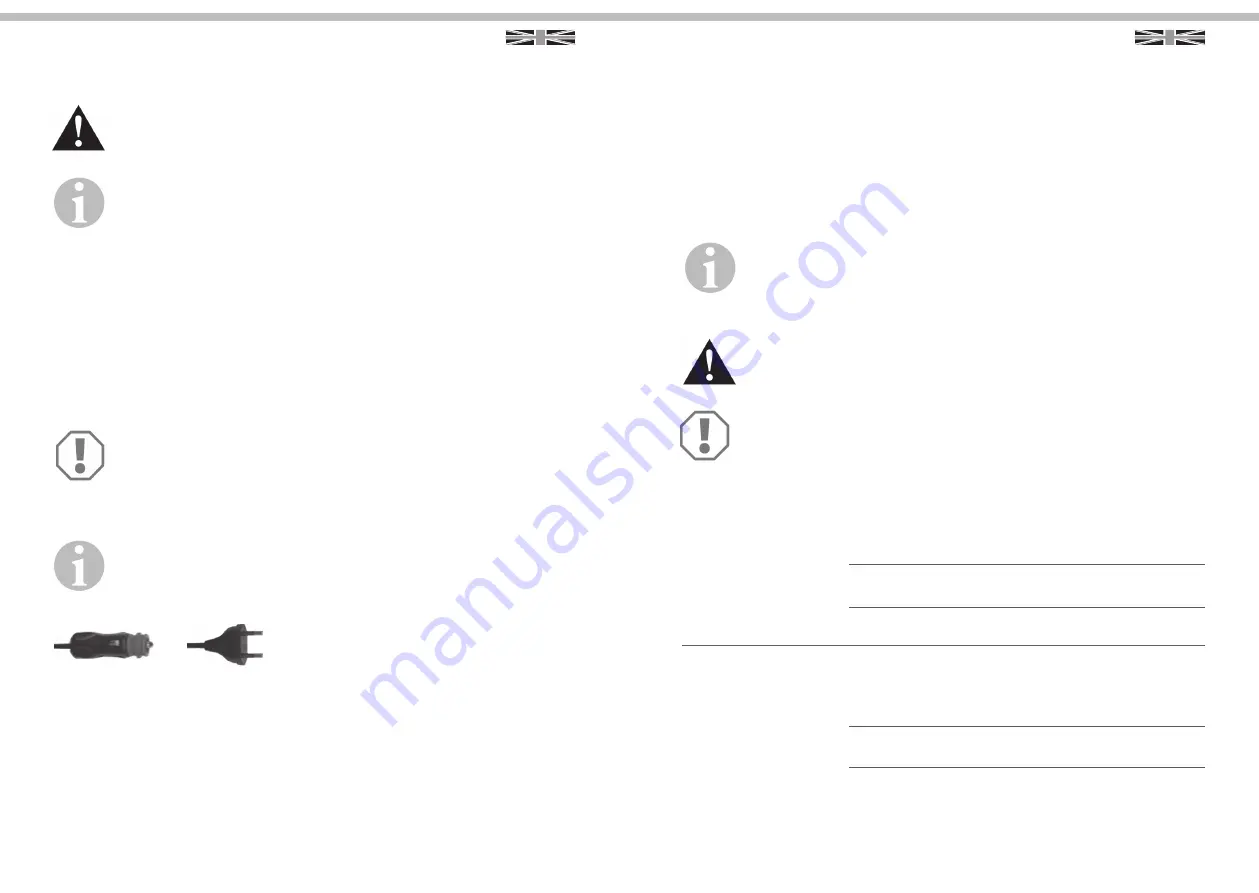
Connection cable plug
DC
AC
Coolers without the additional heating feature
➤
Connect the corresponding cable (see figure) to the required voltage.
✓
The cooler starts cooling the interior.
➤
To switch off the cooler, disconnect the plug.
Coolers with the additional heating feature
➤
Connect the corresponding cable (see figure) to the required voltage.
➤
For fast cool down switch to MAX on the cool box. Please be aware that doing so you will not run on ECO
mode. We advice that the ECO function is primarily used.
➤
Push the switch on the control panel to HOT or COLD to switch the cooler on.
✓
The indicators on the control panel show you the operating mode:
Operating display
Operating mode
Red
Heating
Green
Cooling
✓
The cooler starts cooling/heating the interior.
➤
To switch off the cooler,
– slide the switch to the OFF position,
– disconnect the plug.
If this box runs on 12V Max mode is not possible. If it runs on 230V both Max and Eco mode is possible.
6.3 Connecting to the cigarette lighter
NOTE
If you connect the cooler to the cigarette lighter, remember that the ignition must be turned on
to supply it with power.
7 CLEANING AND MAINTENANCE
WARNING!
Always disconnect the device from the mains before you clean and service it.
NOTICE! Risk of damage
• Never clean the cooler under running water or in dish water.
• Do not use abrasive cleaning agents or hard objects during cleaning as these can damage
the cooler.
•
➤
Occasionally clean the device interior and exterior with a damp cloth.
8 TROUBLESHOOTING
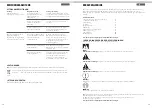
Problem
Possible cause
Suggested remedy
Your device is not
There is no voltage flowing
The ignition must be switched
working (plug is inserted)
from the DC socket (cigarette
on in most vehicles to supply
lighter) in your vehicle.
current to the cigarette lighter.
No voltage present in the
Try using another plug socket.
AC voltage socket.
The inner fan or the cooling
This can only be repaired by an
element is defective.
authorised repair centre.
When operating from the DC
The fuse of the DC plug is
If the plug of your cooler becomes
socket (cigarette lighter):
dirty. This results in a poor
very warm in the DC socket fitting,
The ignition is on and the cooler electrical contact.
either the fitting must be cleaned
is not working.
or the plug has not been assembled
correctly.
The fuse of the DC plug has
Replace the fuse of the DC plug with
blown.
one of the same rating.
The vehicle fuse has blown.
Replace the vehicle's DC socket fuse
(usually 15 A). Please refer to the
operating manual of your vehicle.
INSTRUCTION
INSTRUCTION

