Ovarro LD Ltd
User Manual
XiLOG 4G/IOT
Document Number:
Template Number: IXD-956 iss 05
Version: 1.0
Page 17 of 42
4.6
Configuring/Programming the Logger
Configuration of the data logger is achieved using the XiLOG GO app. For details of all the screens and menu options, see
Section 5 XiLOG GO
To configure the data logger:
1.
Ensure you are connected to the logger using the XiLOG GO app.
2.
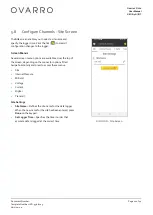
Select the
Configure
button at the top of the screen.
3.
Using the
Site
screen, enter a
Site Name
(or other identifier) for the location of the data logger in order that it can be
identified using Primeweb. Ensure that the data logger is set to the correct time using the
Set Logger Time
button.
4.
Configure your internal pressure transducer readings (if this option is fitted) and alarm settings.
5.
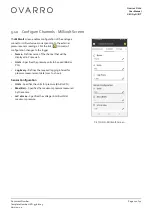
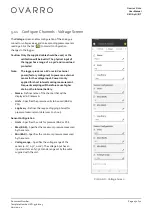
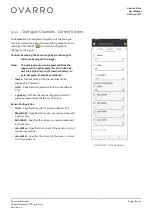
Configure your external sensor input options (Millivolt/Voltage/Current/Digital) and alarm settings.
6.
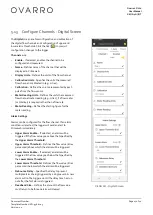
Configure your data transmissions parameters for communications to Primeweb.
7.
When you have finished specifying your configuration, commit the configuration to the logger by clicking the tick (
)
at the top of any of the
Configure channels
screens.
Your data logger should now be configured for operation.
4.7
Testing Operation
When the data logger is configured, check on Primeweb that the new site name is displayed and that the
measurement/status data is being transmitted.
For any queries about installation, please contact Ovarro Customer Support for further information.


