Installation
t
2-11
R
ACK
M
OUNT
I
NSTALLATION
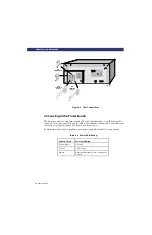
Rack Mount Installation
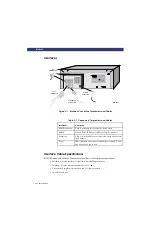
The PowerLoader can be mounted in a standard 19-inch EIA/RETMA rack with a depth of 24 to
30 inches.
Note:
The cooling fan at the rear of the drive must not be obstructed when the drive is
installed in the rack. It is advisable to allow two inches of clearance behind the rear panel
of the module.
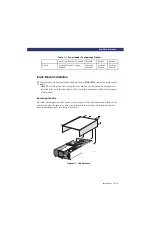
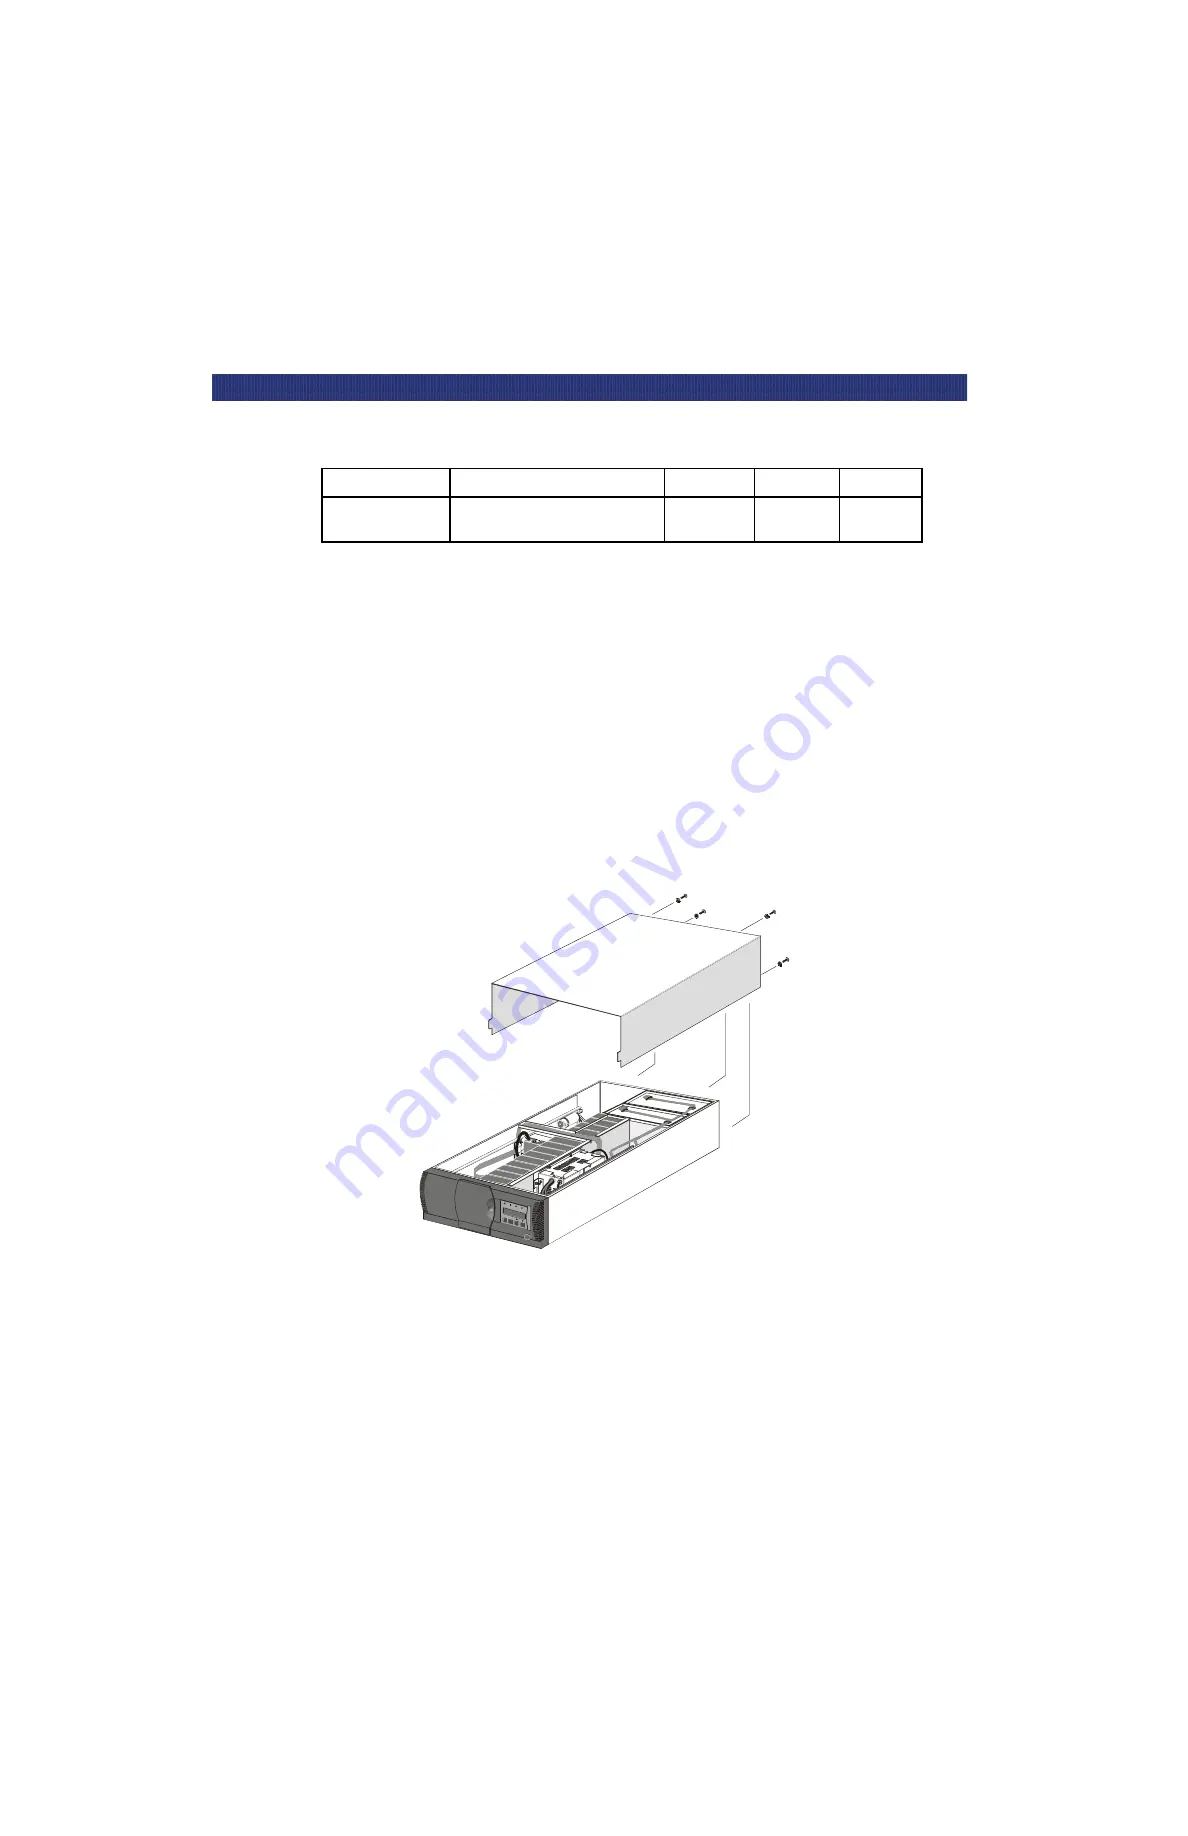
Removing the Skin
The skin is held in place by four screws at the rear panel of the PowerLoader unit. Remove the
four screws, slide the skin cover about one inch toward the rear, then lift it from the chassis.
Save the hardware for re-use. Refer to
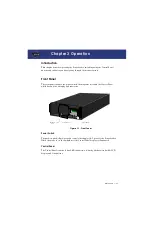
Figure 2-7. Skin Removal
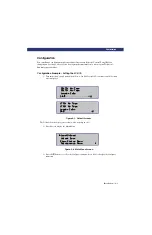
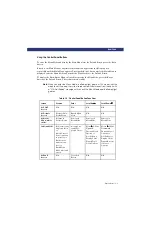
AutoHome: Enabled or Disabled
Enabled
Enabled
Enabled
Default
Overland Defaults, Compaq
Defaults
Overland
Defaults
Overland
Defaults
Overland
Defaults
Table 2-3. PowerLoader Configuration Options
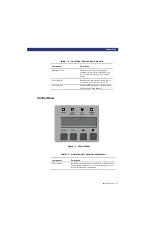
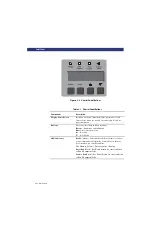
E nte
r
E s cap e
Read y
Us e
Cle an
e r
Dri ve
Fa ult
L oa de r
F au lt
LXM-0018
Summary of Contents for LXLS10
Page 1: ......
Page 4: ...xii u Preface PREFACE...
Page 8: ...iv TABLE OF CONTENTS CONT D...
Page 10: ...x LIST OF TABLES CONT D...
Page 18: ...1 6 u Introduction TAPE CARTRIDGE MAGAZINE...
Page 86: ...A 4 u Specifications SPECIFICATIONS Declaration of Conformity...
Page 90: ...Index 2 INDEX...

