4-2
u
Maintenance
C
LEANING
C
ARTRIDGE
Required Location for the Cleaning Cartridge
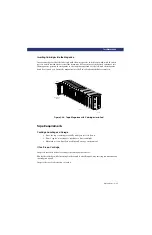
If you run the cleaning cartridge manually, there are no restrictions about the location of the
cleaning cartridge. However, if you want to use the Auto Clean option, you must reserve one or
more slots in the magazine by using the Reserved Slots option described in
. Any reserved slots in the magazine become inaccessible to the host software. In
these cases, the PowerLoader designates these inaccessible slots as cleaning cartridge slots. On
line 4 of the control screen “Cleaning Slot 1” appears instead of “Slot1.” If you have reserved
slots, Cleaning Slot 1 is the first reserved slot in the magazine.
Installing a Cleaning Cartridge
1) Examine the Default Screen on the Control Panel to determine whether a
cartridge is loaded into the drive. If so, then unload it as described in
2) Remove the magazine from the PowerLoader using the procedure described in
,
“Inserting and Removing Cartridges”
3) Remove any cartridge present in Slot 1 (the slot nearest to the handle), or in
Cleaning Slot 1 (the first reserved slot in the magazine).
4)
Note:
See previous section “
Required Location for the Cleaning Cartridge
5) Insert the cleaning cartridge into the slot you emptied in step 3.
6) Insert the magazine into the PowerLoader.
7) Close the magazine door.
Auto Clean Mode
If you enable the Auto Clean Mode on the Configuration Menu, the PowerLoader will run the
cleaning cartridge automatically whenever the
Use Cleaner
LED illuminates.
Running the Cleaning Cartridge From the Front Panel
This procedure assumes that the cleaning cartridge has been installed into Slot 1 of the
magazine, and that no reserved slots are set.
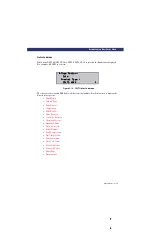
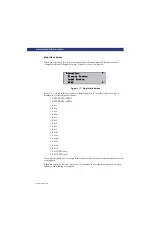
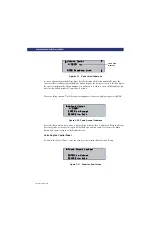
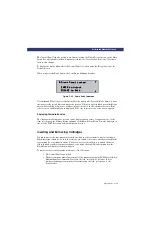
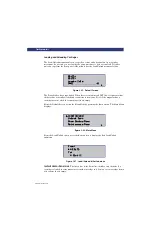
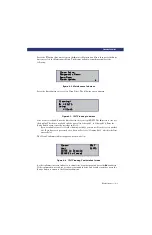
At the Default Screen, press the Enter button. The display will show the following.
Figure 4-1. Main Menu
Load/Unload
Load/Unload
Load/Unload
Load/Unload
Show Status Menu
Show Status Menu
Show Status Menu
Show Status Menu
Maintenance Menu
Maintenance Menu
Maintenance Menu
Maintenance Menu
iiii
Unlock Door
Unlock Door
Unlock Door
Unlock Door
Summary of Contents for LXLS10
Page 1: ......
Page 4: ...xii u Preface PREFACE...
Page 8: ...iv TABLE OF CONTENTS CONT D...
Page 10: ...x LIST OF TABLES CONT D...
Page 18: ...1 6 u Introduction TAPE CARTRIDGE MAGAZINE...
Page 86: ...A 4 u Specifications SPECIFICATIONS Declaration of Conformity...
Page 90: ...Index 2 INDEX...


