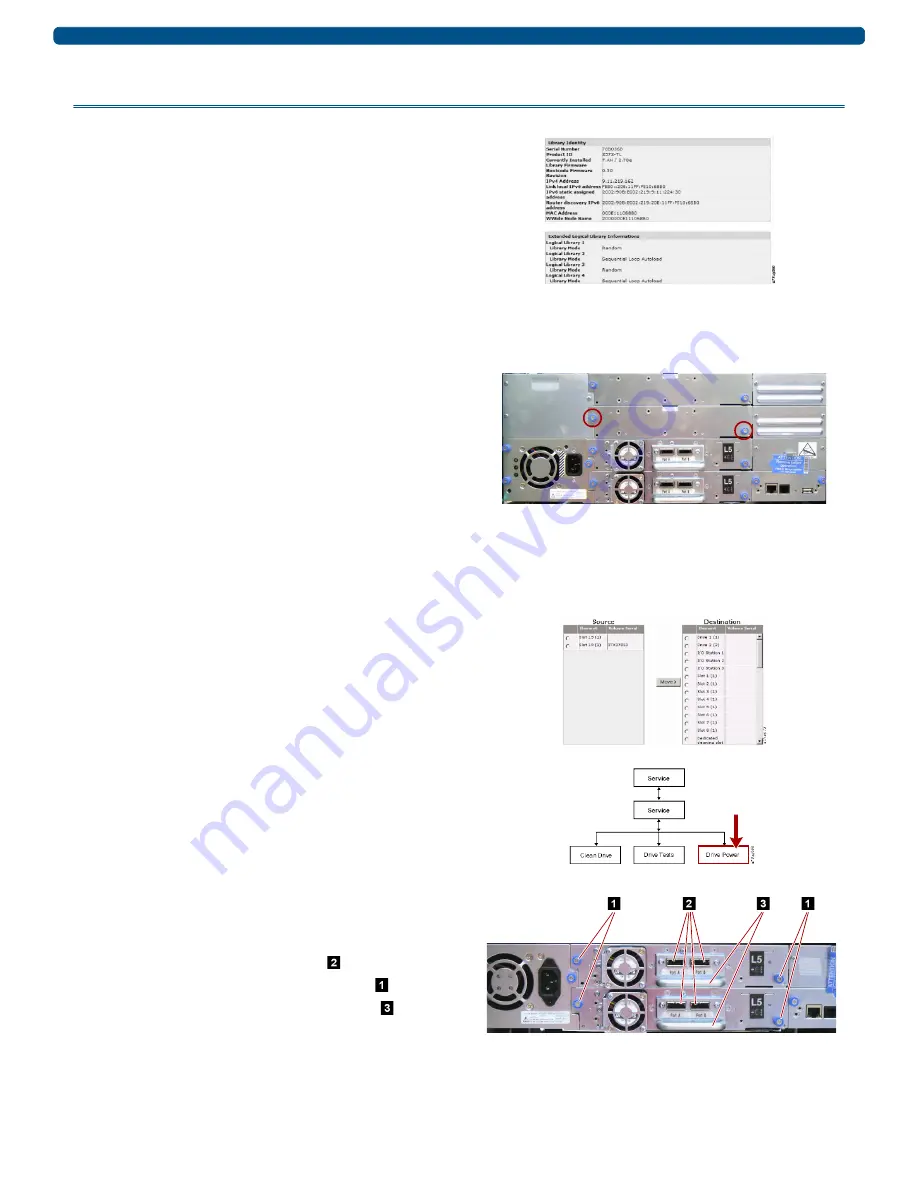
10400371-001 03/2012
©2012 Overland Storage, Inc.
Page 2 of 3
Add-on/Spare Tape Drive Instructions
Prepare the Unit
Verify Library Firmware
To make sure you have the latest library firmware to support
the new tape drives, compare the library version against the
versions posted at
http://docs.overlandstorage.com/neo.
1.
Log on to the
Web User Interface
.
2.
Go to
Monitor Library > Library Identity
to verify that you
are running the
latest
version of library firmware.
3.
If necessary, upgrade the firmware (
Service Library >
Upgrade Firmware
).
Remove Cover for Add-on Drive
NOTE: If removing and replacing an existing tape drive, skip to the
next step,
1.
If
adding
an additional drive to a library, determine the
proper location.
•
2U library – Use the top drive bay.
•
4U library with no partitions – Use the first empty
drive bay above the current installed drives.
•
4U library using or creating partitions – Refer to the
NEO 200s/400s User Guide
.
2.
Loosen the
blue captive thumbscrews
and remove the
cover plate from the drive bay to be used.
3.
Continue with
below.
Prepare Old Drive
1.
If necessary, unload the
tape cartridge
from the drive
being removed.
•
Operator Control Panel:
Control > Move Cartridges
•
Web User Interface:
Manage Library > Move Media
2.
Before removing the old drive,
power it down
so it can be
removed:
a.
At the Operator Control Panel, press:
Service > Service > Drive Power
.
b.
Select the
drive being removed
.
c.
Press
OK
.
The drive can now be removed.
Remove Old Drive
NOTE: Fibre Channel and SAS drive sleds are hot-swappable and
may be removed and installed while the library is still powered ON.
1.
Remove the
host interface cable
( )
from the old drive.
2.
Loosen both
blue captive thumbscrews
(
)
.
3.
Pull straight back on the drive sled
handle
( )
to remove
it from the library, supporting it with both hands.


