7b Connecting the Library: SAS
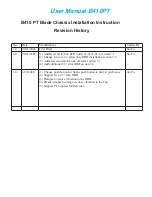
Ensure that the SAS cable used has enough mini-SAS connectors for
the number of drives installed in the Library.
CAUTION:
Mini-SAS connectors are keyed. Do not force a SAS cable's mini-SAS
connector into the tape drive mini-SAS connector because it might
be keyed differently.
CAUTION:
SAS signal rates require clean connections with a minimum number
of connections between the HBA and the Library. Do not use adapters
or converters between the HBA and the Library. For reliable
operation, use a maximum SAS cable length of six meters.
Attach the HBA end of the cable to the SAS HBA. Attach a connector
to each tape drive.
The unused ends of a fanout cable are single channel and not suitable
for use with most disk arrays. Use the other ends to connect tape drives,
or coil and secure them to the rack to minimize stress on the connectors.
NOTE:
Each of the tape drives uses one channel and the cable supplied with
the 2U Tape Library or 4U Tape Library maps each of the four
channels from the HBA to one channel on the drive end. You can
plug any of the four drive connectors into any tape drive.
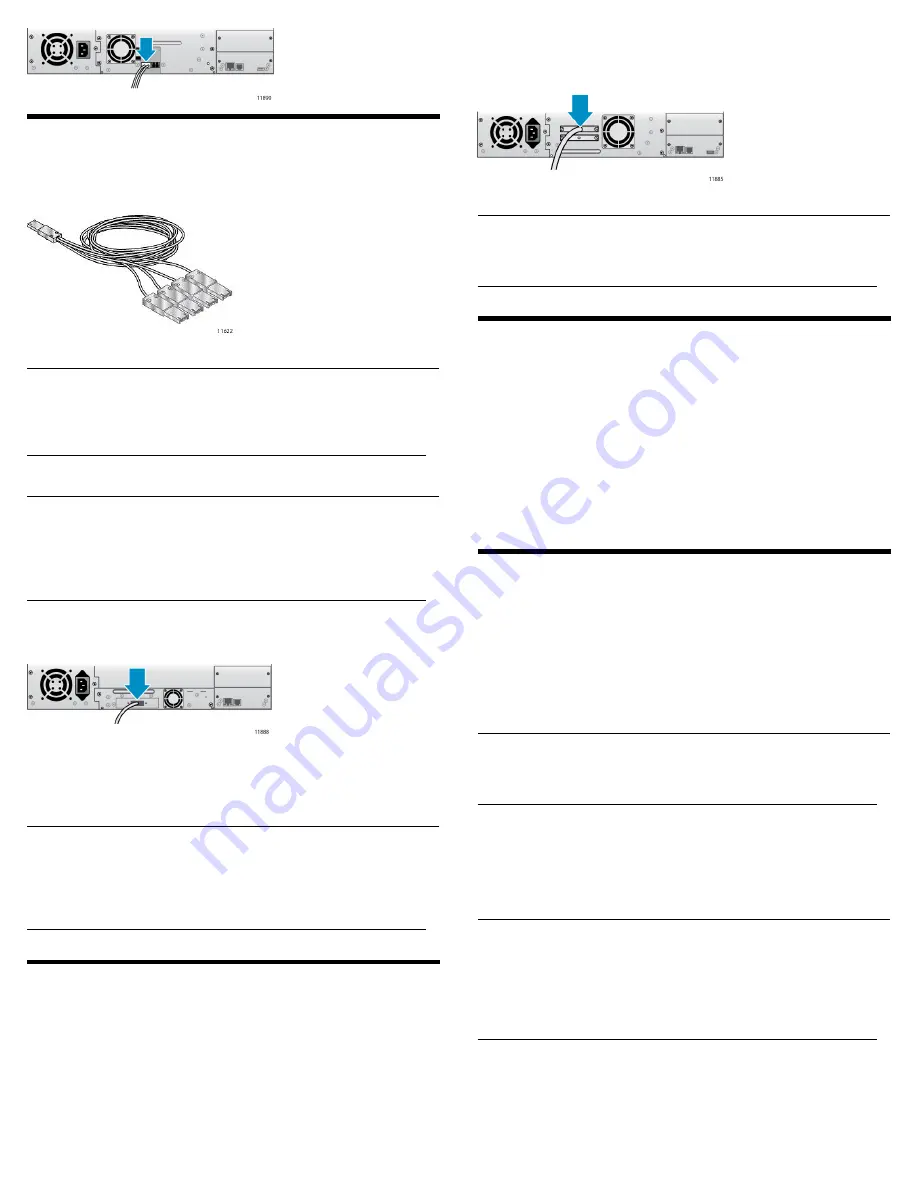
7c Connecting the Library: parallel SCSI
Attach one end of the parallel SCSI cable to one of the connectors on
the tape drive. Attach the other end of the cable to the host bus adapter
(HBA) or to the connector on the previous device on the SCSI bus.
If the tape drive is the last or only device on the SCSI bus, attach a
terminator to the remaining SCSI connector on the tape drive.
Otherwise, attach a SCSI cable to the next device on the SCSI bus. Make
sure that the last device on the SCSI bus is properly terminated.
Connect the other tape drives, if applicable.
NOTE:
For optimal performance, a parallel SCSI tape drive should be the
only device on the bus.
8 Powering on the Library
Plug one end of the Ethernet cable into the Ethernet port on the back
of the Library. Plug the other end of the cable into an Ethernet LAN
port.
Plug the power cable into the Library from an AC power outlet. Repeat
for the redundant power supply, if installed.
Power on the Library using the power button located on the front panel.
Check the LCD screen to make sure the Library is receiving power.
Power on the host server and all devices you powered off earlier.
9 Configuring the network
Configuring the network enables you to monitor, configure, and control
most Library functions from the remote management interface (RMI).
By default, the Library will request an IP address from a DHCP server.
Optionally, you can configure the Library to use a static IP address.
Once logged into the RMI, you can administer further network changes
through the RMI.
NOTE:
Most IPv4 network configurations are also available through the
OCP.
The Library supports IPv4 and IPv6 Internet Protocols. By default, the
Library is configured to use IPv4, the most common current version.
You can enable IPv6 or both Internet Protocols from the OCP or RMI,
and then continue configuring IPv6 settings from the RMI.
NOTE:
The Library is shipped without an administrator password. You
must set the administrator password with the OCP before you can
use the RMI administrator functions. Once the administrator
password is set, you can access the RMI by providing the
administrator password on the login screen.
To find the IPv4 IP address obtained via DHCP:
1.
From the Home screen, press Next until the display shows
Status/Information
. Press Enter.
Page 6
Summary of Contents for NEO 400S
Page 10: ...OCP menu Page 10...