Magazine release
When possible, release the magazines from the OCP or RMI. If you
must remove the magazines when the Library is not powered on, 1)
insert a straightened paperclip or small pin about 1.5 cm (0.6 inch) into
the magazine release hole on the back panel, while 2) another person
removes the magazines from that side.
IMPORTANT:
Do not force the pin once you encounter resistance. Doing so can
damage the Library.
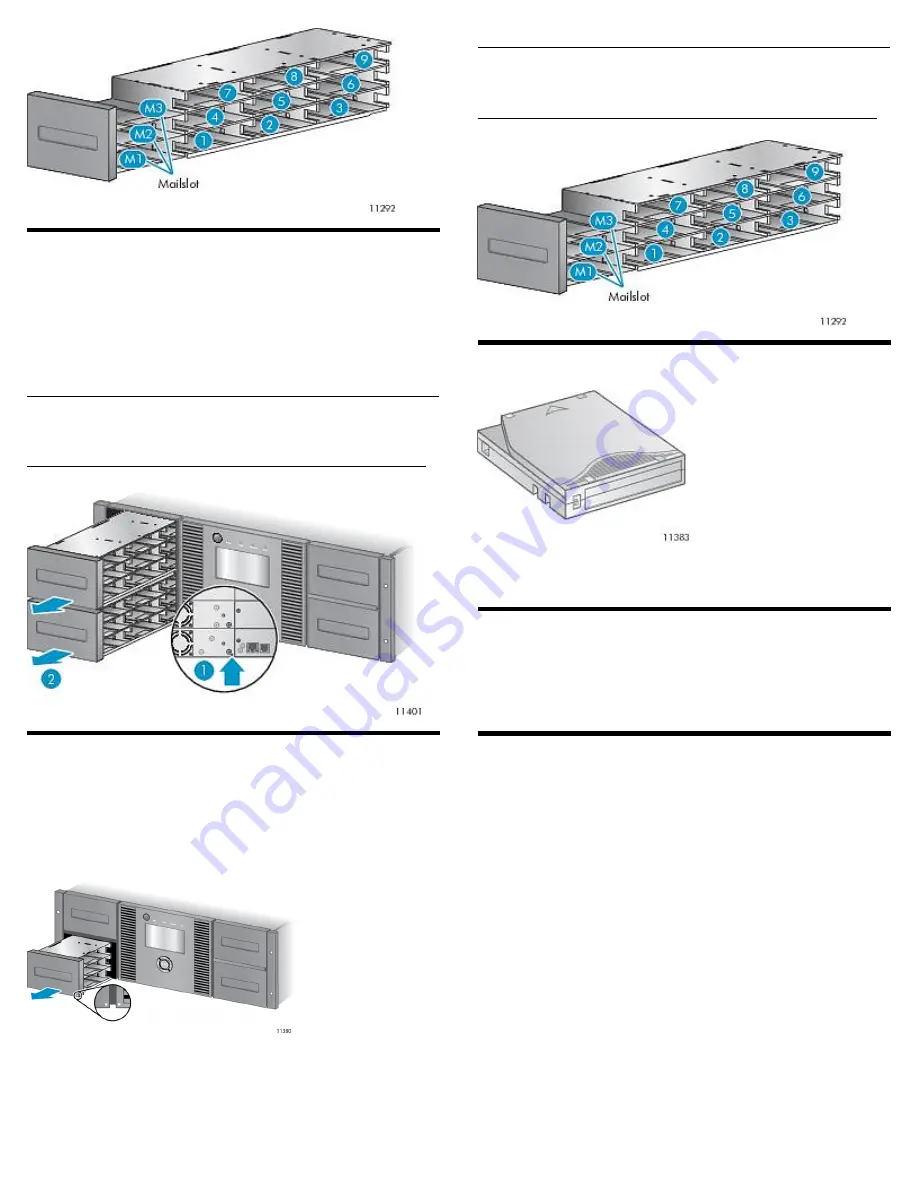
Mailslot
Enabling the mailslot in the left magazine allows you to insert and
remove tapes without removing the magazine and without the need
for the administrative password. You can open the mailslot from the
front panel or with host software that supports this function. The
mailslot cannot be opened with the RMI.
When the mailslot is enabled, the mailslot uses the front three slots of
the lower left magazine and the storage slots are renumbered as shown.
TIP:
To see the slot numbering for your Library in its current
configuration, see the RMI Status > Inventory screen.
Ordering media
Use only recommended media to prolong the life of the Library and
tape drives. Various vendors offer appropriate media.
Related documentation
The 2U Tape Library and 4U Tape Library user and service guide includes
additional information about installing, configuring, upgrading, and
operating the Library.
(c) Copyright 2009 Hewlett-Packard Development Company, L.P.
Page 9
Summary of Contents for NEO 400S
Page 10: ...OCP menu Page 10...