10400396-001 07/2012
©2012 Overland Storage, Inc.
Page 3 of 3
http://support.overlandstorage.com
You can get additional technical support on the Internet at the
Overland Storage Support web page
, or by contacting Overland Storage using
Chassis Replacement Instructions
Install Drives
1.
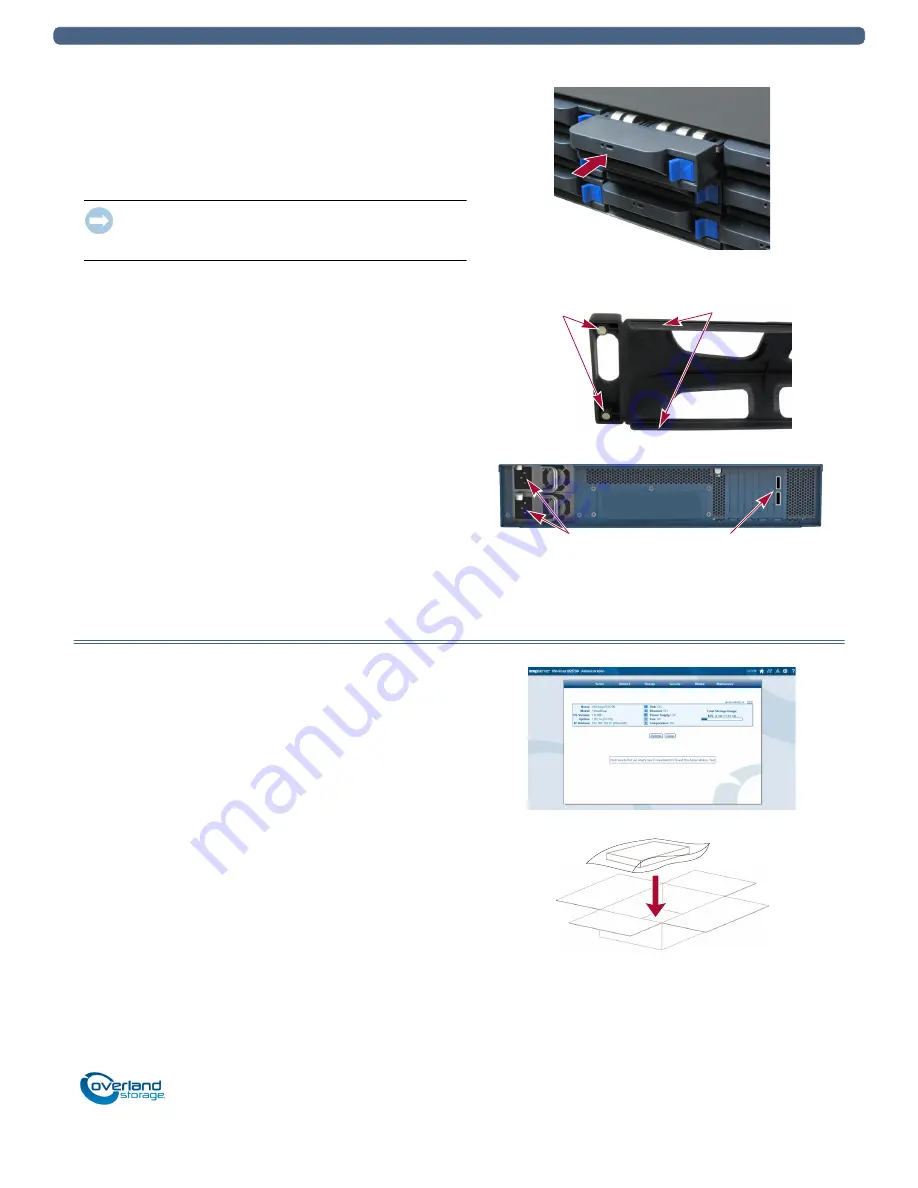
Position a
drive carrier assembly
in front of its empty
slot.
2.
Slide in the drive assembly until the
latch
clicks, locking
it in the slot.
3.
each
remaining drive carrier.
IMPORTANT: To maintain proper airflow and cooling, a drive
assembly or a blank carrier must be installed in
every
slot. No
empty slots are allowed.
Attach the Bezel
1.
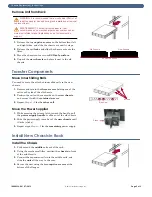
Position the
bezel
with the tabs aligned inside the top and
bottom edges of the chassis.
2.
Move the bezel toward the unit until the
magnets
grab.
3.
Verify that the bezel is
aligned
properly with all the
LEDs visible and the Power Panel on the right side
positioned within the hole in the flange.
Attach Cables and Power Cords
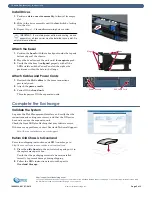
1.
Reattach the
SAS cables
to the same connections
previously used.
2.
Attach the
power cords
.
3.
Power ON the
head unit
.
This also powers ON the expansion units.
Complete the Exchange
Validate the System
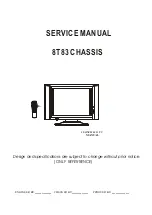
Log onto the Web Management Interface and verify that the
connections and settings are correct, and that the DX-series
head unit can see the expansion unit.
Check the front LEDs for flashing that may indicate errors.
If there are any problems, contact Overland Technical Support:
http://docs.overlandstorage.com/support
Return Old Chassis to Overland
For return shipping instructions and RMA number, go to:
http://docs.overlandstorage.com/return-instructions.
1.
Place the
old
chassis
in the anti-static bag and put it in
the replacement part’s box.
Verify that the packaging materials were reinstalled
correctly to prevent damage during shipping.
2.
Follow the RMA instructions to return the part to
Overland Storage
.
Magnets
Tabs
Power Sockets
SAS Cable Ports


