10400455-002
©2008-14 Overland Storage, Inc.
23
SnapScale/RAINcloudOS 4.1 Administrator’s Guide
2 - Initial Setup and Configuration
5.
Complete the
Initial Setup Wizard
to either create a new SnapScale cluster or join an
existing cluster.
Setup a New SnapScale Cluster (via Wizard)
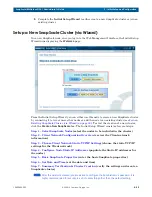
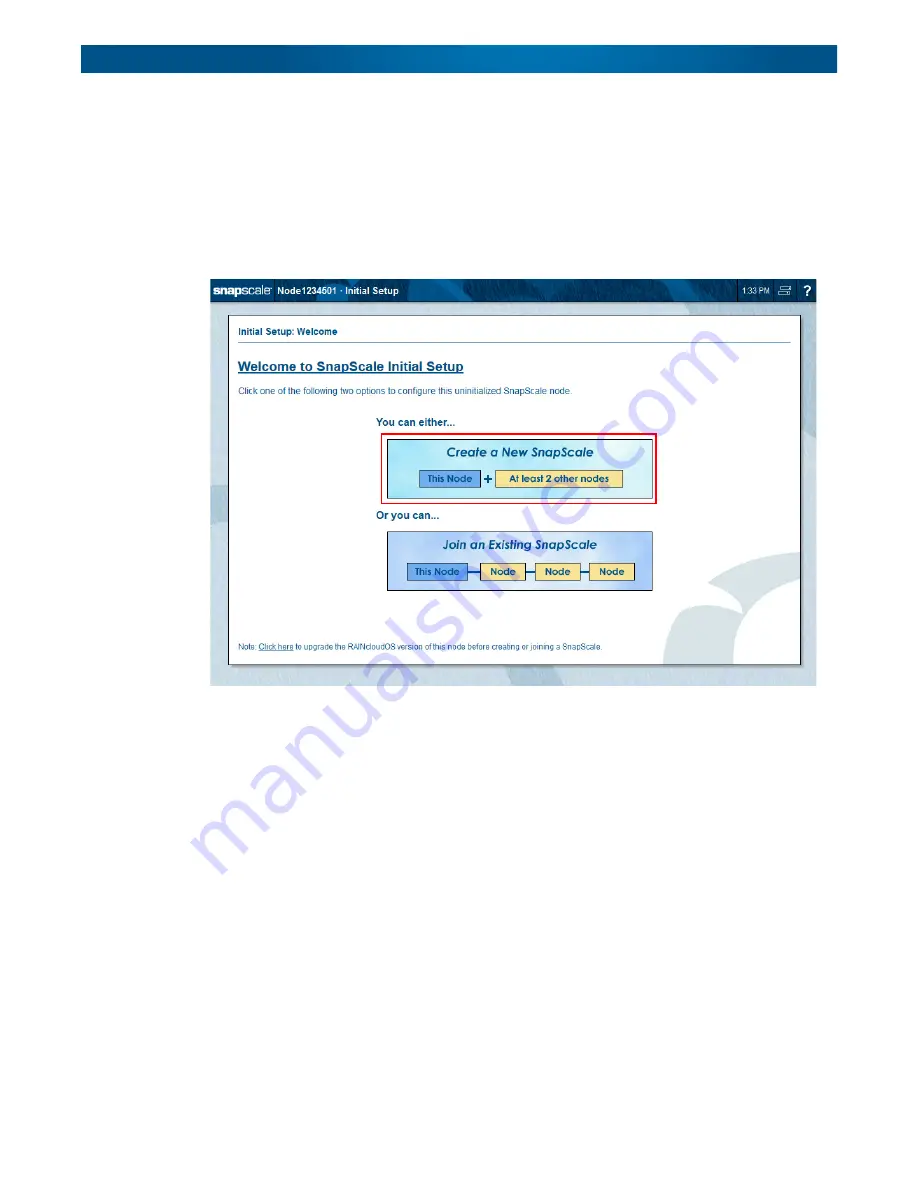
On a new SnapScale node, once you log in to the Web Management Interface, the Initial Setup
Wizard runs displaying the
Welcome
page:
From the Initial Setup Wizard, you can either use this node to create a new SnapScale cluster
by connecting it to two or more other nodes or add the node to an existing cluster (see
Existing SnapScale Cluster (via Wizard) on page 36
). To start the creation of a new cluster,
click the
Create a New SnapScale
box. The Initial Setup Wizard consists of several steps:
Step 1 – Select SnapScale Nodes
(select the nodes to be included in the cluster)
Step 2 – Client Network Configuration Overview
(review the Client network
information)
Step 3 – Choose Client Network Static TCP/IP Settings
(choose the static TCP/IP
settings for the Client network)
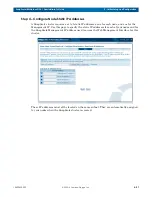
Step 4 – Configure Node Static IP Addresses
(populate the Static IP addresses for
the nodes)
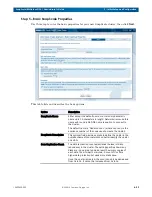
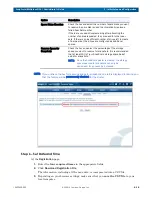
Step 5 – Basic SnapScale Properties
(enter the basic SnapScale properties)
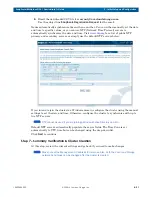
(set the date and time)
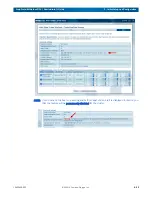
Step 7 – Summary Verification & Cluster Creation
(verify the settings and create a
SnapScale cluster)
NOTE: After the cluster is created, you are asked to configure the Administrator’s password. It is
highly recommended for security to set it to something other than the default setting.


