10400557-002
©2014 Overland Storage, Inc.
Page 2 of 5
Optional Sliding Rail Kit Instructions
Remove the Drives
IMPORTANT: Overland recommends that you remove the
drive assemblies to lessen the unit’s weight prior to removal.
The assemblies must be reinstalled in the same bays when done.
NOTE: Do not remove the disk drives from their carriers. Doing so
voids the drive warranty.
This process applies to both drive assemblies and blanks:
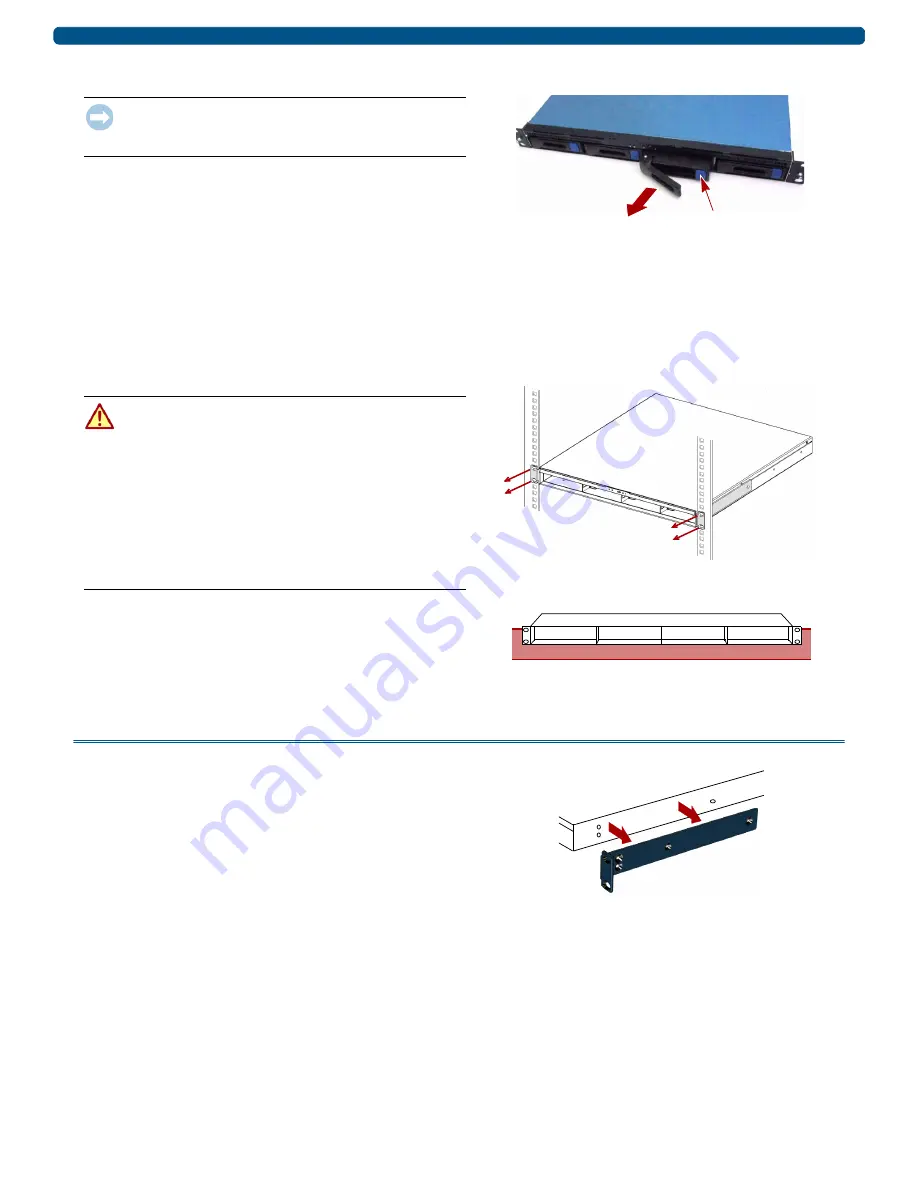
1.
Press the release
button
on the right side of the carrier,
and note the bay from which it is removed.
2.
Using the
handle
, pull the assembly out.
3.
Set the
assembly
on an ESD-safe surface.
4.
Repeat
for
each
remaining carrier.
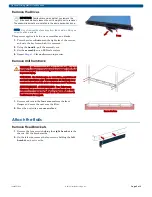
Remove Unit from Rack
WARNING:
It is recommended that a mechanical lifter (or at
least two people) be used during rack installation or removal
to prevent injury.
WARNUNG:
Um Verletzungen zu vermeiden, empfehlen wir
zur Rack-Installation oder -Deinstallation die Nutzung einer
mechanischen Hebehilfe (oder mindestens zwei Personen).
AVERTISSEMENT:
AVERTISSEMENT: Pour éviter toute
blessure il est recommande qu'un monte-charge (ou deux
personnes au moins) soit utilisé lors de l'installation ou de
l'enlèvement du support.
1.
Remove and retain the
four screws
from the front
flanges and move the unit onto the lifter.
2.
Move the unit onto a
secure
surface
.
Attach the Rails
Remove Fixed Brackets
1.
Remove the four screws holding the
right bracket
to the
chassis. Set the bracket aside.
2.
On the left side, remove the four screws holding the
left
bracket
, and set it aside.
Press
Secure Surface