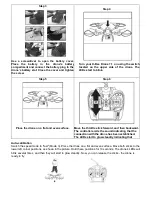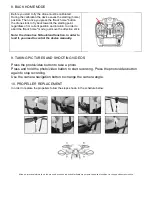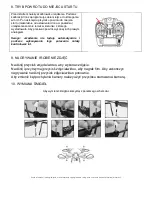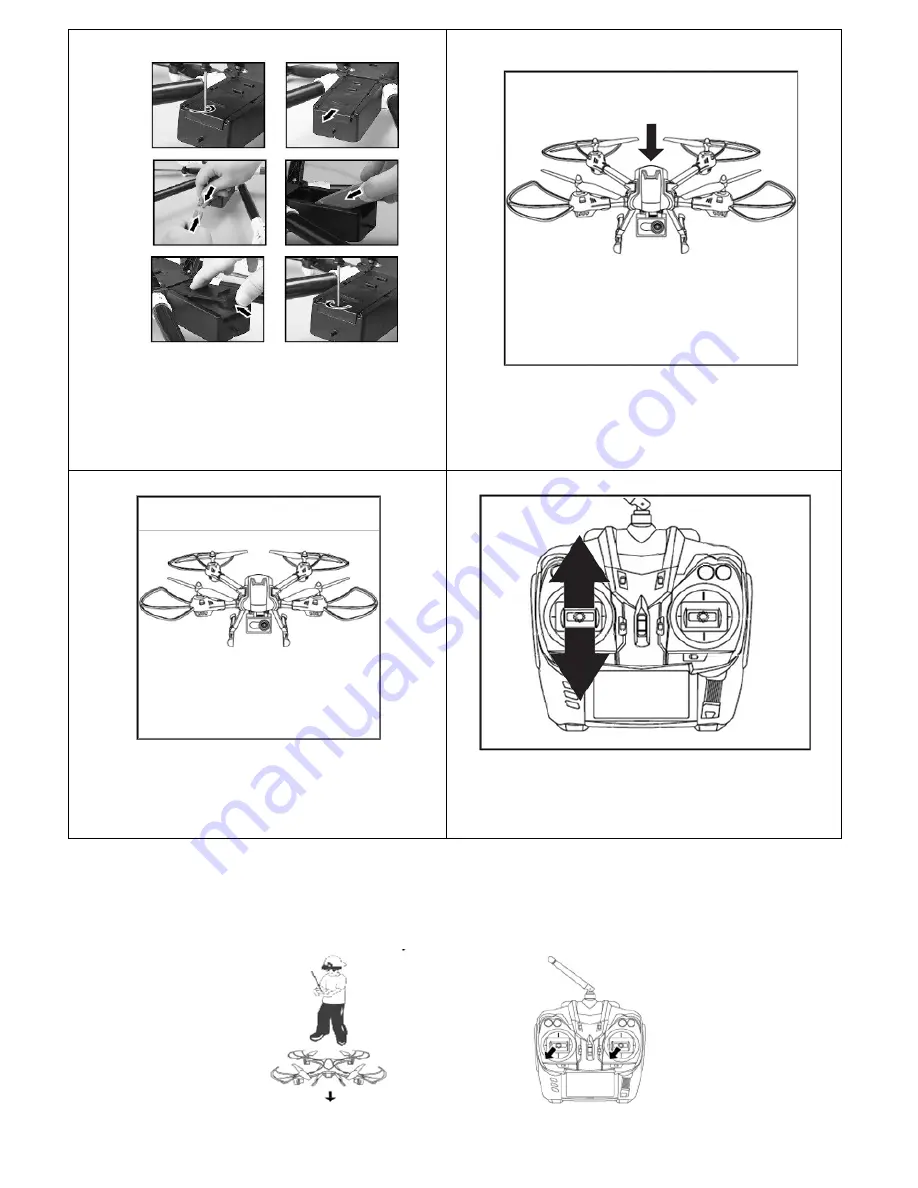
Step 3
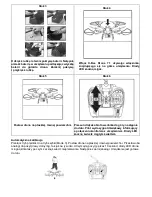
Use a screwdriver to open the battery cover.
Place the battery in the drone's battery
compartment and connect the battery plug to the
drone’s battery slot. Close the cover and tighten
the screw.
Step 4
Turn your X-Bee Drone 7.1 on using the switch
located on the upper side of the drone. The
LEDs start to blink.
Step 5
Place the drone on a flat and even surface.
Step 6
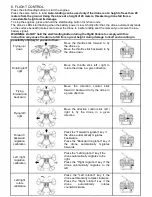
Move the throttle stick forward, and then backward.
The controller emits the sound indicating that the
connection with the drone has been established.
The LEDs start to glow steadily indicating that
Auto-calibration
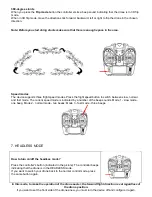
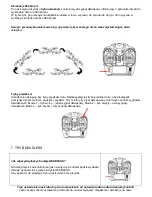
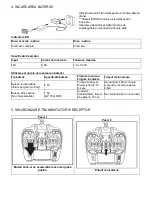
Switch the speed mode to "fast" (Mode 3). Place the drone on a flat and even surface. Move both sticks to the
lower left corner positions, as shown in the picture. Hold these positions for 10 seconds. The drone's LEDs will
blink several times, and then they will start to glow steadily. Now, you can release the sticks - the drone is
ready to fly.


