

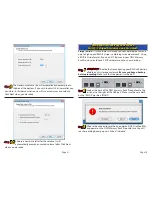
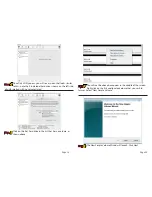

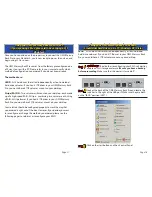
Page 11
Page 24
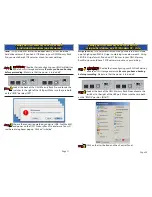
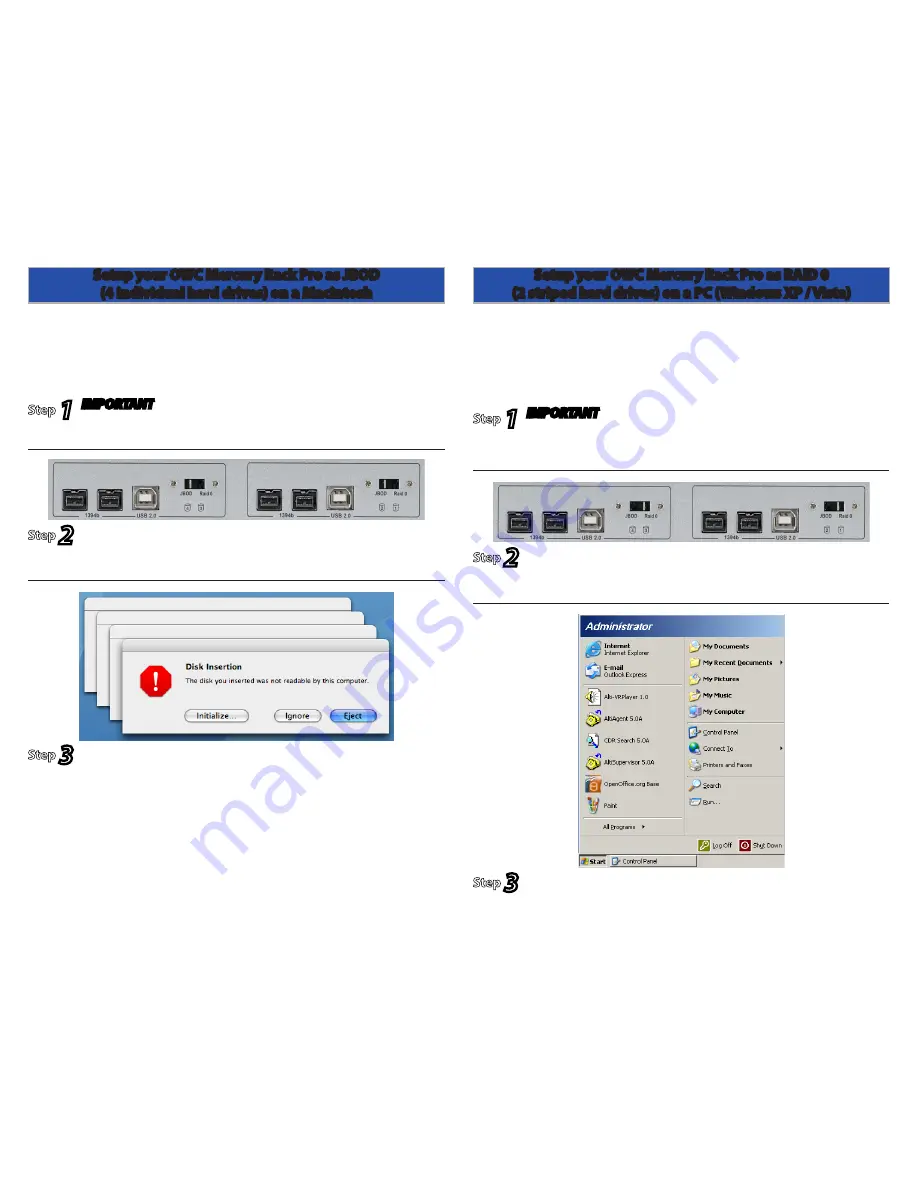
(
IMPORTANT
)
Realize that reconfiguring your RAID will destroy
all data on this storage enclosure.
Be sure you have a backup
before proceeding
. Make sure that the power is turned off.
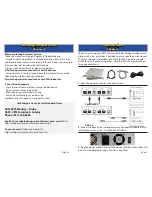
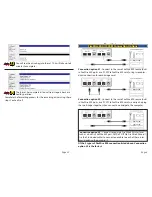
Look at the back of the OWC Mercury Rack Pro and locate the
switches to the right of the USB port. Make sure they are both
on the “JBOD” position (LEFT).
Choose the connection method you desire (USB, FireWire 800),
and power on the OWC Mercury Rack Pro enclosure. You will
see these dialog boxes pop up. Click on “Initialize”.
JBOD
- All 4 hard drives formatted independently, as four individual
hard drive volumes. If you had 4 1TB drives in your OWC Mercury Rack
Pro, you would have 4 1TB volumes mount on your desktop.
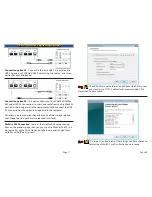
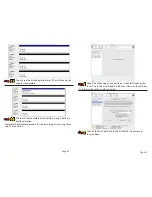
Step
1
Step
2
Step
3
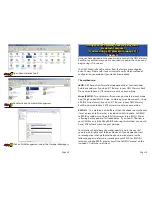
Click on the start button and then Control Panel.
Step
3
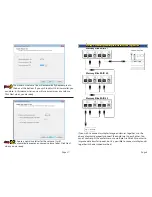
Stripe (RAID 0)
- Two volumes will mount on your desktop, each made
up of a high-speed RAID-0 Stripe - combining two volumes each. Using
a RAID-0 Stripe format, if you had 4 1TB drives in your OWC Mercury
Rack Pro, you would have 2 2TB volumes mount on your desktop.
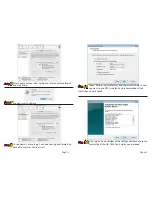
(
IMPORTANT
)
Realize that reconfiguring your RAID will destroy
all data on this storage enclosure.
Be sure you have a backup
before proceeding
. Make sure that the power is turned off.
Step
1
Step
2
Look at the back of the OWC Mercury Rack Pro and locate the
switches to the right of the USB port. Make sure they are both
on the “RAID 0” position (RIGHT).
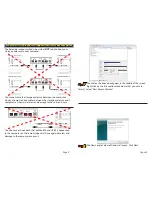
Setup your OWC Mercury Rack Pro as JBOD
(4 individual hard drives) on a Macintosh
Setup your OWC Mercury Rack Pro as RAID 0
(2 striped hard drives) on a PC (Windows XP / Vista)


