


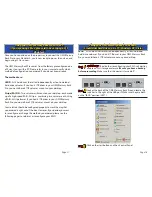

Page 33
Page 2
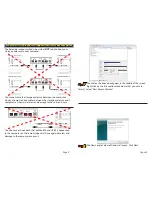
You can start using your OWC Mercury Rack Pro storage solution imme-
diately with a few easy steps if you don’t want to read the entire manual.
The drive solution is formatted for a Macintosh and ready to use right
out of the box. If you’re using a Mac, Simply follow the instructions on
this page and dive in!
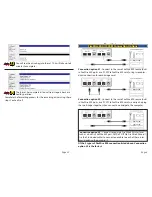
1.
Open the boxes and remove the above items
3.
Plug the power cable in and turn the power switch on. Your drives will
mount on the desktop and you can start using them.
2.
Look at the back of the storage enclosure. You need to choose which
interface you want to use - FireWire 800 or USB 2.0.
FireWire 800
USB 2.0
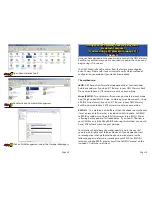
Quickstart Guide
Chapter 1
Contacting Customer Service
Chapter 10
Before contacting Customer Service:
• Read the manuals and review Chapter 8: Troubleshooting
• Try and confirm the problem is with the hard drive. If you have a sec-
ond Macintosh computer, move the drive to that system and verify that
the drive does not function with that machine.
• Visit our tech center for more support suggestions.
http://eshop.macsales.com/tech_center/index.cfm
• Also visit our FAQ section, to see what other customers have asked
about and how they solved their problem.
http://eshop.macsales.com/tech_center/FAQ/index.cfm
If you still need support:
•Have the serial number of the storage solution handy
•Your invoice number (if possible)
•What operating system you are using
•Which kind of Macintosh you are using
Available to you to speed your support contact.
Tech Support Hours (Central Standard Time)
8AM-9PM Monday - Friday
9AM - 4PM Saturday & Sunday
Phone (815) 338-8685
Live Chat is available during normal business hours as well.
Visit
http://eshop.macsales.com for more information.
Or, you can email:
Submit your email at:
http://eshop.macsales.com/Service/Tech.cfm


