Page 5
Page 30
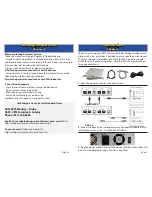
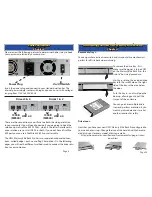
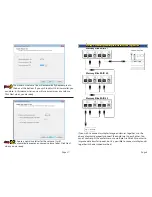
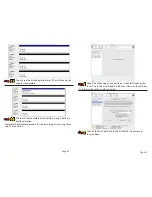
Please review the following pictures to determine the best way to hook
your new drive solution to your computer.
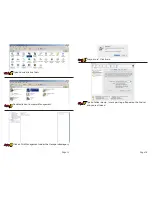
Power Plug
On/Off Switch
Insert the power plug and connect to your standard wall outlet. The
internal power supply is autoswitching and you can use it with voltages
ranging from 110V to 220V, 60Hz.
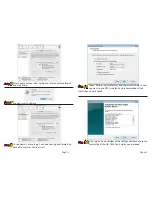
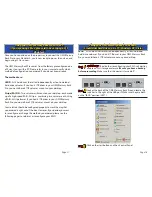
Drives 3 & 4
Drives 1 & 2
1394B
(FW800) USB 2.0
1394B
(FW800) USB 2.0
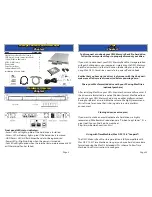
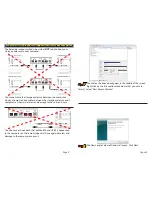
These are the connections you will use to attach the storage solution
to your computer. You will need to decide if you are going to hook the
solution up via FireWire 800 (1394b) - which is the fastest interface this
drive solution uses, or via USB 2.0, or both. If you don’t have a FireWire
800 port you can use a FireWire 400-800 converter cable.
The OWC Mercury Elite Rack Pro has two separate back panel connec-
tions - called bridges - each controlling 2 hard drives. On the following
pages you will see the different methods used to connect the drive solu-
tion to your computer.
Cable Connections
Chapter 4
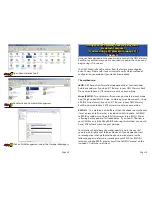
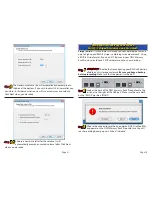
Drive Icons:
Now that you have your new OWC Mercury Elite Rack Pro configured to
your needs, dress it up! Change the icon of the hard drive! We have cre-
ated disk icons for every model of drive we make:
http://eshop.macsales.com/Reviews/Framework.cfm?page=/icons/
icons.html
Customizing your new OWC Mercury Elite Rack Pro
Chapter 7
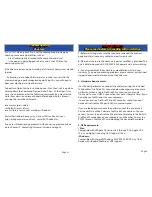
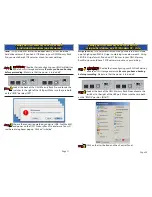
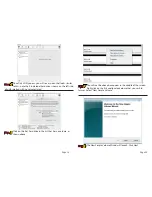
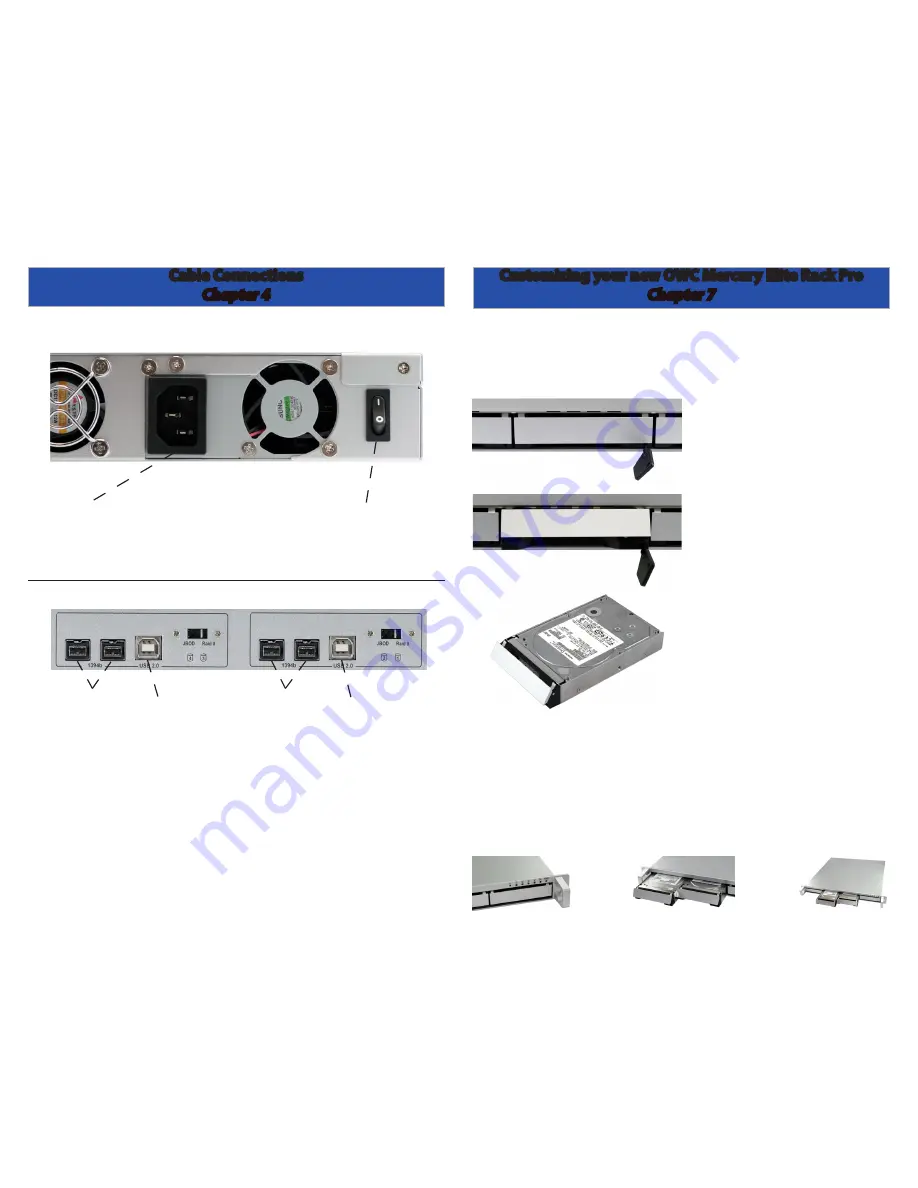
Removable Trays:
You can purchase extra drive carriers and swap out drive mechanisms,
perfect for off-site backup or archiving.
To remove the drive tray - first,
make sure the power is turned OFF
on the Mercury Elite Rack Pro - this
is not a “hot swap” procedure.
Start by inserting the included drive
key into the small hole on the right
side of the tray, in the area below
the door.
Push the key in - and it will pop the
door up, allowing you to pull the
tray out of the enclosure.
You can purchase multiple drive
trays and perform a rotation, if you
want to archive data and store it at
another location for safety.


