38
© Oz inventions
Version 1.8
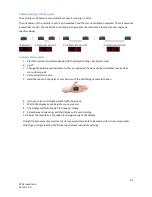
Recording process
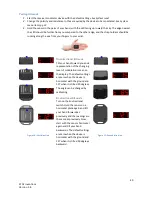
Calibrate the modulation mode if required (pg 35)
Enter the system menu and select ‘Rec-‘
Scroll through the menu and select a maximum recording time (1 equates to 10 seconds)
Exit the menu
A flashing dot will appear under the last digit on the display to signify that record mode has been
entered
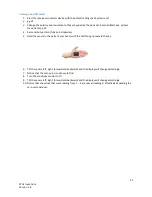
Hold the sensor at your chosen start position, this does not need to be the calibrated starting
position
Press and hold the On/Off/Calibration/Record button, until the indicator light starts to flash
Release the On/Off/Calibration/Record button. The indicator light will cease flashing and the system
is armed for recording
*
, but will not start recording yet.
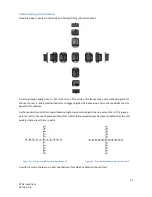
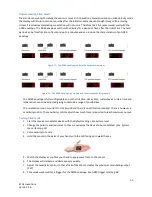
Move the sensor along the direction or angle as required for the current modulation mode
When the modulation output moves past the trigger level as set in the system menu, and defaulting
at ‘10’, the system will begin to record motion data and the indicator light will flash continuously.
Move the sensor as you wish
Recording will cease when the On/Off/Calibration/Record button is pressed, or when the recording
time, as set in the menu, has elapsed, whichever is sooner.
The movement pattern has now been recorded**.
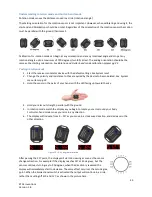
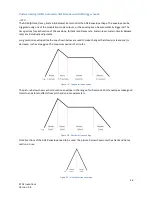
Select ‘P’ with the modulation mode switch and the recording will play back continuously,
modulating the output
Trim the recording in ‘Playback’ mode if required with the sensitivity control. Start from fully
clockwise (99) and work towards zero.
*
Once armed for recording, the device will wait indefinitely for motion. To exit from the armed state
without motion, requires pressing the on/off/calibration/record button, or toggling the modulation
mode switch.
**
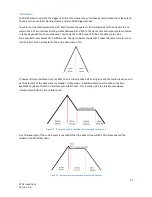
The minimum depth control can also be used to trigger recording and can be used to control the
waveform to be recorded, rather than using the sensor module.


