11
SAFETY NET
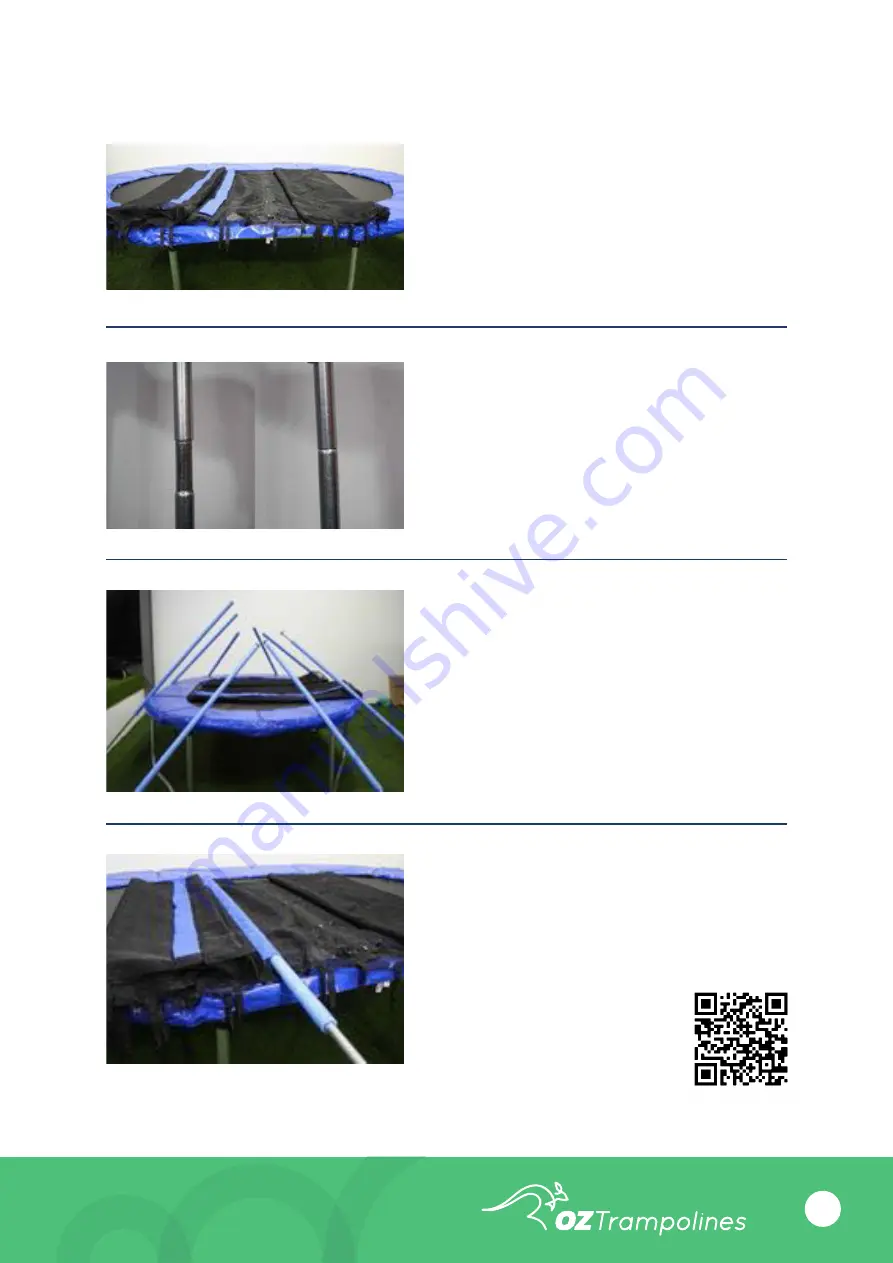
Step 1
Lay the trampoline net onto the trampoline and spread out
so the trampoline entrance is in the middle of the long side
of the trampoline.
Tip: Line the net up with leg of the trampoline you wish to
have the safety net opening positioned.
Step 2
Gather and join all of your safety poles together. These
parts come in two pieces and click together as pictured.
Please ensure that the pole padding is in place.
Tip: If you are having trouble, gently tap the pole (black
end cap) on the ground to ensure the piece fits together
securely..
Step 3
Once all poles are connected, lean them on the
trampoline at the points where the corresponding
U-shaped legs are.
Tip: To streamline your assembly, lay the two safety pole
clamps at the base of each U-Shaped leg for easy access
when assembling.
Step 4
Beginning with the sleeve closest to the
opening, insert the pole into the net
sleeve one at a time. Then place each t
piece in the top of each pole and place
the cord over the top of the t piece.
Tip: When inserting the pole, hold the
pole and padding together to ensure
the padding doesn’t slide down for easy
insert.
Video of net installation can be found here.
www.oztrampolines.com.au/videos.asp or scan QR Code above.


