background image

15

ACCESSORIES

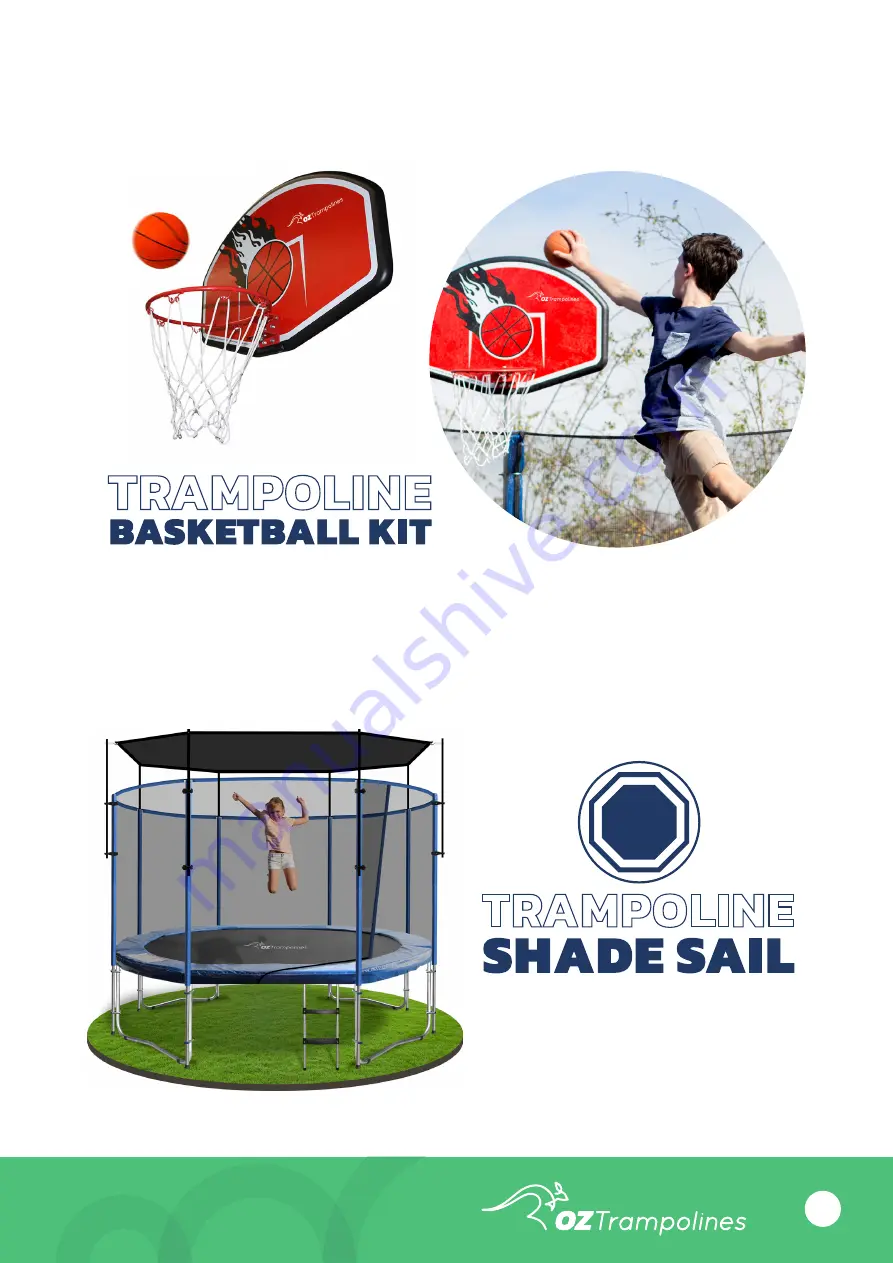
Our Trampoline Basketball Kits are a great addition 

to your Oz Trampoline. Slam dunk your way to the 

top and become a basketball champion.

Protect bouncers from the harsh Australian sun 

with our extendable shade roof.

(Extends up to 50cm above the top of the net).

Summary of Contents for OVAL

Page 1: ...OVAL TRAMPOLINE ASSEMBLY INSTRUCTIONS ...

Page 2: ...possibility of injury Neglecting this can lead to a risk for users If any part of the trampoline breaks you must stop using the trampoline immediately and replace the part this includes the trampoline springs 1 Keep the area around your trampoline clear from any foreign objects 2 Inspect the trampoline before each use and replace any worn or missing parts Also ensure parts are safe and securely at...

Page 3: ... designed to give you peace of mind and provide your children with many years of enjoyment Please refer to the enclosed assembly and instruction manual or refer to the support section on our website www oztrampolines com au Product Inventory 4 Trampoline Parts 5 Frame Assembly 6 Mat Assembly 9 Safety Pads 10 Safety Net 11 Net Pocket Ladder Anchor Kit 14 If you have any difficulties please call us ...

Page 4: ... T Pieces U Shaped Legs Net Pocket Leg Extensions Leg Screws T Piece Screws Fibreglass Poles Net T Pieces Safety Pads Ladder Safety Pad Ties Spring Tool Anchor Kit Net Top Poles Net Bottom Poles Trampoline Mat Pole Padding Springs Just In Case Kit Net Clamps Safety Nets ...

Page 5: ...oles 8 8 8 T Pieces 8 8 8 Net T Pieces 8 8 8 Trampoline Mat 1 1 1 U Shaped Legs 4 4 4 Safety Pads 1 1 1 Pole Padding 16 16 16 Leg Extensions 8 8 8 Safety Pad Ties 10 10 10 Spring Tool 1 1 1 Net Clamps 16 16 16 Leg Screws 8 8 8 T Piece Screws 16 16 16 Anchor Kit 4 4 4 Safety Net 1 1 1 Net Pocket 1 1 1 Ladder 1 1 1 Springs 52 70 86 Just In Case Kit 1 1 1 Entrance Tie 1 1 1 ...

Page 6: ...t place a T Piece over the larger part of the square tubing Tip If hard to place on stretch the T Pieces slightly outwards Step 3 Continue by placing the smaller frame piece into the T Piece as pictured Step 4 Place the T piece bolts washers and screws provided through the T pieces and the framing Loosely tighten until all bolts and screws are through the frame ...

Page 7: ...rame can be tight to get into place Have a second person or use a wall to apply some resistance against the frame to help it shift into place Video support available on our website Handy Hint Leave a straight frame piece inserted into a curved frame piece until last This makes it easier to get into position Legs Step 1 It is now time to put the legs together noting that each of the legs has a U Sh...

Page 8: ... together with the leg screws provided and continue this step for each U Shaped leg Legs Step 3 Slot each U Shaped leg into the T Pieces and secure with the T Piece screws washers nuts and screw caps Please ensure that the frame and leg screws are facing into the centre of the trampoline Legs Finished Stage You now have your trampoline frame assembled Well done ...

Page 9: ...ceed to attach a spring to the opposite end of the frame 6 O Clock This technique allows for the best tension and is much safer Continue to attach the springs at 3 O Clock and 9 O Clock Again this helps to create the best tension on both the mat and the frame Our video on our support page can help you align your mat correctly if you are having difficulty oztrampolines com au videos asp Step 3 Cont...

Page 10: ...n the pads Step 3 Loop the tie around the frame and loop the white head through the other end of the tie to secure it to the frame Step 4 Repeat this process and proceed around the trampoline folding down the side flap of the pads to ensure the frame is now covered Safety Pads Finished Stage Your trampoline will now look similar to the picture with attached safety pads Great job ...

Page 11: ...sure the piece fits together securely Step 3 Once all poles are connected lean them on the trampoline at the points where the corresponding U shaped legs are Tip To streamline your assembly lay the two safety pole clamps at the base of each U Shaped leg for easy access when assembling Step 4 Beginning with the sleeve closest to the opening insert the pole into the net sleeve one at a time Then pla...

Page 12: ...itting below or underneath the edge of the frame Step 6 Place all net rods into upper horizontal net sleeves Then secure each net rod into the black net T pieces at the top of the metal net poles Please note the fiberglass poles are not all the same length The poles marked with Yellow tape need to be used in the middle of the long side of the trampoline above the entrance and opposite the entrance...

Page 13: ...s some tolerance Step 8 Take the entrance elastic tie and loop it through one of the two loops on the bottom side of the entrance flap Feed it under the padding and tie it to the frame Only use one loop Step 9 Now clip the bottom of the netting onto the mat triangles to ensure a tight and safe net Safety Net Finished Stage Tighten the nuts on each leg clamp and you have now set the net up ...

Page 14: ...ely attached Once attached it is now safe to use Anchor Kit Screw or hammer the peg into the ground until the loop at the top is level with the raised part of the leg Then place the round clamp around the trampoline leg and through the peg then tighten until it s secure This will add extra safety for your trampoline Tip Wet the ground to make it easier to insert the anchor CONGRATULATIONS Your tra...

Page 15: ...ball Kits are a great addition to your Oz Trampoline Slam dunk your way to the top and become a basketball champion Protect bouncers from the harsh Australian sun with our extendable shade roof Extends up to 50cm above the top of the net ...

Page 16: ...pm or by appointment Please see oztrampolines com au for terms and conditions Free delivery Australia wide Round Oval and Inground trampolines Easy returns Long warranties Largest range of parts in Oz High quality Built to last Easy claim warranty service Friendly advice 7 days a week Trampolines and replacement parts Lay By available ...

Reviews: