3
4
Digging the Hole
Step 1
It’s best to mark out a hole around 4 inches wider than the diameter of your trampoline. This will make it easier
for you to put the frame in and find the right level. It’s very difficult to dig an exact round hole and this gives you
some tolerance. At the end of the install you back-fill around the outside of the hole with soil you have saved
and re-turf.
Step 2
The next step is to start digging the main hole for your trampoline frame and retaining wall.This needs to be
25cm deep, which is the right frame height. The vented pads sit on top of the frame so they will be just above
the grass level.
Step 3
The next stage is to dig the inner hole so that the trampoline will be safe for jumping. Dig this out in a bowl shape
to a depth of 75cm (8ft & 10ft trampolines), or 90cm (12ft & 14ft trampolines). The inner hole is 50cm narrower in
diameter than the trampoline size. This will leave a 25cm ledge all around on which the trampoline sits.
Step 4
If you have well-drained or sandy soil, then you will not need to consider any further drainage. For less porous
soil or clay, we suggest you put in a soak-away at the bottom of the inner hole, or connect it to your storm
water pipe where possible.
Step 5
We suggest you line the hole with a weed matting to prevent weeds growing. The weed matting needs to be
permeable to allow water to soak through. The matting can be anchored on the ledge under the bottom frame.
The In-ground Trampoline Kit has been designed for ease of install with DIY in mind. If however you have
any doubts, then please contact us or one of our recommended garden landscaper/contractors to assist
and advise you. We also have more information available at
www.oztrampolines.com.au
in the support section.
Building the Trampoline & Retaining Wall
Installation Time
You will need two people to assemble the trampoline and wall. You should allow approximately 30 minutes for
this stage.
You will need:
• Cross-head screwdriver or electric drill (for attaching the retaining wall panels).
• Safety goggles and gloves (for attaching the springs).
Frame Assembly
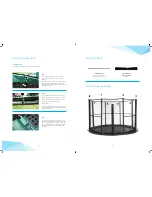
Step 1
Lay the Top & Bottom frame sections into a circle
with the spring slots facing upwards.
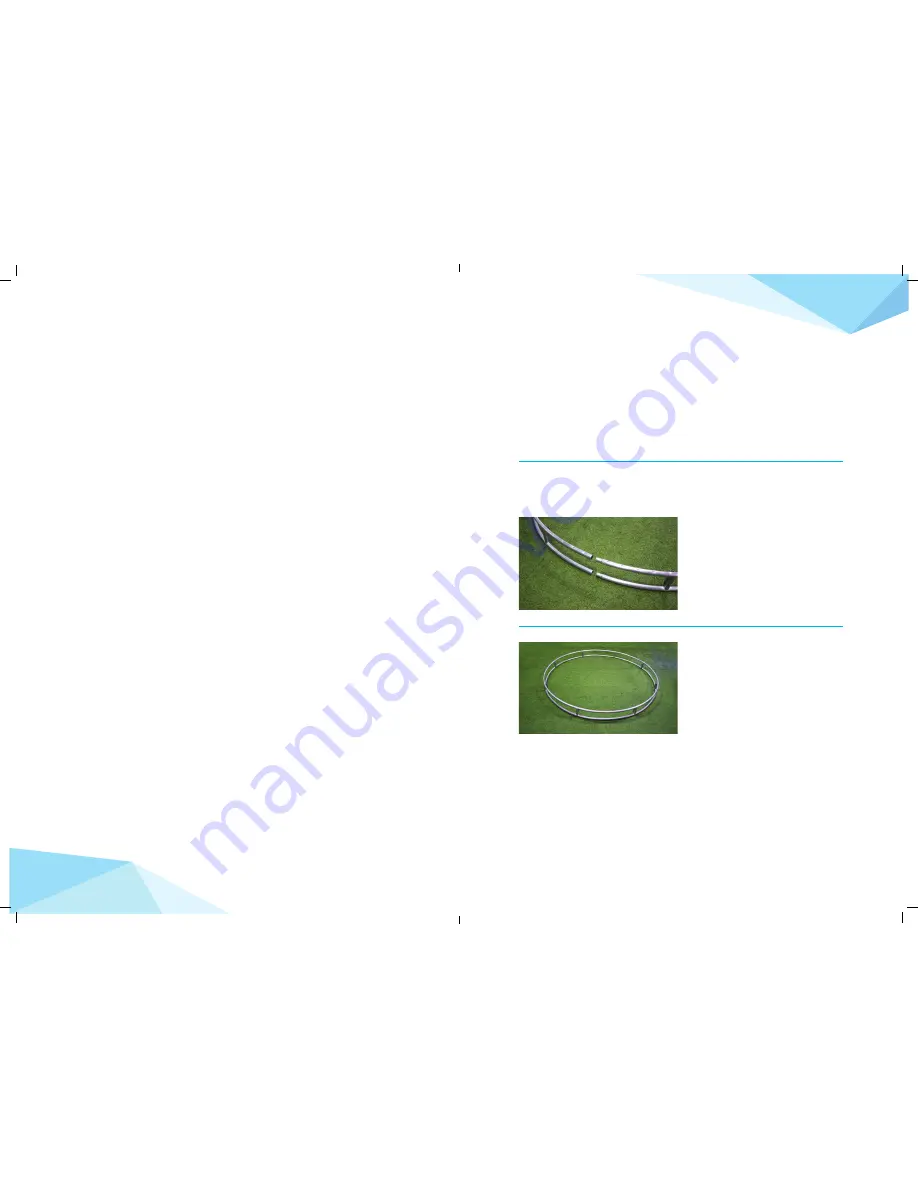
Step 2
Push all sections together ensuring they’re all
connected together correctly.

