13
Set up and Assembly
Instructions
Select a sheltered camp site protected from the
wind that will not allow water to pond under
the tent floor. Clear the level area of all stones,
twigs etc. When reversing ensure that all is clear
behind and under the trailer. Once in the desired
location, secure your trailer. Make sure that the
jockey wheel and rear stabilizing legs are lowered
and in place securely to prevent the trailer from
becoming unstable or tipping. Adjust the jockey
wheel and rear stabiliser to make sure the trailer
is sitting level front to back and level side to side.
Also chock the front and rear of both wheels to
stop any movement.
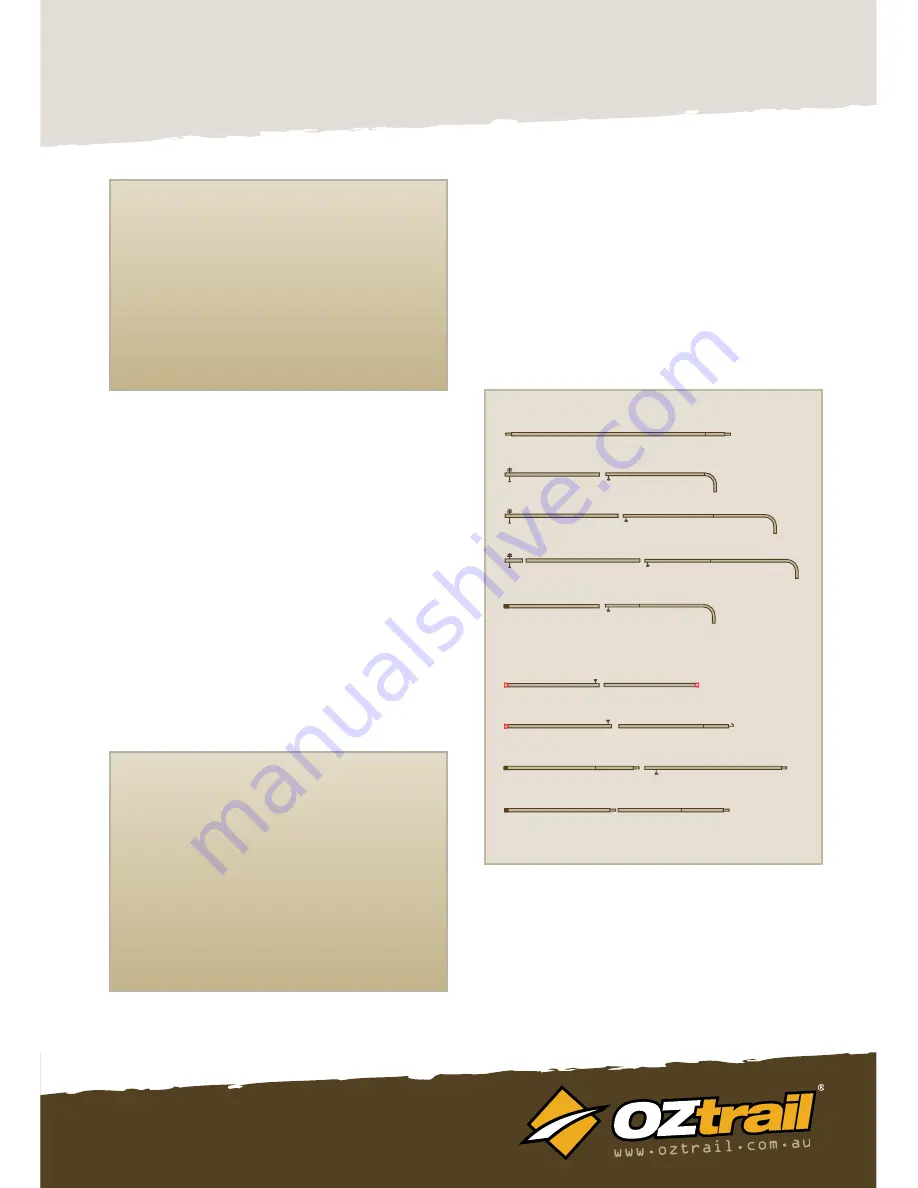
Unpack poles, ropes and tent pegs from the
trailer and identify each piece and where each
goes, depending on model see Figure 21 and 22.
Camper Trailer Tent 6 & 7 pole list
HELPFUL HINT
Always carry several hardwood ground plates
(approximately 400mm long x 200mm wide
x 40mm thick) to use as support blocks for
your rear stabilisers and front jockey wheel
on those occasions when you are camped on
soft or sandy ground. These ground plates are
also handy as a jack base when changing tyres
or for levelling the trailer wheels on uneven
ground.
HELPFUL HINT
OZtrail recommends two people are required
to set up and assemble the Camper Trailer
Tent. OZtrail recommends that you do this at
least once before you embark on your first
camping trip to allow for any adjustments that
may need to be done and to ensure you are
comfortable with the setup of your Camper
Trailer Tent.
Figure 21
Step 1 Choose a level site
Step 2. Locate accessories
including poles, peg and
ropes.
INTERNAL POLES
AWNING POLES
Ridge pole, Camper 6 x 3, Camper 7 x 4
Side pole x 4
Front side pole x 1
Front side door pole x 1
Forward side pole, Camper 7 x 2
Pole # 901 x 2
Pole # 6 x 3
Pole # 203 x 1
Pole # 201 x 2


