5
Step 7 Install the rain fly
Locate the rain fly and ensure that you have it
aligned correctly with the awning area facing
the front of the tent. Raise the fly sheet up and
carefully draw it over the top of your tent. Do
this slowly to avoid snagging the fly . At each
of the four corners of the tent there will be a
side release buckle, this will marry up with the
buckle on the rain fly (Figure 5), connect these
buckles and adjust the tension. You can now
securely attach all of the Posibrace™ Velcro™ tab
points on the underside of the fly around the
corresponding poles as indicated in Figure 6.
Step 6 Peg down the rest
of the corners
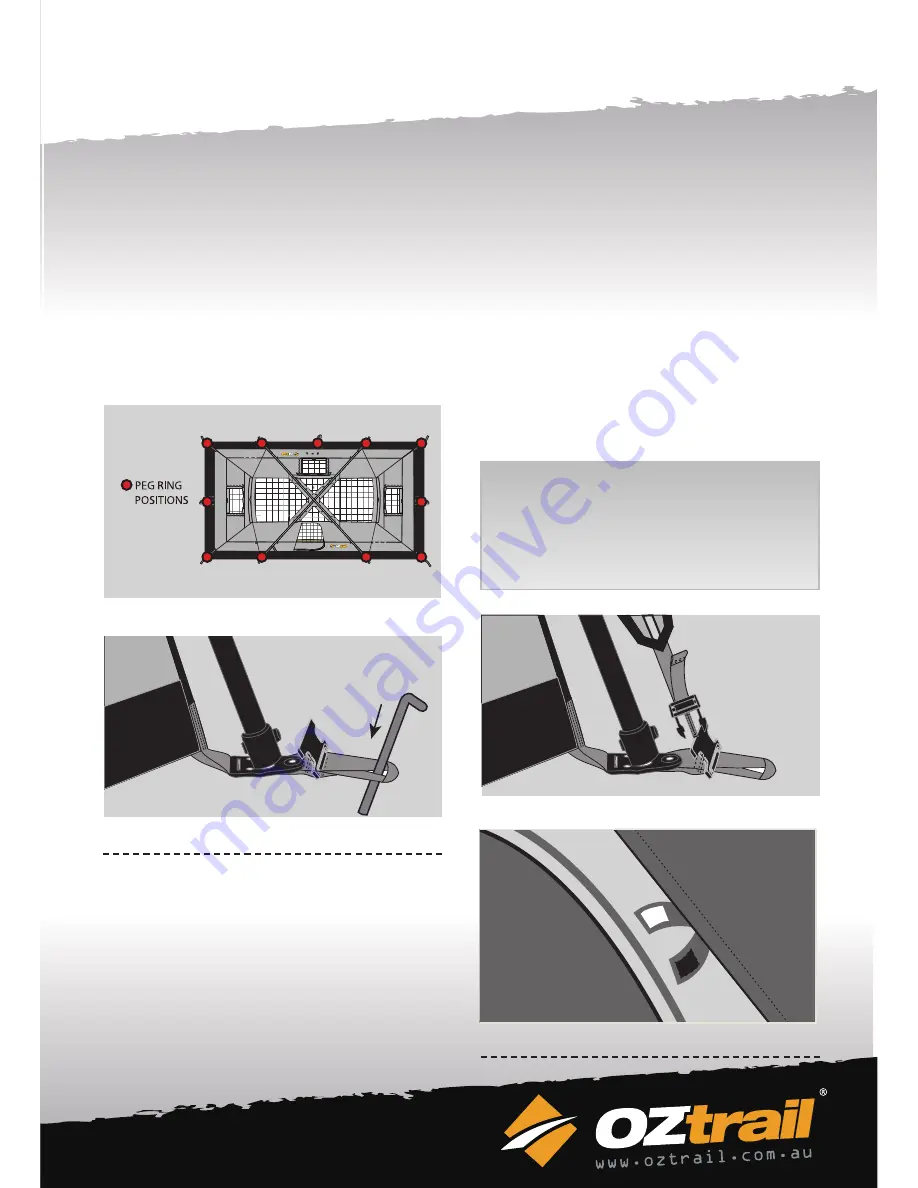
If you have not done so already, peg out the
inner tent at the four corner peg points. These
peg points are indicated in Figure 3. Anchor the
tent to the ground by inserting the pegs through
the webbing loops at the base corners of the
tent at an angle of 45 degrees as indicated in
Figure 4. Firm but not tight.
Figure 5
Figure 6
Assembly Instructions cont.
HELPFUL HINT
Always make sure the front of the awning is a
lower height than where the awning is attached
to the tent. This will allow water to run off the
awning and minimise the chance of water
ponding in the awning.
Figure 4
Figure 3
Cruiser 300 T
win
Cruiser 300 T
win


