F o r m X X X X : R e v i s e d 2 0 1 8
Page 6
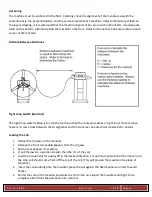
Anchoring
The machine must be anchored to the floor. Carefully check the alignment of the mandrel axis with the
centerline axis, the perpendicularity, and the accurate level of each machine. Unless otherwise specified on
the layout drawing, it is recommend that the machine alignment be secure with anchor bolts. Use adequate
sized anchor bolts to sufficiently hold the machine to the floor. Holes for the anchor bolts are located in each
corner of the machine.
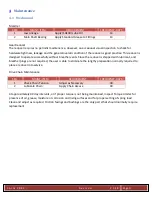
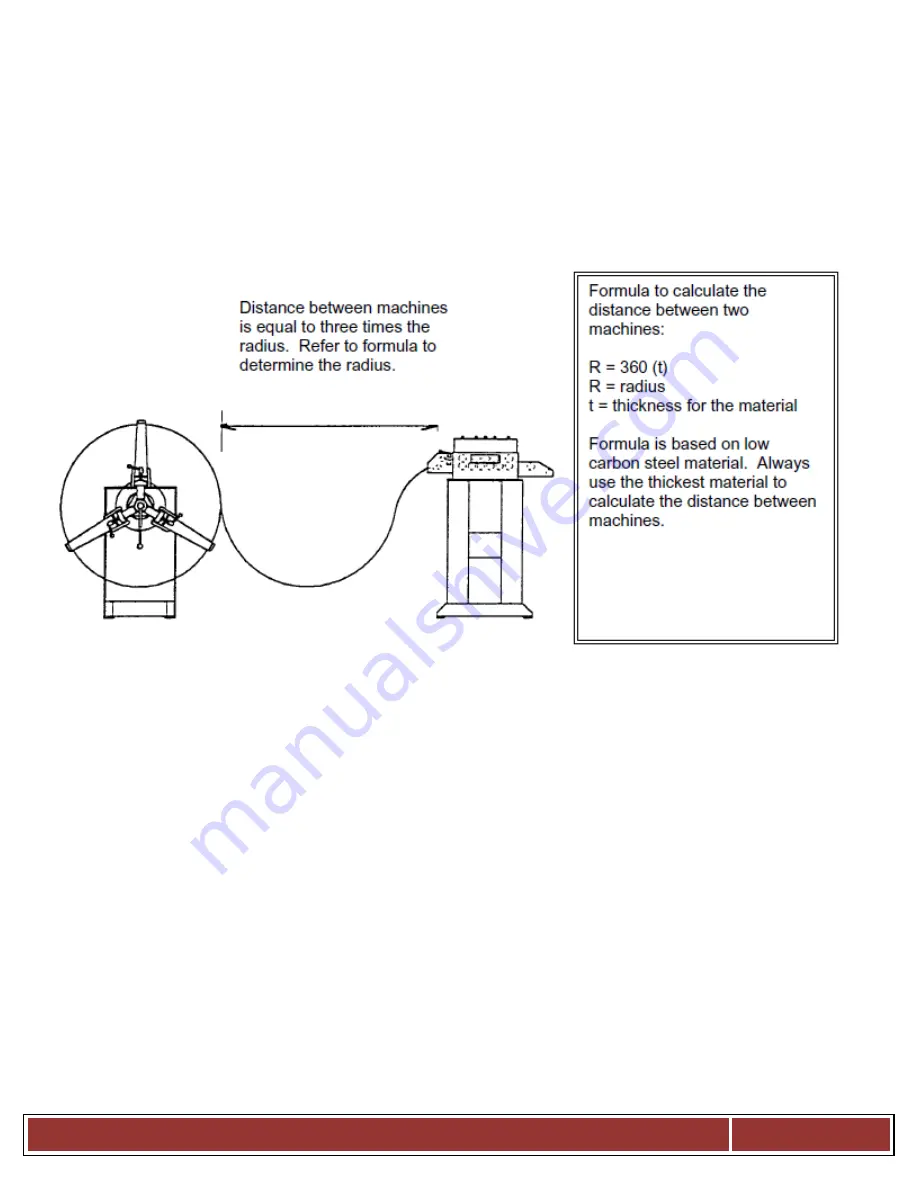
Distance Between Machines
Tight Loop Switch (Optional)
The tight loop switch option is to stop the machine when the material reaches a “tight loop” state or when
there is no more slack between the straightener and the stock reel. See electrical schematic for details.
Loading the Coil
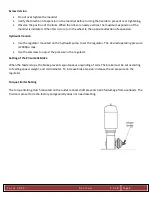
Retract the (3) jaws on the mandrel.
Remove the front removable keepers from the (3) jaws.
Set the rear keepers if necessary.
Crank the jaws to a position smaller than the I.D. of the coil.
Load the banded coil for paying off in the desired direction. For optimum operation of the dancer arm,
the strip coil should come from off the top of the coil. (This will provide the maximum free loop of
material.)
Insert the coil carefully onto the mandrel, place the coil against the fixed keepers in order to avoid
shocks.
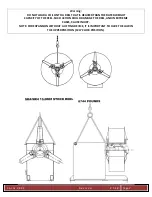
Center the coil on the mandrel and while it is still in the air, expand the mandrel until tight. Once
complete install front keepers back onto mandrel.
Summary of Contents for SRH10K-24
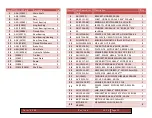
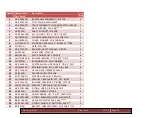
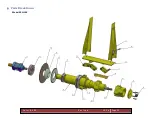
Page 15: ...F o r m X X X X R e v i s e d 2 0 1 8 Page 15 6 Parts Break Down Model SRH 10K...
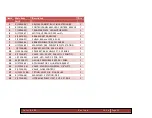
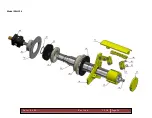
Page 16: ...F o r m X X X X R e v i s e d 2 0 1 8 Page 16 Model SRH 12k...
Page 17: ...F o r m X X X X R e v i s e d 2 0 1 8 Page 17 Model SRH 15K...
Page 18: ...F o r m X X X X R e v i s e d 2 0 1 8 Page 18 Hydraulic Hold Down Arm Option...
Page 19: ...F o r m X X X X R e v i s e d 2 0 1 8 Page 19 Hydraulic Coil Cart Option...
Page 20: ...F o r m X X X X R e v i s e d 2 0 1 8 Page 20 Stock Reel Body...


