background image

3.


SETUP


AND


USE


OF


THE


CXP


PRODUCTS 


3.1.


AC


MAINS


CONNECTION 


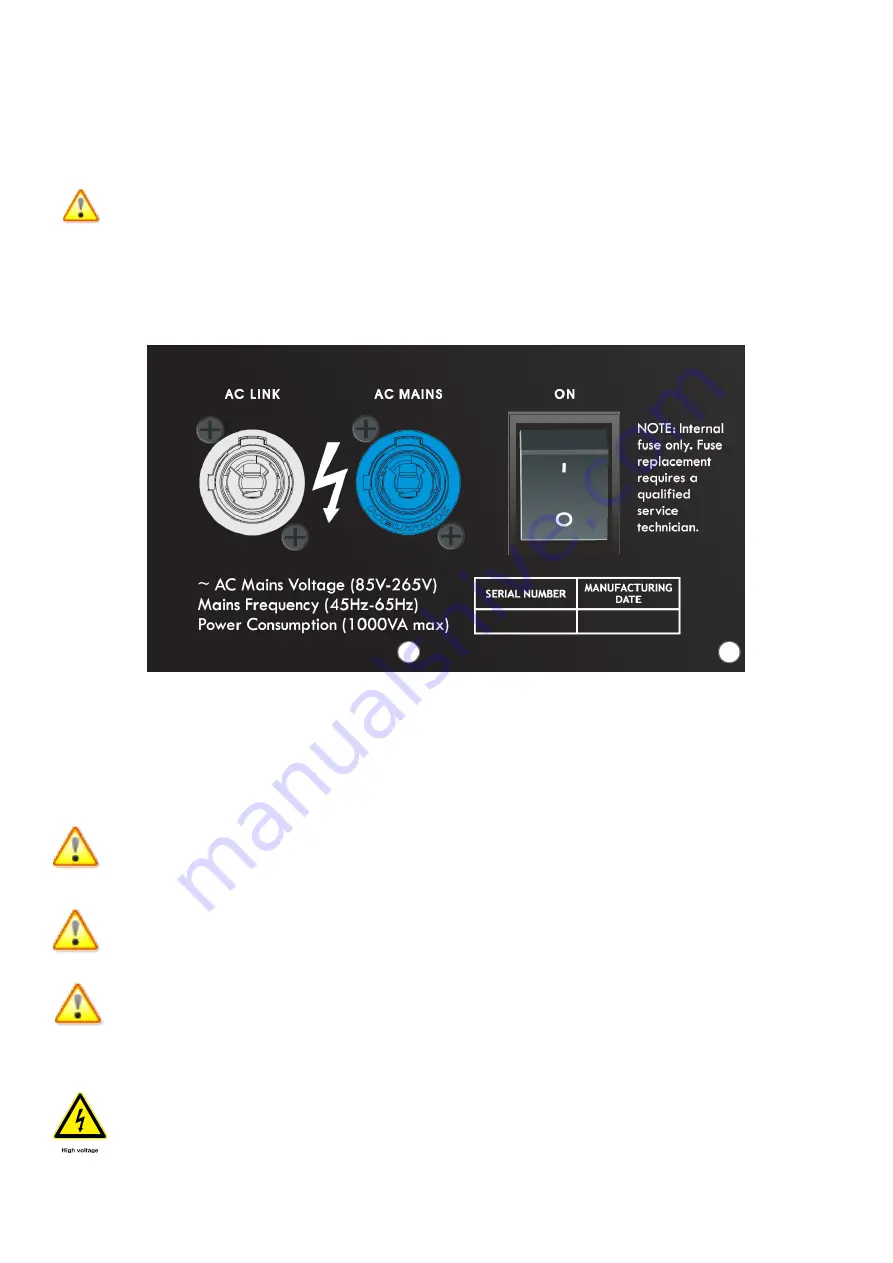
NOTE:  The  powered  models  in  the  CXP  series  use  an  automatic  switching  power  supply.    ONLY  the  3  pin  mains 
power lead supplied with the unit may be used. DO NOT SUBSTITUTE AC MAINS POWER CONNECTION LEADS. 


Prior to connecting the AC mains cable, ensure that the AC mains switch is in the OFF position.  The CXP range of products will 
operate  on  AC  mains  voltages  of  115  volts  to  230  volts.  The  required  AC  mains  frequency  is  between  45  Hz  and  65  Hz.  The 
acceptable voltage range is 85VAC-265VAC.  The amplifier’s switch mode power supply (SMPS) will automatically adjust to the 
mains voltage present.


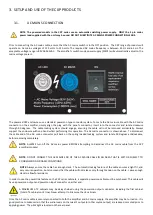
The powered CXP enclosures use a standard powercon type connector system. To mate the AC mains cable with the AC mains 
connector  on  the  amplifier,  simply  align  the  plug  with  the  panel’s  connector,  insert  into  the  connector  and  rotate  clockwise 
through  90  degrees.    The  cable  locking  system  should  engage,  ensuring  the  cable  will  not  be  removed  accidentally.  Always 
support the enclosure with one hand whilst performing this operation. The AC mains connector is shown above.  To disconnect 
the  cable  end  of  the  AC  mains  connector  pull  back  on  the  spring  loaded  locking  system  and  rotate  90  degrees  anticlockwise, 
before removing completely.


NOTE:

  ALWAYS  turn  off  the  AC  mains  power  BEFORE  attempting  to  disconnect  the  AC  mains  cable  from  the  CXP 

amplifier module! 


NOTE:

  DO  NOT  CONNECT  THE  AC  MAINS  END  OF  THE  AC  MAINS  CABLE  IN  AN  AREA  THAT  IS  WET  OR  SUBJECT  TO 

CONDENSATION OR DAMP CONDITIONS! 
 

NOTE:

 Always ensure the cable has enough slack.  The automatic locking feature of the cable ensures a tight fit, and 

very secure operation, but also means that the cable will not release only through tension on the cable.  Leave enough 
slack to allow for accidents. 
 

In order to use the power link feature on the CXP series cabinets, a separate powercon cable must be purchased.  This cable will 
have a powercon output and powercon input connector on either end. 


A  MAXIMUM  of  3  cabinets  may  be  daisy  chained  using  the  powercon  output  connector,  including  the  first  cabinet 

(total of 3 cabinets on 1 line). Never attempt to link more than 3 cabinets. 


Once the AC mains cable is securely connected to both the amplifier and AC mains supply, the amplifier may be turned on. It is 
good practice to make certain that the audio levels on the mixer’s output (or other source output) are reduced or muted prior to 
applying power.  The pilot light is located on the rear panel. 

Summary of Contents for CXP Series

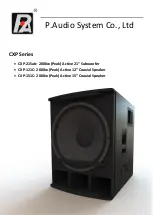
Page 1: ...P Audio System Co Ltd CXP Series CXP 21Sub 2000w Peak Active 21 Subwoofer CXP 121C 2000w Peak Active 12 Coaxial Speaker CXP 151C 2000w Peak Active 15 Coaxial Speaker...

Page 2: ...Follow all instructions to insure optimal product performance 5 The CXP Active products are convection cooled devices and require at least 6 inches 152 mm of clearance behind the enclosure to allow t...

Page 3: ...mat ferrite magnets and a thru pole piece compression driver mounting for near perfect time alignment between the woofer and compression driver The P Audio CXP 21Sub brings a new level of performance...

Page 4: ...ng Input to achieve rated output 0 774 V RMS line level 0 774 V RMS line level 0 774 V RMS line level Input Section Control Level Control Preset Selection Level Control Preset Selection Level Control...

Page 5: ...end of the AC mains connector pull back on the spring loaded locking system and rotate 90 degrees anticlockwise before removing completely NOTE ALWAYS turn off the AC mains power BEFORE attempting to...

Page 6: ...ecessary EQ is provided in the on board pre amp A line level input of voltage 0 775v will drive the on board amplifiers to full power The CXP input section also allows for paralleling multiple powered...

Page 7: ...dialog screen will appear checking options for connecting to the device in question To ensure communication occurs on the right COM cable this must be selected from the drop down list For linking betw...

Page 8: ...locations However once the COM cable is removed the unit will revert back to the preset as indicated by the knob on the unit itself Setup This is largely a factory operation to switch the amplifier fr...

Page 9: ...e controls for low and high are available On CXP 21 Sub a single mute control is available 4 5 PROTECTION In installation or when the operator is away from the desk it is understandable that protectio...

Page 10: ...TO SUSPEND P AUDIO PRODUCTS WITHOUT UNDERSTANDING LOCAL AND NATIONAL CODES THAT APPLY TO OVERHEAD SUSPENSION OF PRODUCTS DO NOT ATTEMPT TO SUSPEND P AUDIO PRODUCTS UNLESS YOU ARE A PROFESSIONAL WITH K...

Page 11: ...S AMPLIFIERS 7 PRODUCT SERVICE There are NO user serviceable parts inside the CXP Series amplifiers However the amplifier does need to be removed in case of compression driver service See notes below...

Page 12: ...ent Thank you once again for purchasing this P Audio product P Audio is a manufacturer of a complete range of Loudspeaker systems individual components and accessories For more information regarding a...

Reviews: