7
end of the wire rope to keep it from fraying (i.e. tape or
wire) must not be in contact with the wedge when the
installation is complete. Consult the wire rope manufac-
turer on the proper treatment of the dead end of the wire
rope. Some rope manufacturers recommend when using
rotation resistant wire rope, that the rope end be seized,
welded or brazed before inserting the wire rope into the
wedge socket to prevent core slippage or loss of rope lay.
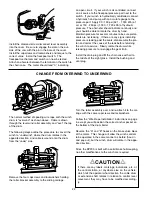
Take the free end of the wire rope and insert it through the
small opening on the cable drum. Loop the wire rope and
push the free end about 3/4 of the way back through the
pocket. Install the wedge as shown in figure 7, then pull
the slack out of the wire rope. The “dead” end of the rope
needs to extend slightly beyond the end of the wedge as
shown in figure 8.
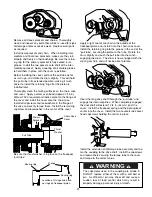
Using a hammer and brass drift, drive the wedge as deep
into the pocket as possible to ensure it is fully seated and
no further movement is detected. Applying a load on the
wire rope will also help seat the wedge in the pocket.
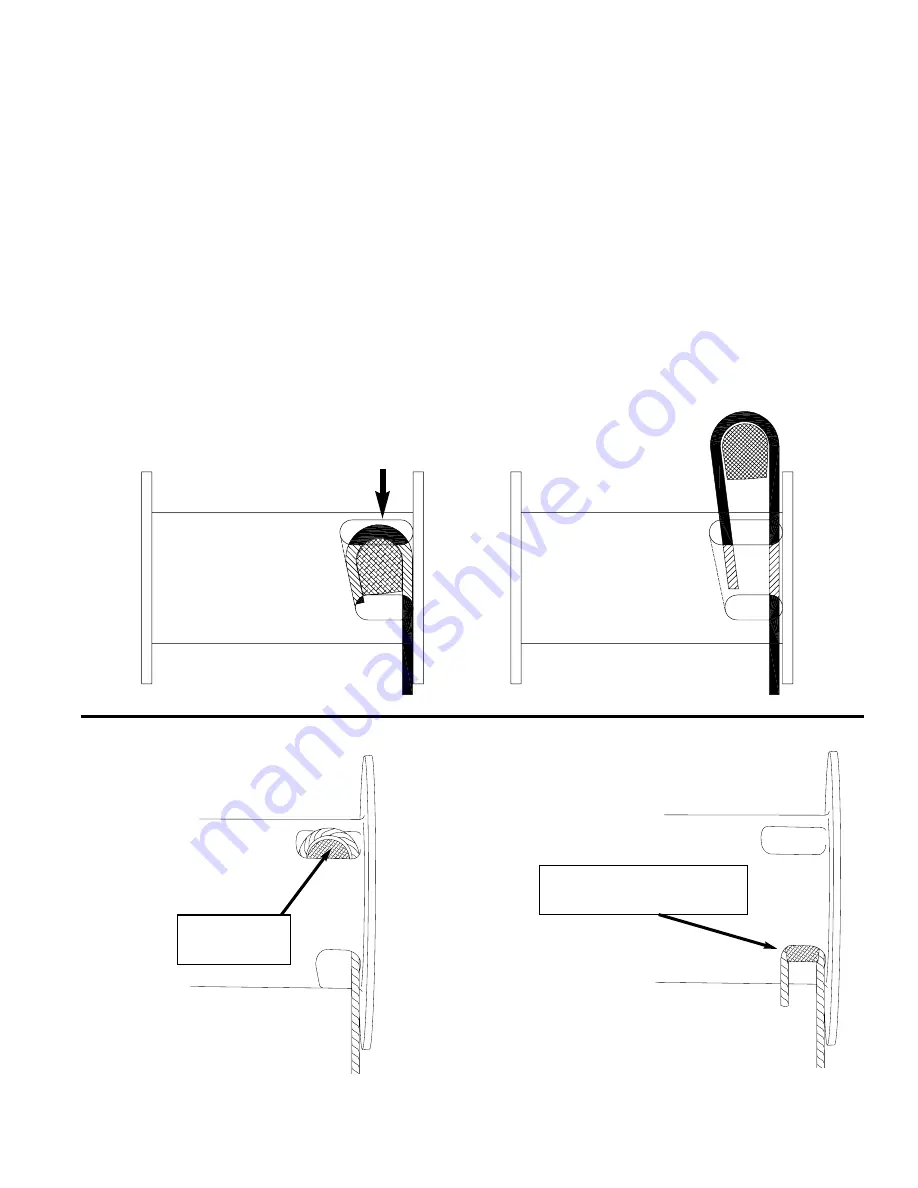
Check to ensure the wedge does not protrude from either
end of the pocket, causing it to interfere with proper
spooling of wire rope onto the drum (see figures 9 & 10).
If there is interference or the wedge does not seat firmly,
contact the Braden Product Support Department at 918-
251-8511 to determine the proper wedge size. The
wedge shipped from the factory will properly anchor 7/16,
1/2 and 9/16 inch wire rope.
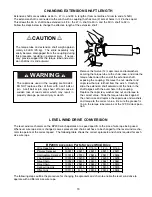
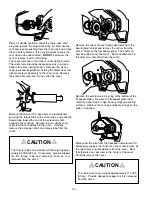
Before installing the wire rope, the levelwind roller brack-
et must be aligned with the correct rope pocket. Rotate
the drum until the correct cable pocket is on top at the
12:00 position. The correct pocket will have the smaller
Drive from
this side
Wedge and wire rope
fully seated in pocket
Correct Installation
Figure 7
Figure 8
Wedge not
fully seated
Wedge pulled too far
through anchor pocket
• Wire rope not tight against wedge
• Wedge may be too large
• “Dead” end of wire rope and/or wedge may
interfere with proper spooling
• Wedge may be too small
Figure 9
Figure 10
Incorrect Installations
Summary of Contents for Braden BP200
Page 46: ......


