System Operations Manual, Rev B
www.paceworldwide.com
Page 13 of 21
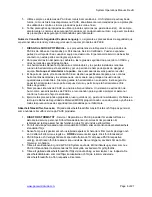
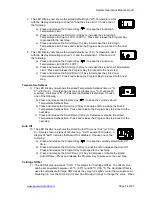
good linkage between tip and sensor. The System will automatically recognize
that the InstaCal Module is in use and the LED Display will change to “CAL”.
The calibration process will last for approximately 20 to 30 seconds. When
completed, the LED Display will change to “CC” for Calibration Complete, and
the LED Indicator light will turn green. The system is now ready for use. The
temperature can be adjusted, as needed, and does not need to be recalibrated
until the tip cartridge has been replaced. Calibration can still be activated
when the LED Indicator is green, although it is unnecessary.
NOTE:
Before calibration is attempted, the system should be allowed
to reach set temperature. After turning on the system or
changing tip cartridges, wait for at least 15 seconds before
calibrating.
Programming Your System
The menu driven LED Display of the TW 100 system allows you to easily
customize your system. By accessing the programming menu, you can:
•
Enter, remove or change a Password.
•
Set the Default Temperature scale to °F or °C as desired.
•
Change the Upper and Lower Temperature limits.
•
Enable or disable the Temperature Setback feature and adjust the time-out period.
•
Enable or disable the Auto Off feature and adjust the time-out period.
•
Enable or disable the Calibration mode.
The following instructions should be performed to familiarize the operator with the system.
Entering the Programming Menu
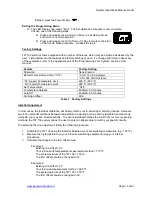
1. Place Power Switch in the “OFF” (“0”) position.
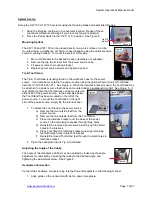
2. Press and hold the Program Key (
) while turning on the Power
Switch (“I” position).
Password
3. The LED Display will display the version of the microprocessor and change to read “P--”
or "EP".
4. If the display reads "EP", a Password has been stored in system memory. Enter the 3
digit Password (using the scroll up/down keys). If the Password entered is incorrect, "no"
appears on the display and the system then returns to normal operation. If this occurs,
repeat steps 1 through 5 and enter the correct Password.
5. The LED Display reads "P--". Choose one of the following options:
a) Press the Program Key (
) to keep the currently stored Password (including
no Password).
b) Press and release the Scroll Up (
▲
) or Scroll Down Key to enter a new
Password.
c) Set the display to “000” for no password.
Temperature Scale
6. The LED Display now shows the stored default Temperature Scale (°C or °F
temperature shown on LED Display). Choose one of the following:
a) Press the Program Key (
) to keep the stored default
Temperature Scale.
b) Press and release the Scroll Up (s) Key to change the default Temperature
Scale. Press and release the Program Key.
Temperature Limits
Figure 11


